How to Rotate Text in Google Slides (Easiest Way in 2024)
In this article, we will show you how to rotate text in Google Slides. Simply follow the steps below.
Rotate Text in Google Slides
Rotating text in Google Slides can be achieved using three common methods: the ‘Right-Click Context Menu,’ the ‘Arrange Menu,’ and by using the ‘Rotation Handle.’ We will discuss how to use each method in the following sections.
Method 1: Rotate Text Using the Right-Click Context Menu
In order to rotate text in Google Slides, simply follow the steps below.
1. Select the Text Box Containing the Text
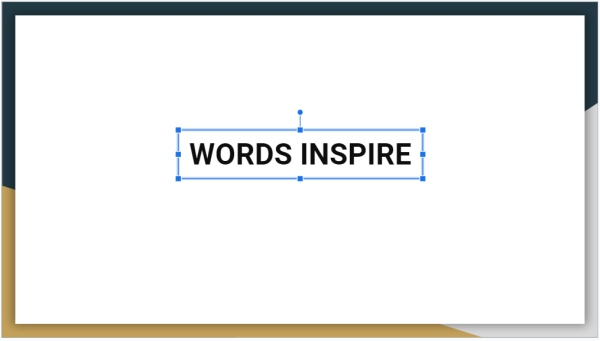
Click on the text box that contains the text. In our example, let’s select the phrase “WORDS INSPIRE.” This action highlights the box and indicates that it’s ready for editing.

2. Open the Context Menu by Right-Clicking on the Text Box
After selecting the text box, right-click anywhere on its border. A context menu will appear with various options tailored to text editing.
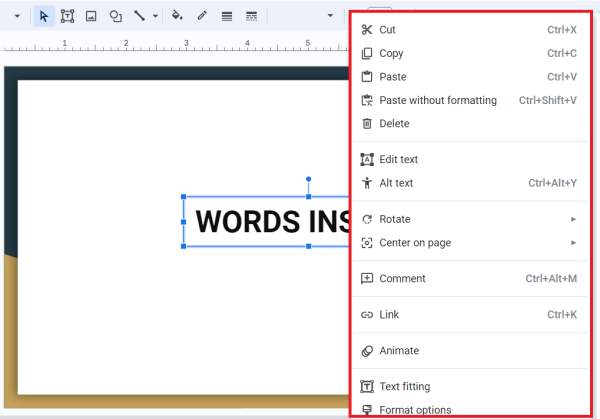
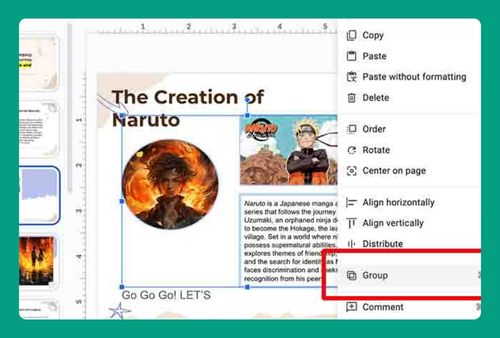
3. Rotate the Text Using the ‘Rotate’ Option in the Menu
In the context menu, find and hover over the ‘Rotate’ option.
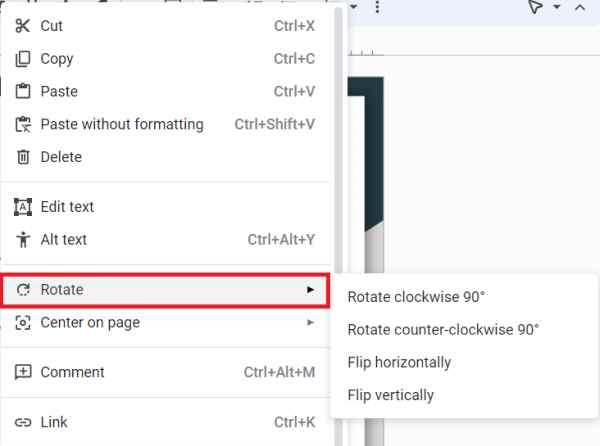
You will see additional choices. Choose the one that suits your needs to adjust the text orientation. In our example, we will choose the ‘rotate clockwise 90°’ option.

Method 2: Rotate Text from the Arrange Menu in Google Slides
Below, we outline the steps on how to rotate text in Google Slides:
1. Select the Text Box You Want to Rotate
Ensure the text box you want to rotate is selected by clicking on it. In our example, it will be the text box containing ‘WORDS INSPIRE.’ This activates the editing features for that text box.

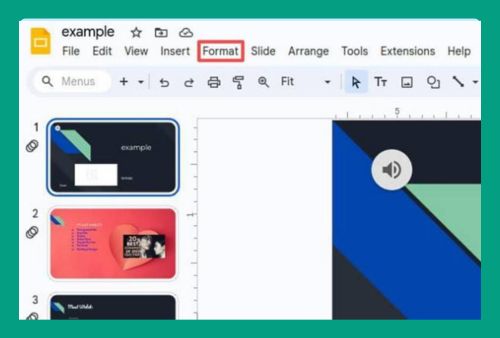
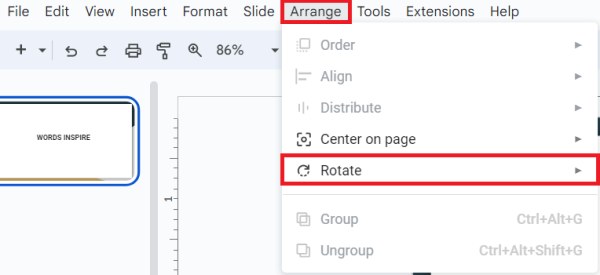
2. Access the Rotation Options from the Arrange Menu
With the text box selected, look towards the top navigation bar and click on ‘Arrange.’ A dropdown menu will appear. From there, select ‘Rotate.’
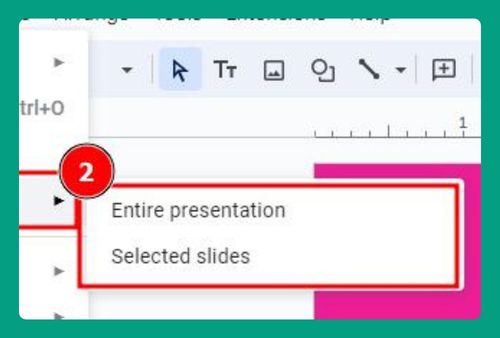
3. Choose and Apply a Rotation Setting from the Arrange Menu
From the ‘Rotate’ submenu, choose either a predefined angle like ‘Rotate 90 degrees’ or ‘Flip horizontally.’ Selecting one of these will rotate your text accordingly.

Method 3: Manually Rotate Text Using the Rotation Handle
Follow the steps below to rotate text in Google Slides.
1. Activate the Text Box You Want to Rotate
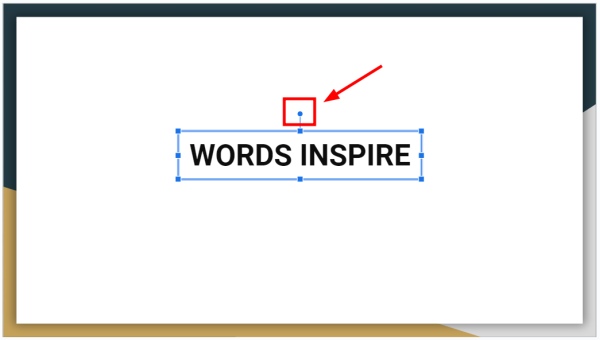
Click directly on the text box that you want to rotate. You will see it become selected, and a small rotation handle appears above the box.
2. Locate and Use the Rotation Handle Above the Text Box
Look for a small circular handle at the top of the text box. This is the rotation handle.
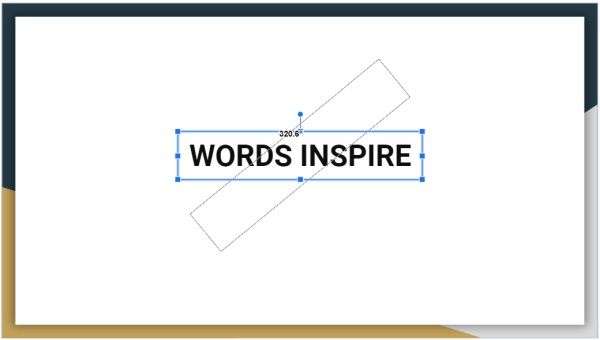
3. Drag the Rotation Handle to Rotate the Text as Desired
Click and hold the rotation handle with your mouse. As you hold the mouse button down, move the mouse to rotate the text box. The text will rotate with the box, allowing you to visually adjust it to your preferred orientation. Release the mouse button to set the rotation.
We hope that you now have a better understanding of how to rotate text in Google Slides. If you enjoyed this article, you might also like our article on how to put a border around text in Google Slides or our article on how to group text boxes in Google Slides.