How to Group Text Boxes in Google Slides (Easiest Way in 2024)
In this article, we will show you how to group text boxes in Google Slides. Simply follow the steps below.
Group Text Boxes in Google Slides
To group text boxes in Google Slides, we will use an example presentation about a corporate workshop. Follow the steps below:
1. Select All Text Boxes
To group text boxes in your presentation, start by selecting them. Click on the first text box related to a specific session, for example, the “Session Title.” Then, hold down the ‘Shift’ key and click on the additional text boxes for the same session, which might include “Time and Location,” “Speaker Name,” and “Key Points.”
By holding down the ‘Shift’ key while clicking, you ensure multiple text boxes are selected simultaneously. Make sure all the relevant text boxes for the session are highlighted with a border, indicating they are selected.

2. Right-click and Select Group
With your text boxes selected, right-click on any one of the highlighted text boxes. A context menu will appear, giving you various options. Look for the ‘Group’ option in this context menu and click on it. Alternatively, you can use the shortcut by pressing Ctrl + Alt + G.
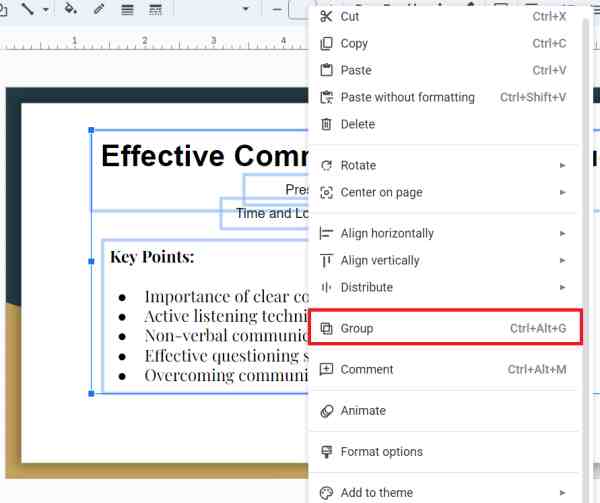
This action will group all the selected text boxes together, allowing you to move, resize, and format them as a single unit.

We hope that you now have a better understanding of how to group text boxes in Google Slides. If you enjoyed this article, you might also like our article on how to rotate text on Google Slides or our article on how to add a shadow to text in Google Slides.