How to Replace Image in Google Slides (Easiest Way in 2024)
In this article, we will show you how to replace an image in Google Slides. Simply follow the steps below!
How to Replace an Image in Google Slides
Below, we explain how to replace an image in Google Slides:
1. Select the Image in Google Slides
Click on the image to highlight it. You should see blue handles around the image once selected.

2. Right-Click on the Image and Choose “Replace Image”
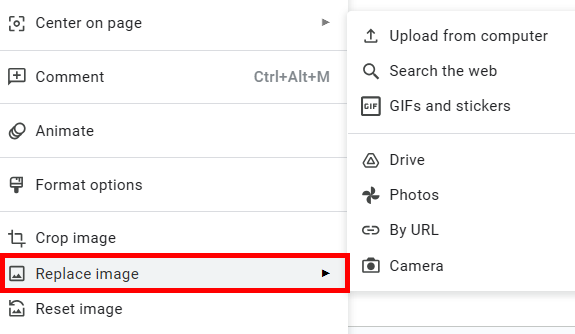
Right-click on the selected image. A context menu will appear. From the context menu, select “Replace image.” This will open a submenu with different options to choose the new image source.
3. Select the New Image Source
If the new image is on your computer, select Upload from computer. Browse your files and select the image you want to use.
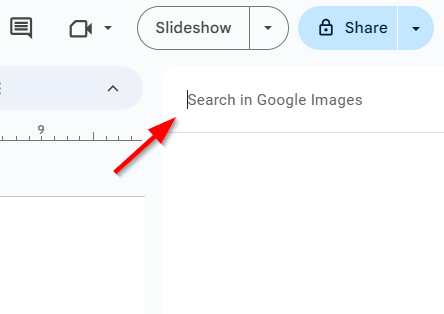
You can search for an image on the web directly from Google Slides. Select “Search the web.” A panel should appear on the right, type your query, and choose an image from the search results.
You can also choose images from your Google Drive, Google Photos, a URL, or directly from your camera.
Here’s a sample image that we used:

We hope that you now have a better understanding of how to replace an image in Google Slides. If you enjoyed this article, you might also like our articles on how to round the corners of an image in Google Slides and how to remove the background of an image in Google Slides.