How to Create Audio for Google Slides (Easiest Way in 2024)
In this article, we will show you how to create an audio file for Google Slides. Simply follow the steps below.
Create Audio for Google Slides
To create audio for Google Slides, we will use an example presentation titled “Summer Music Festival Campaign”. Follow the steps below.
1. Select a Suitable Audio Creation Software
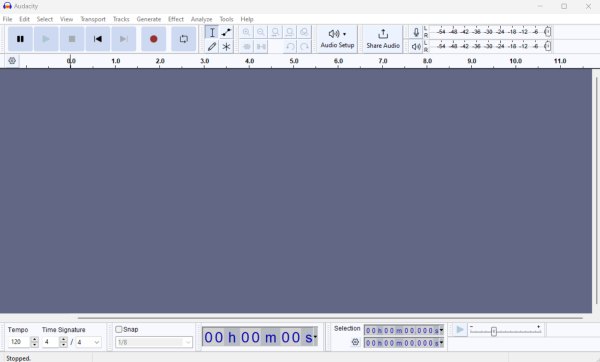
For example, we will use Audacity, a free audio recording and editing application known for its extensive options. It is compatible with Windows, macOS, and Linux.
2. Create Your Audio
After installing your chosen recording application, open it and locate the ‘Record’ button. This is usually depicted as a red circle. Click this button to start your audio session.

Once done, click the ‘Stop’ button (a square icon) to end the recording.

3. Save Your Audio File
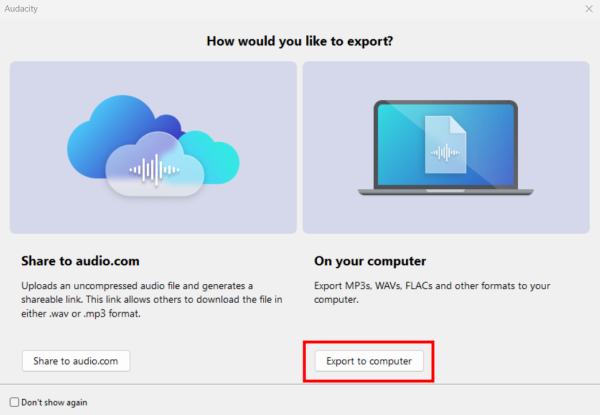
To save your audio in Audacity, go to ‘File’ and then ‘Export Audio.’
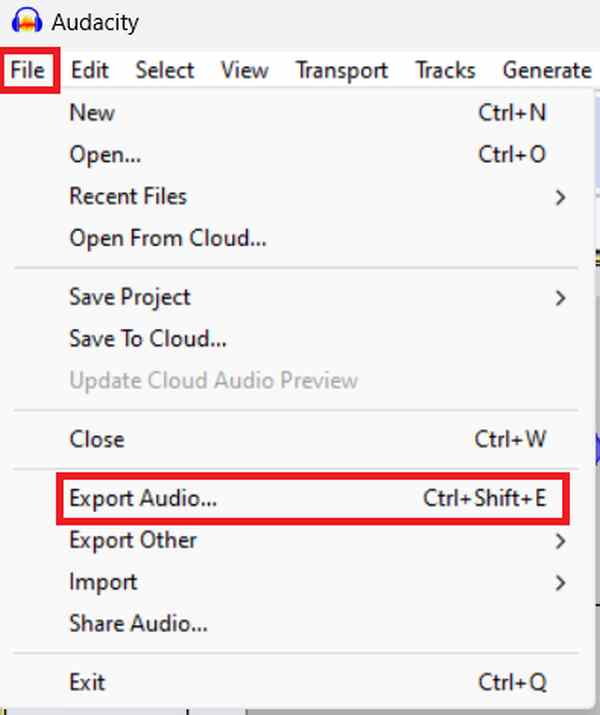
A dialog box will prompt you on how to proceed with your file. Here, choose to save it directly to your computer by selecting Export to computer.
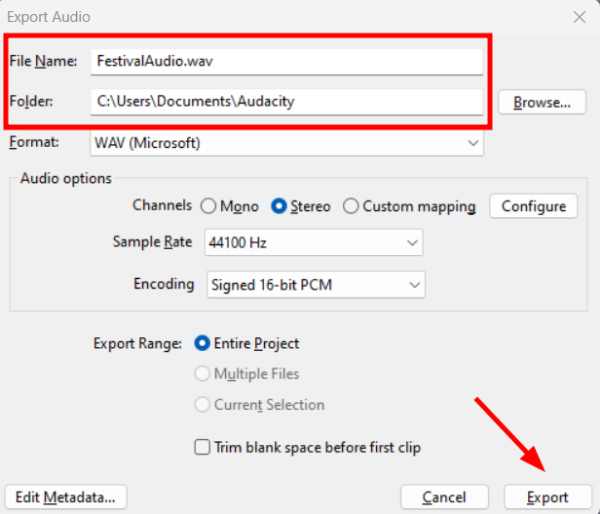
Name your file thoughtfully and pick a location on your computer for easy access. Confirm by clicking ‘Export.’
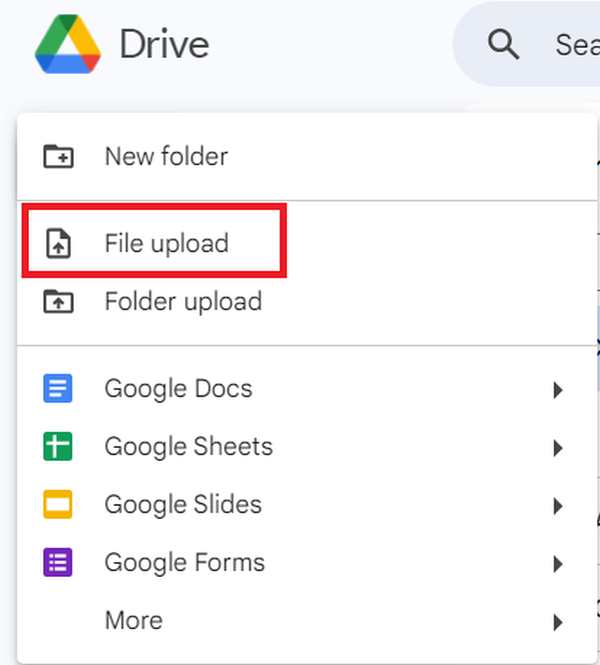
4. Upload Your Audio File to Google Drive
Google Slides requires audio files to be hosted on Google Drive. To upload your audio file, click ‘New’ and then ‘File upload.’
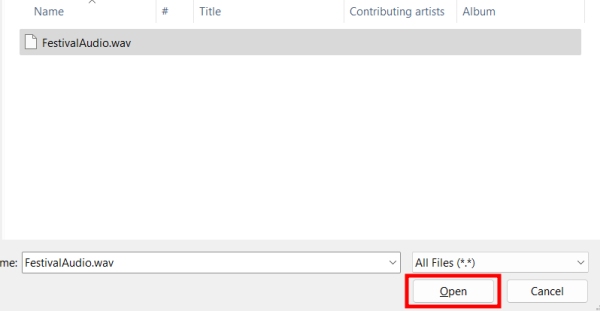
Find and select the MP3 file you just saved. Click ‘Open’ to upload your audio to Google Drive, making it ready for integration into your slides.
5. Decide Where to Add the Audio in Your Presentation
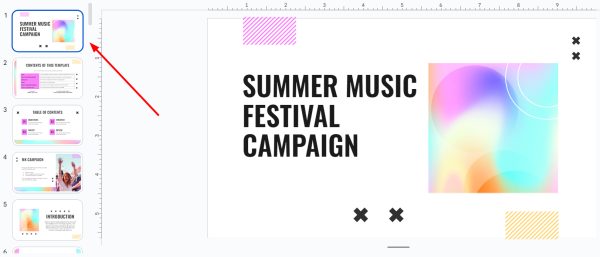
Navigate through your Google Slides to the specific slide where you want the audio to play. For example, we will use the title page of the Summer Festival Music Campaign presentation.
6. Insert the Audio into Your Google Slides
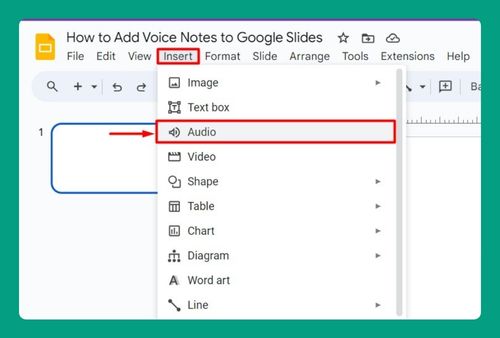
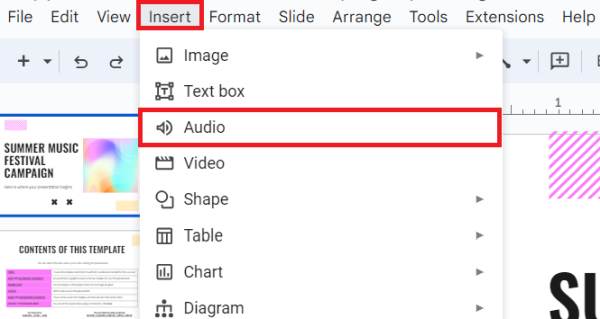
To add your audio, click ‘Insert‘ from the top menu in Google Slides and choose ‘Audio.’
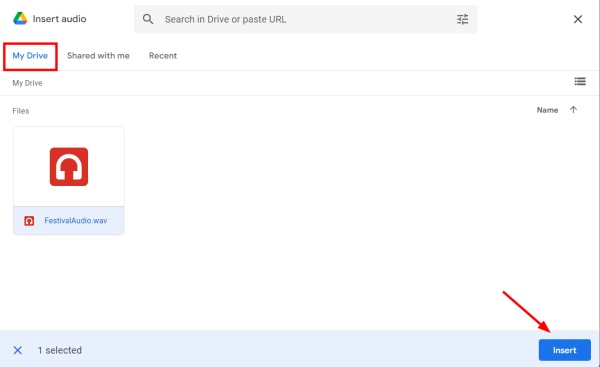
Then, proceed with ‘My Drive.‘ Locate the previously uploaded MP3 file, select it, and press ‘Insert’ to add it to your slide.
7. Configure Audio Playback Settings
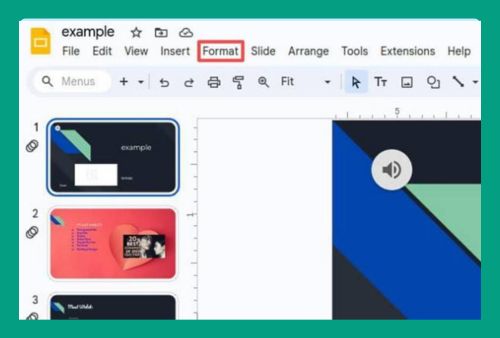
Once the audio file is inserted, it will appear as an icon on your slide. Click on this icon to access the ‘Format options’ on the right side.

Within these options, you’ll find several settings to adjust how your audio plays during the presentation. Set the audio to ‘automatically‘ if you want it to start as soon as the slide opens. Then, there’s the ‘Loop audio‘ option, which allows the audio to repeat continuously.
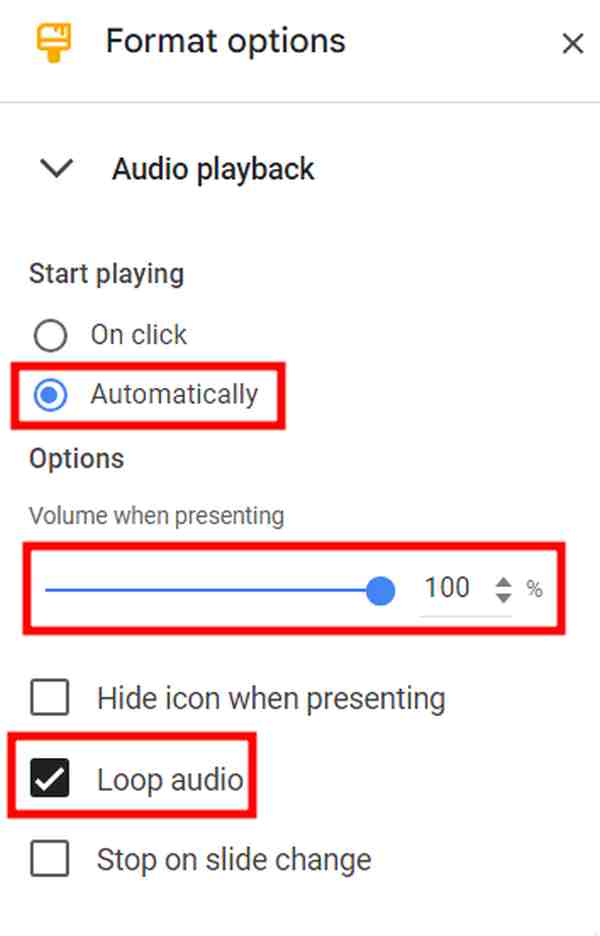
Additionally, you can adjust the volume slider to ensure the audio is neither too loud nor too soft, optimizing the listening experience for your audience.
8. Test Your Slide with the Audio
To ensure everything works as planned, click on ‘Slideshow’ from the top right of Google Slides. Watch the slide to confirm the audio plays correctly with the right settings.

We hope that you now have a better understanding of how to create audio for Google Slides. If you enjoyed this article, you might also like our article on how to record audio on Google Slides or our article on how to record a Google Slides presentation with audio.