How to Rotate an Image in Google Slides (Fastest Way in 2024)
In this article, we will show you how to rotate an image in Google Slides by using the rotate handle and Format Options. Simply follow the steps below.
Method 1: Rotate Image in Google Slides Using Rotate Handle
Follow the steps below to rotate an image in Google Slides using the rotate handle. For this example, we will use an image of a honey bee.
1. Insert Your Image
Click on Insert in the top menu. Select Image and then choose how you’d like to upload your image (e.g., “Upload from computer”, “By URL”, etc.). Find and select the image of the honey bee and insert it into your slide.

2. Activate the Rotate Handle
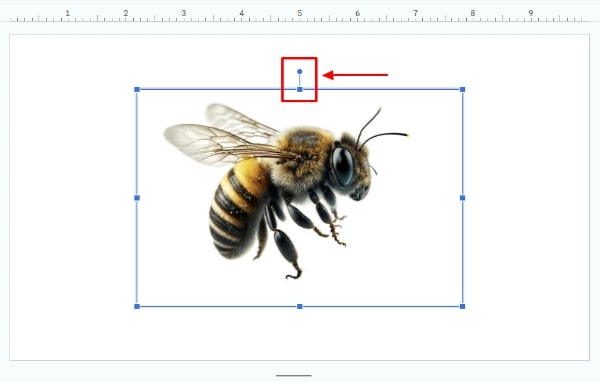
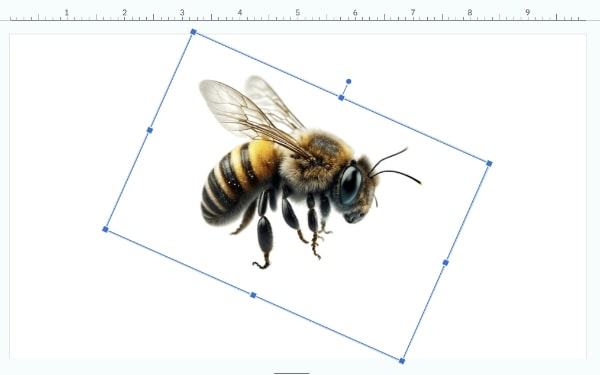
Click on the honey bee image to select it. You’ll see small blue squares at the corners and on the sides of the image, indicating it’s selected. Look for a small circle with a line through it above the top center of the image. This is the rotate handle.
3. Rotate Using the Handle
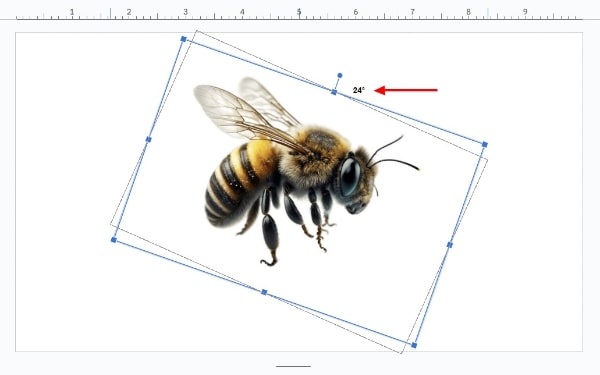
Click and hold the rotate handle. As you move your mouse, the image will rotate around its center. Rotate the image to your desired angle. A tooltip next to the cursor will show the angle in degrees as you rotate. Release the mouse button to set the image in its new orientation.
Method 2: Rotate Image in Google Slides Using Format Options
Follow the steps below to rotate an image in Google Slides from the Format Options.
1. Insert Your Image
Go to the slide where you want to add the image link. Click on Insert in the top menu bar to open a drop-down menu. Hover over Image in the drop-down, to access multiple options such as Upload from computer, Search the web, Drive, Photos, Camera, and By URL. Choose the appropriate source to add your whale image.

2. Open Format Options
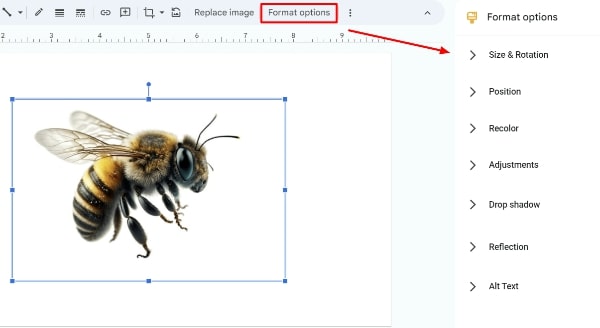
Click on the honey bee image to ensure it’s selected. With the image selected, click on Format options in the toolbar to open a sidebar on the right with different formatting options.
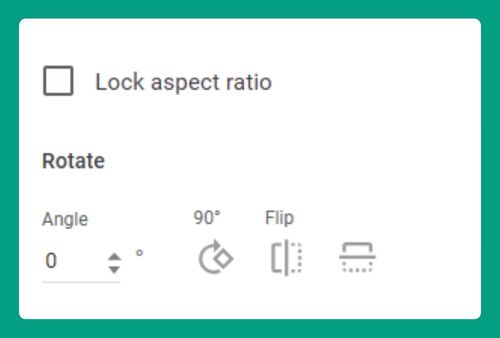
3. Use the Size & Rotation Section
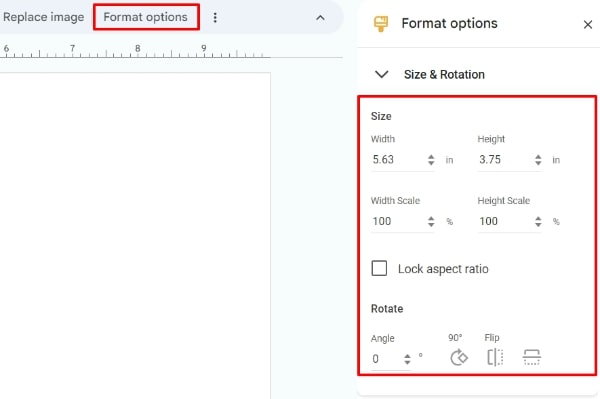
From the sidebar, click on Size & Rotation. You will see a field labeled Rotation. You can type in a specific angle or use the up and down arrows to adjust the rotation degree by degree. For this example, we will rotate the honey bee image clockwise by 24 degrees.
4. Apply the Rotation
The image will rotate as you adjust the angle in the rotation field. Once you have the desired rotation, you can close the Format options sidebar.
We hope that you now have a better understanding of how to rotate an image in Google Slides. If you enjoyed this article, you might also like our article on how to insert an image in a shape in Google Slides and how to layer images in Google Slides.