How to Wrap Text Around an Image in Google Slides (2024 Guide)
In this article, we will show you how to make text wrap around an image in Google Slides by using Format Options. Simply follow the steps below.
Wrap Text Around Image in Google Slides
Google Slides does not support automatic text wrapping around images like word processors such as Microsoft Word. The text must be manually adjusted around the image using multiple text boxes if needed to simulate a “wrapped” look.
Follow the steps below to effectively place and format both text and image in Google Slides.
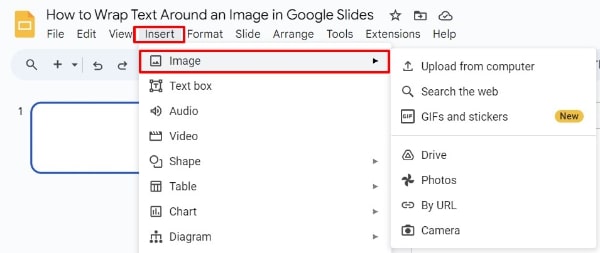
1. Insert Your Image
From the top menu bar, hover over Image to see multiple options for uploading your image (e.g., upload from computer, search the web, drive, photos, by URL, or camera). Choose your preferred method to insert an image. For this example, we will use an image of a polar bear.
2. Adjust the Image Size and Position
Once the polar bear image is uploaded, click on it to reveal resizing handles at each corner and on the sides. Click and drag these handles to resize the image according to your needs without distorting its proportions. Click and drag the image to place it in the desired position on your slide.
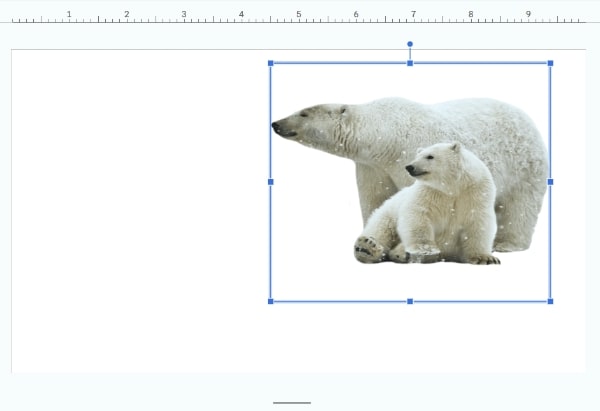
Ideally, place it to one side of the slide where you want the text to wrap from. For simplicity, we will place the image on the right (and the text on the left).
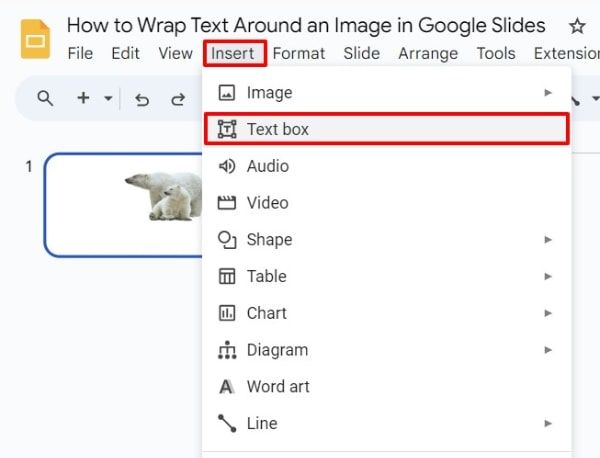
3. Insert a Text Box
Click on Insert in the top menu again and then select Text box. Click and drag on the slide to draw a text box in the desired location. Ideally, position it next to the image where you want the text to start wrapping. For this example, we will place it to the left of the polar bear image.
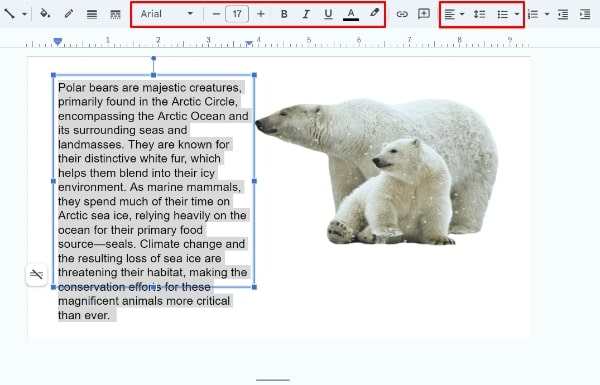
4. Input and Format Your Text
Type or paste your prepared paragraph about polar bears into the new text box. Highlight the text to format it—adjust the font type, size, and color using the toolbar options at the top to ensure it is clear and visually appealing. You can also use alignment tools to adjust text alignment. Typically, justified or left-aligned text works well for wrapping.
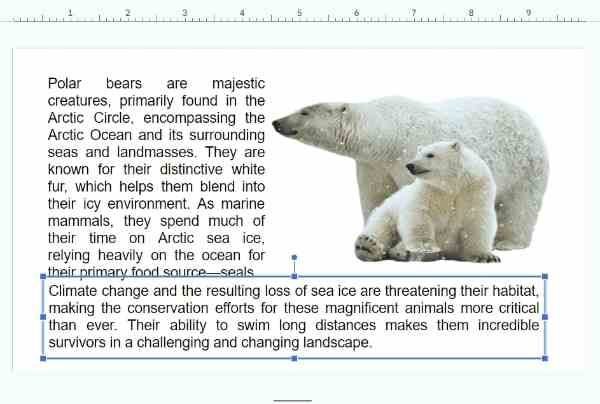
5. Arrange the Text Around the Image
Adjust the edges of the text box so that the text flows neatly around the image. This might involve moving the text box closer to or further from the image. For a more natural wrap effect, particularly with irregularly shaped images, you might create additional text boxes and place them strategically around the image to better control the flow of text.
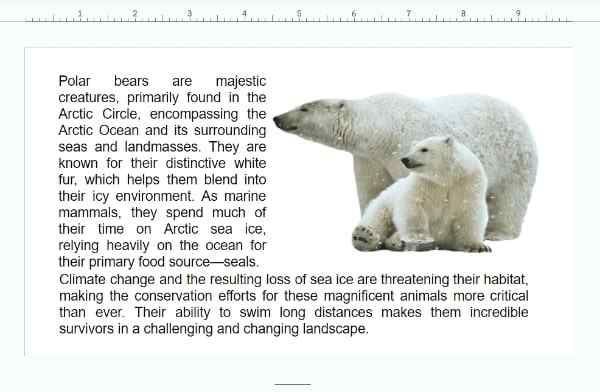
6. Fine-Tune the Layout
Use the arrow keys for precise positioning of the text box after selecting it. Once you’re done, click outside the text to see how your text wrap looks.
We hope that you now have a better understanding of how to wrap text around an image in Google Slides. If you enjoyed this article, you might also like our article on how to crop image to circle in Google Slides and how to put images behind text in Google Slides.