How to Outline Text in Google Slides (Easiest Way in 2024)
In this tutorial, we will show you exactly how you can outline text in Google Slides. Simply follow the steps below.

Can You Outline Text in Google Slides?
No, Google Slides doesn’t have a direct option to outline text. However, you can mimic the effect by duplicating the text, changing the color of the duplicate, and layering it behind the original.
How to Add an Outline to Text in Google Slides
Follow the steps below to add a text outline in Google Slides.
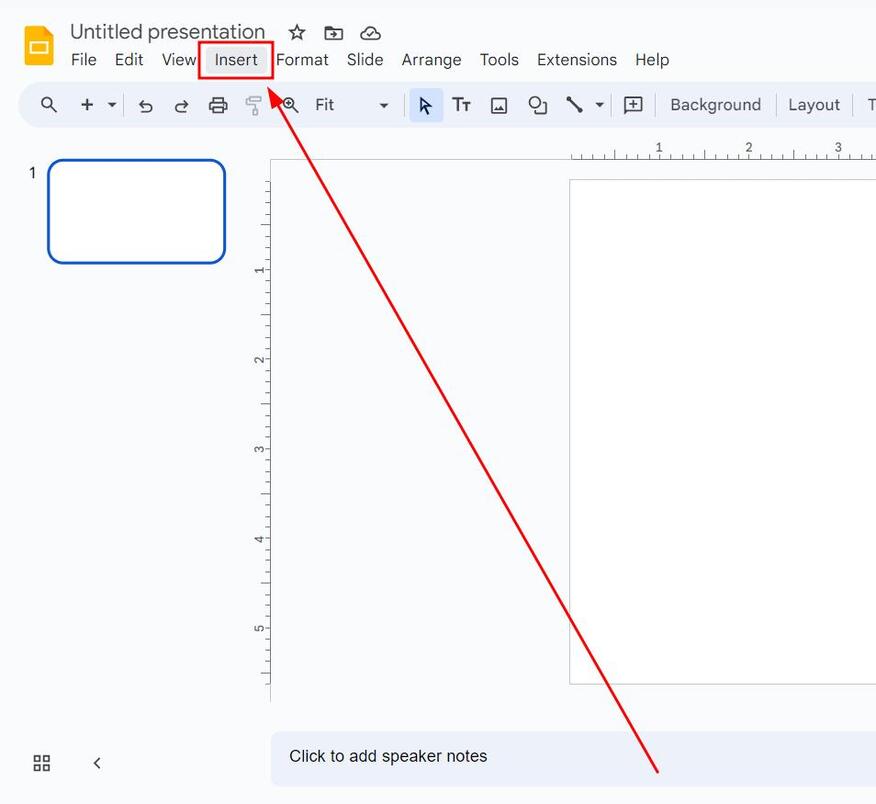
1. Click “Insert” Tab
Click the “Insert” tab located in the top menu. This will open a dropdown menu with various options for adding elements to your slide.
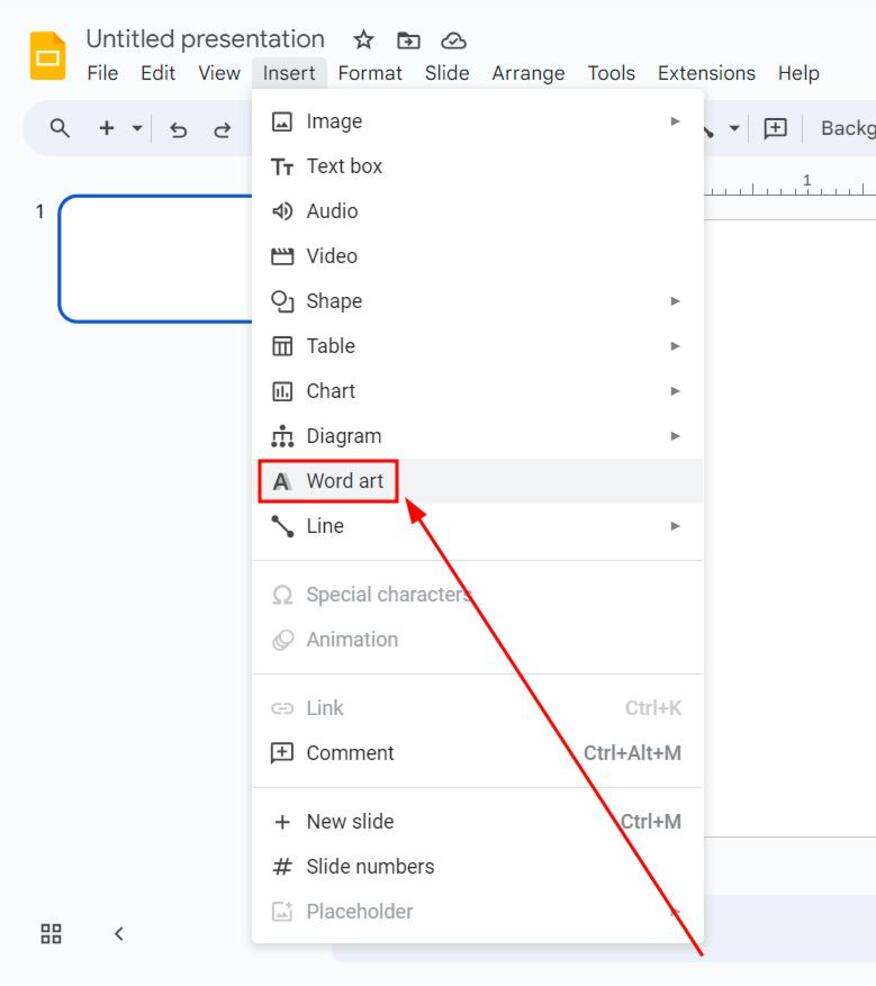
2. Select “Word Art”
From the dropdown menu, choose “Word art.”
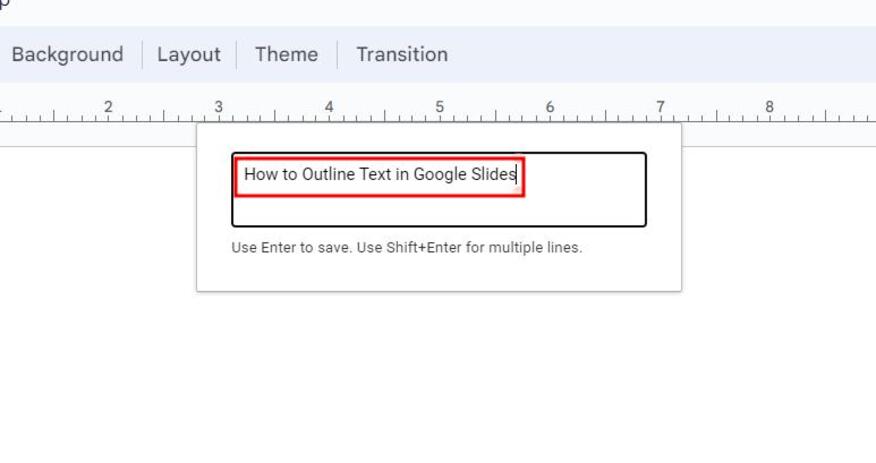
3. Type Your Text and Press “Enter“
In the Word Art box that appears, type the text you want to outline. After typing, hit “Enter” to create the Word Art.
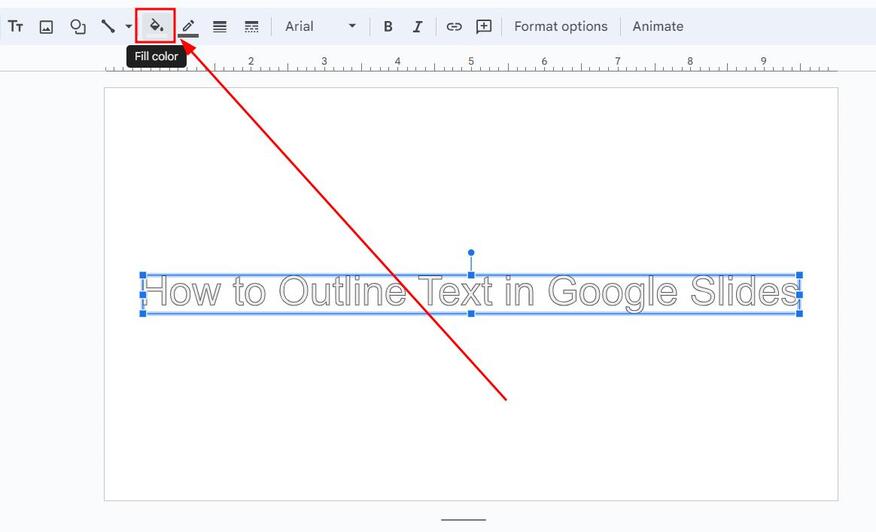
4. Select “Fill Color” and Choose the Main Color for the Text
With your Word Art selected, click the “Fill color” icon in the toolbar (it looks like a paint bucket). Then, choose the main color for the inside of the text.
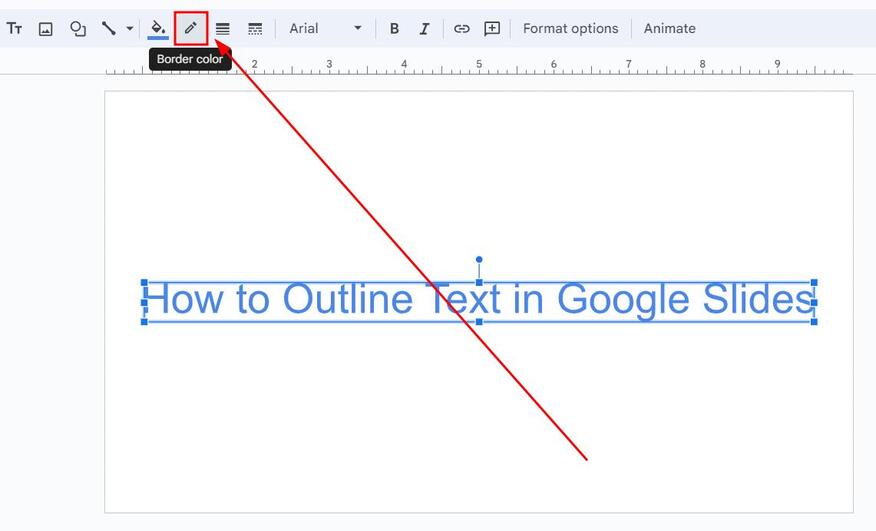
5. Select “Border Color” and Choose the Outline Color
Click the “Border color” icon in the toolbar (it looks like a pencil over a line). Choose a contrasting color for the outline to make it stand out against the fill color.
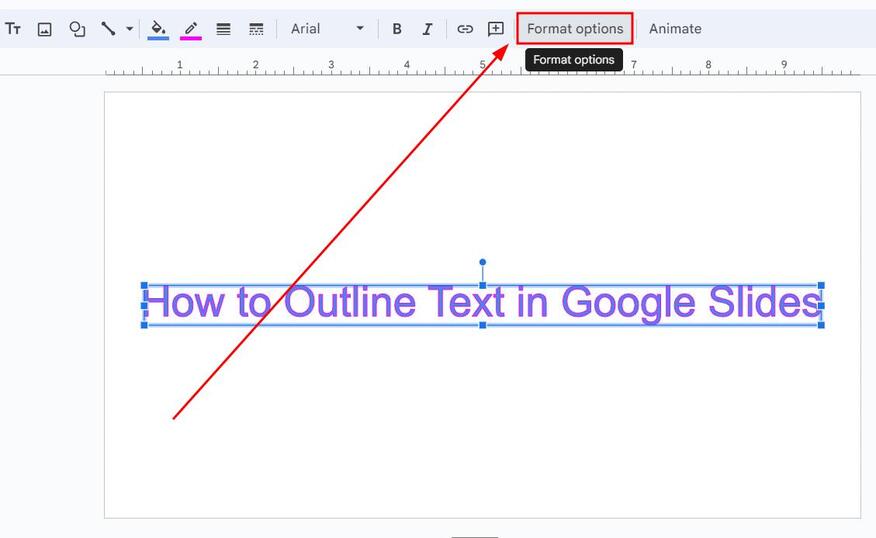
6. Click “Format Options”
With your Word Art still selected, click on the “Format options” button in the toolbar. This will open a sidebar with various formatting tools.
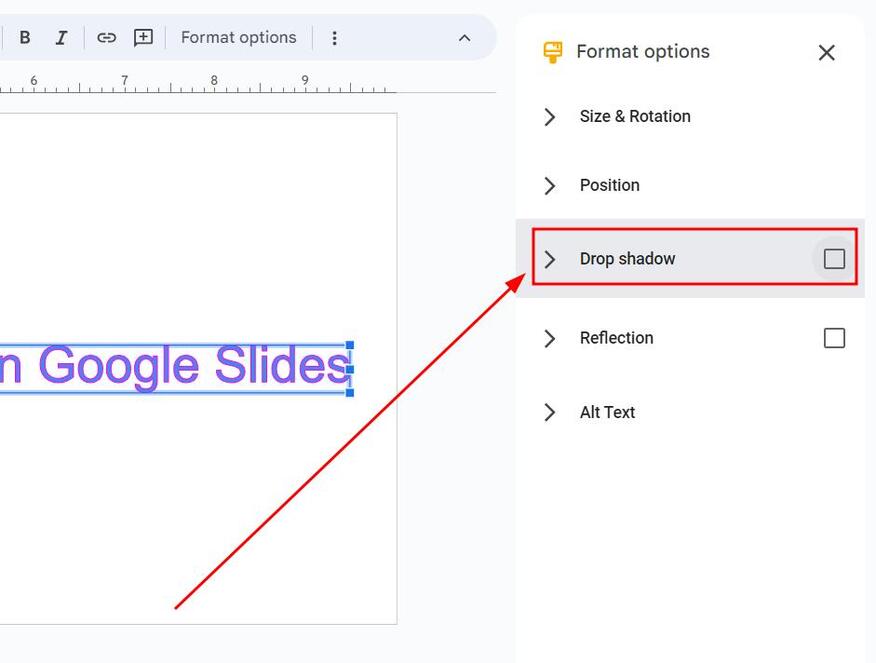
7. Select “Drop Shadow”
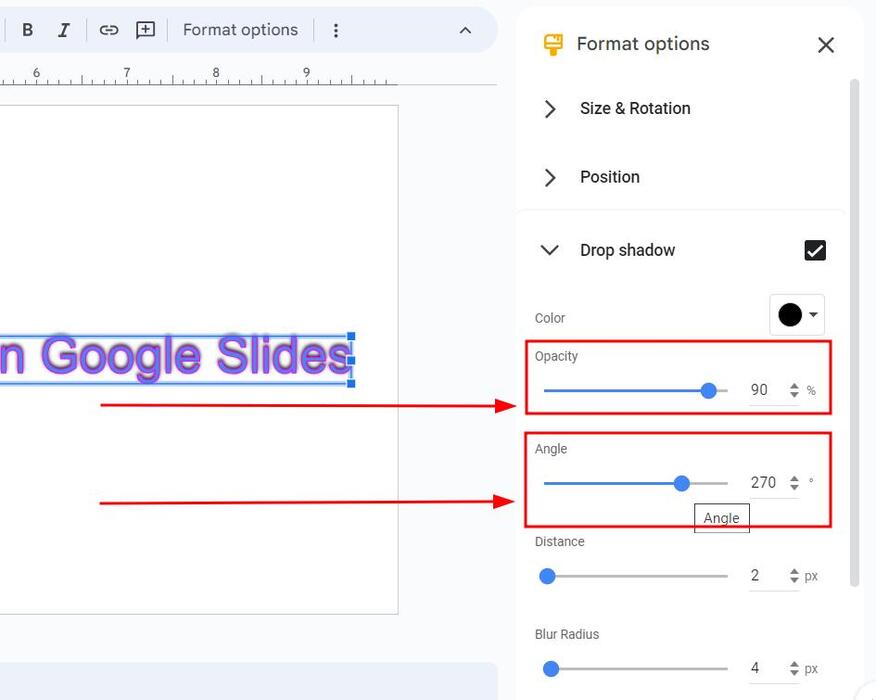
In the sidebar that appears, find and check the box for “Drop shadow.” This will add a shadow effect to your text.
8. Adjust “Opacity” and “Angle” to Enhance Your Text Outline
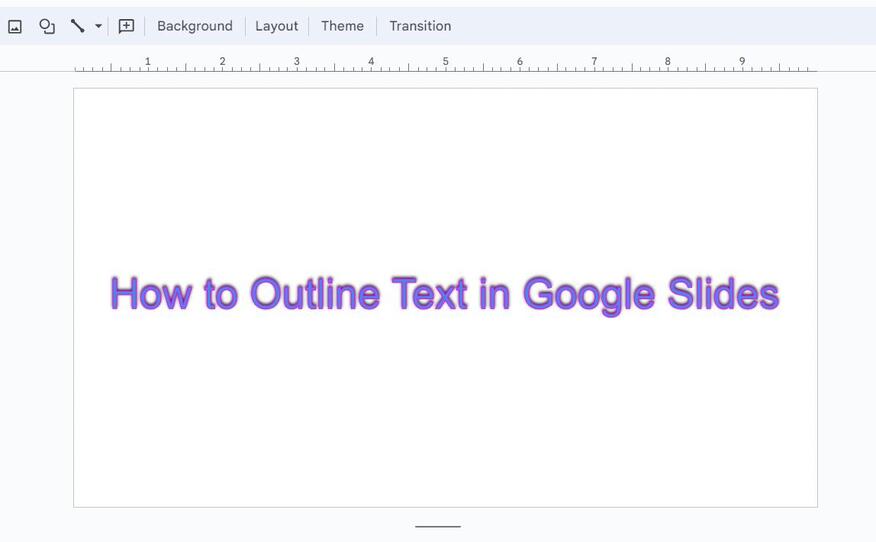
Adjust the “Opacity” and “Angle” by dragging the sliders to achieve your desired effect. Modify these settings until you are satisfied with the appearance of your outlined text.
We hope that you now have a better understanding of how to outline text in Google Slides. If you enjoyed this article, you might also like our articles on how to curve text in Google Slides and how to change text opacity in Google Slides.

