How to Curve Text in Google Slides (Easiest Way in 2024)
In this tutorial, we will show you exactly how to curve text in Google Slides in just a few simple steps. Simply follow the steps below.

How to Curve Text on Google Slides
Currently, Google Slides doesn’t offer a built-in option to curve text. However, you can use PowerPoint to make curved text then transfer it to Google Slides. Here’s how to do it:
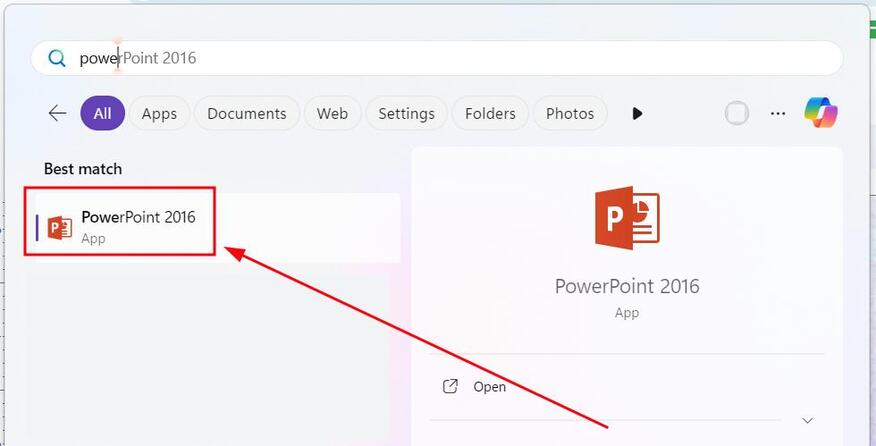
1. First, Open “PowerPoint” to Create Your Curved Text
Start by opening “PowerPoint”. You will use this application to create your curved text since Google Slides does not allow direct text curving.
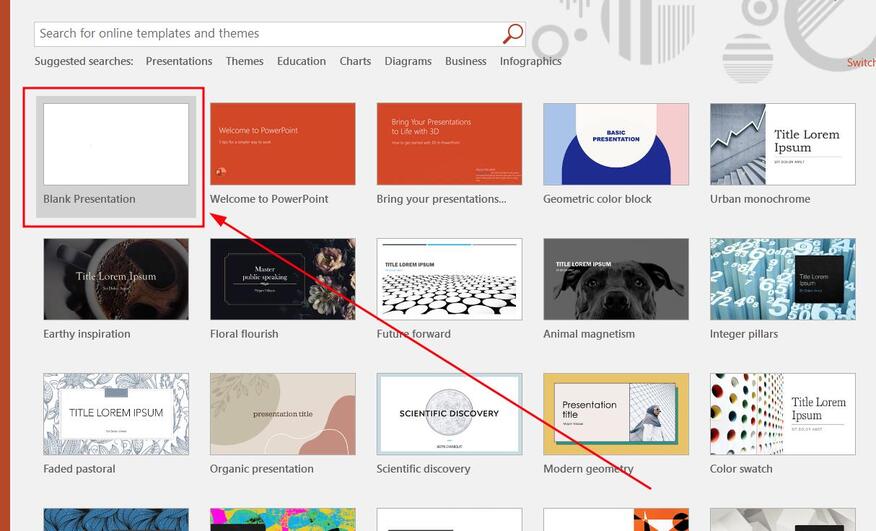
2. Start a “Blank Presentation”
When you open MS PowerPoint, you’ll see a selection of templates. Click on “Blank Presentation” to start with an empty slide.
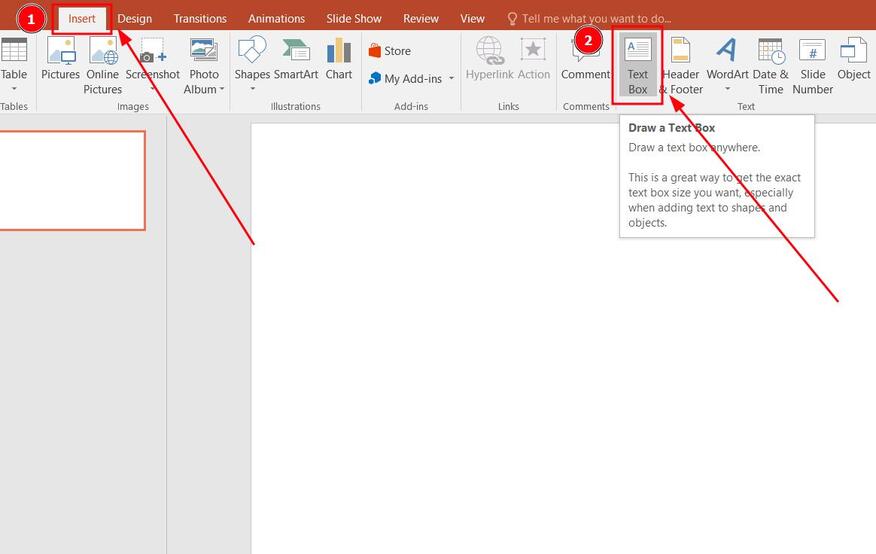
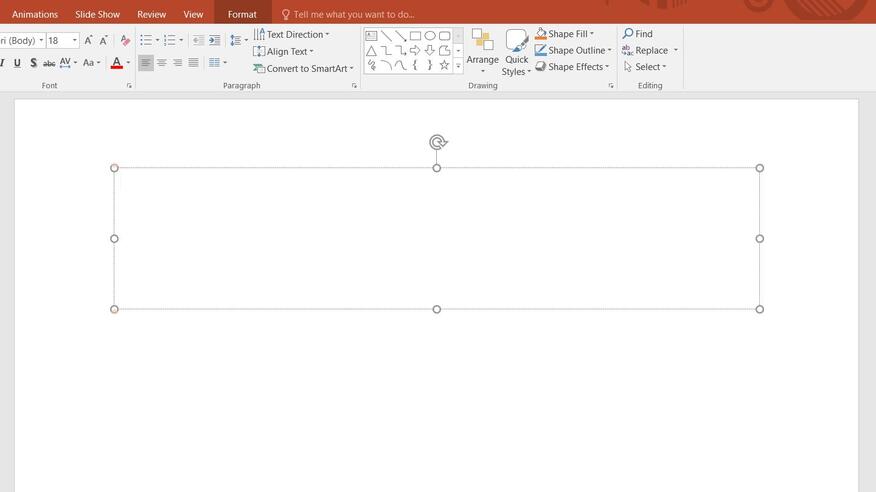
3. Go to the “Insert” Tab and Select “Text Box” to Add Your Text
Go to the “Insert” tab in the top menu, then select “Text Box” from the dropdown.
4. Click and Drag the Mouse to Create a Text Box
Click and drag your mouse on the slide to draw the text box.
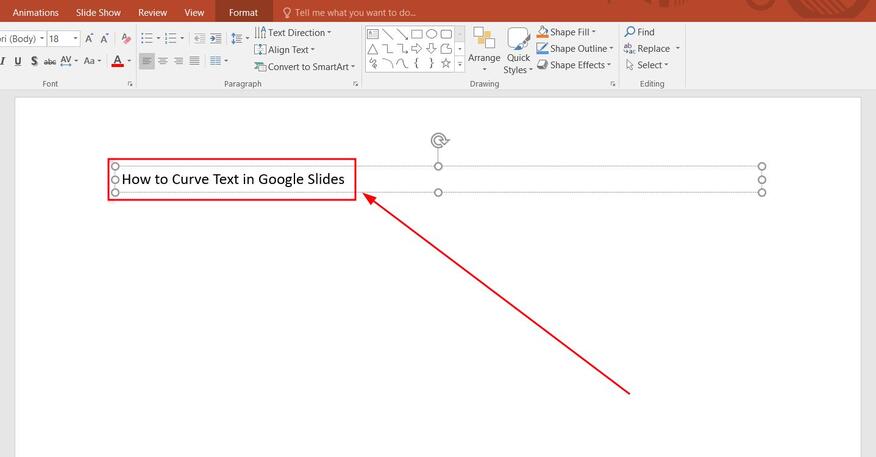
5. Type or Paste What You Want in the Text Box
Enter your desired text inside the text box. This text will be curved later.
6. Adjust the Text Formatting to Your Liking
Before curving the text, feel free to adjust the font size, style, and color as needed.
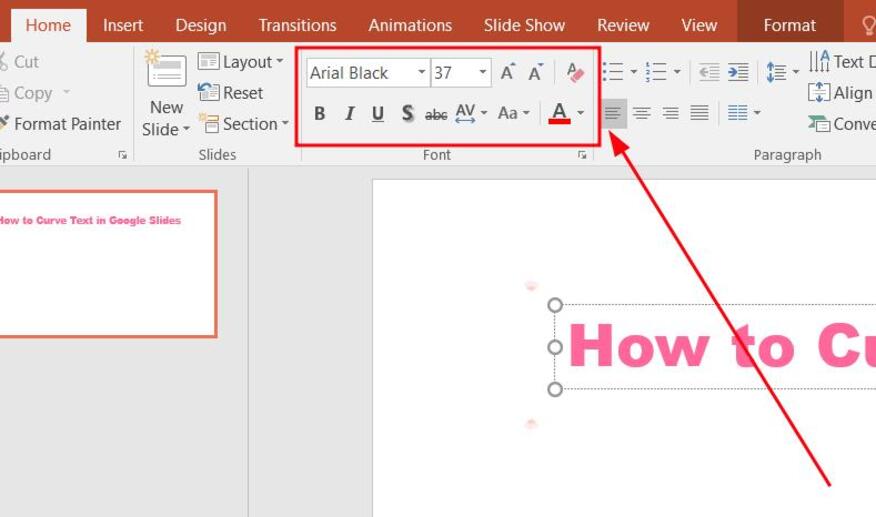
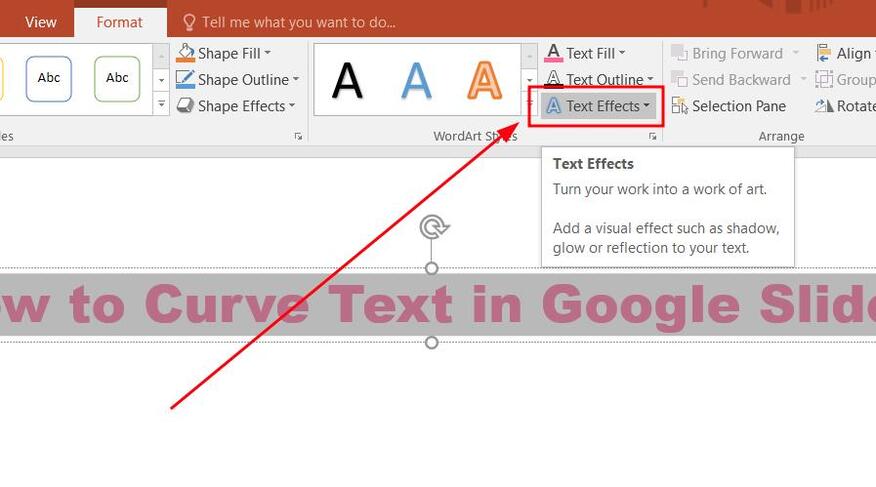
7. Highlight the Text and Go to the “Format” Tab
Select the text by highlighting it, or use “Ctrl + A” to select all text in the box. While the text is highlighted, click on the “Format” tab in the top menu.
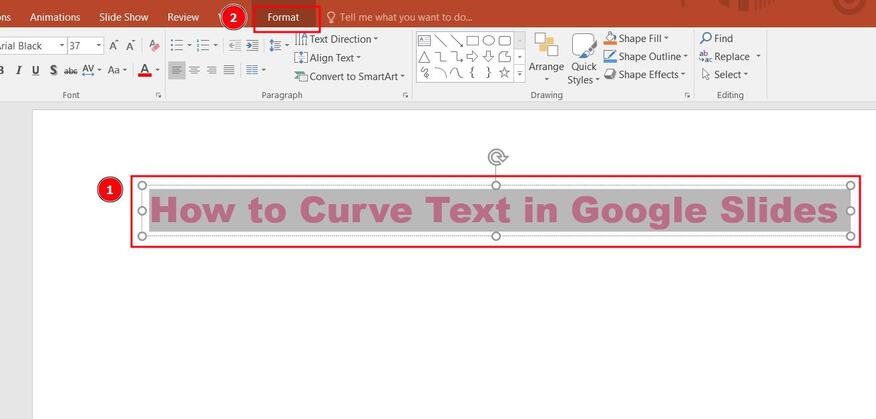
8. Click on “Text Effects“
In the “Format” tab, click on “Text Effects.” This opens a dropdown menu with various text styling options.
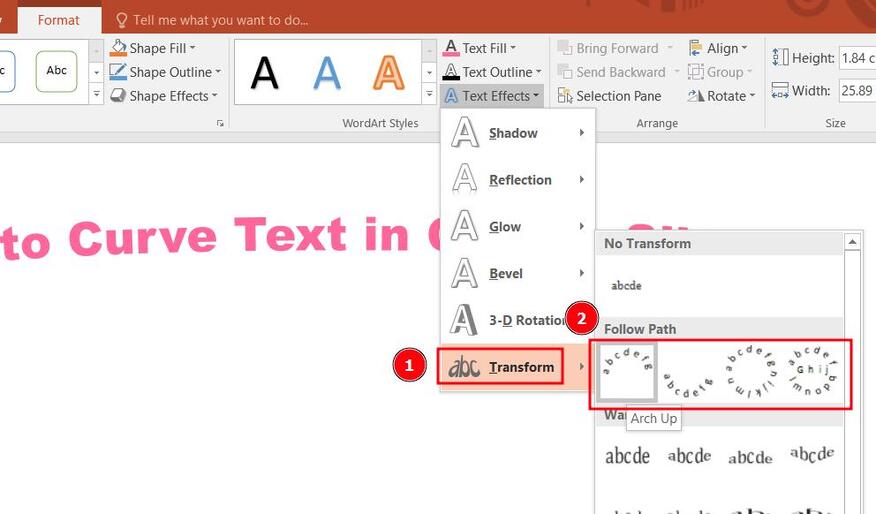
9. Select “Transform” and Choose a Curved Style Under “Follow Path”
In the dropdown menu, hover over “Transform.” Under “Follow Path,” select a curved style that you like.
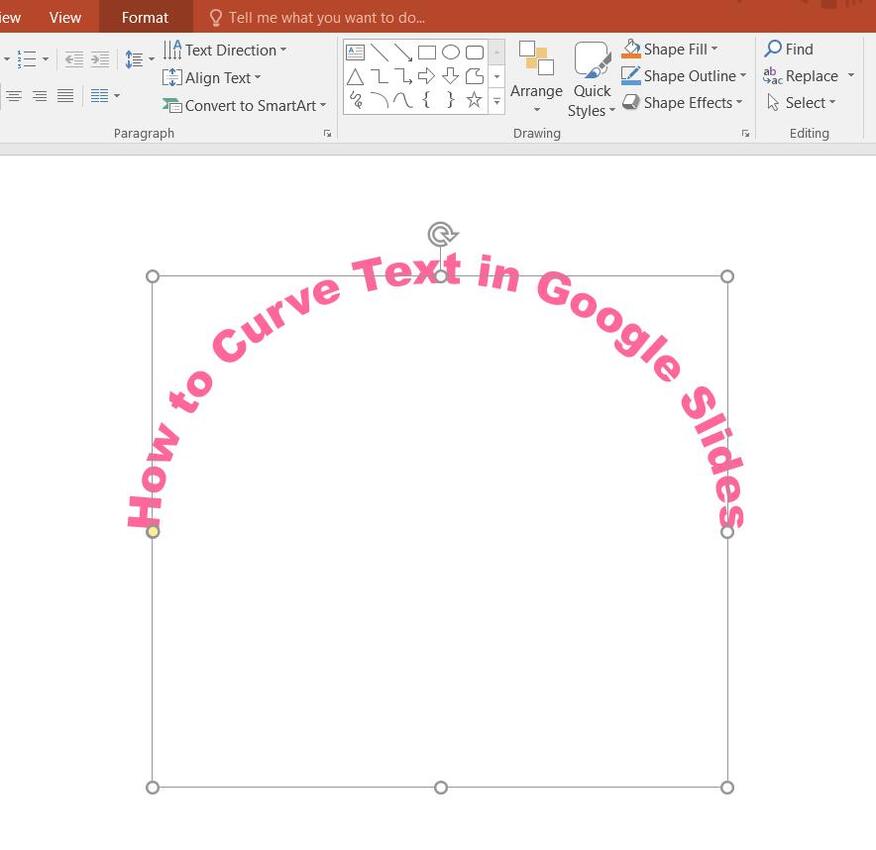
10. Adjust the Curvature of the Text by Resizing the Text Box
After selecting a style, resize the text box to modify the text’s curvature. Click and drag the text box to position it as desired.
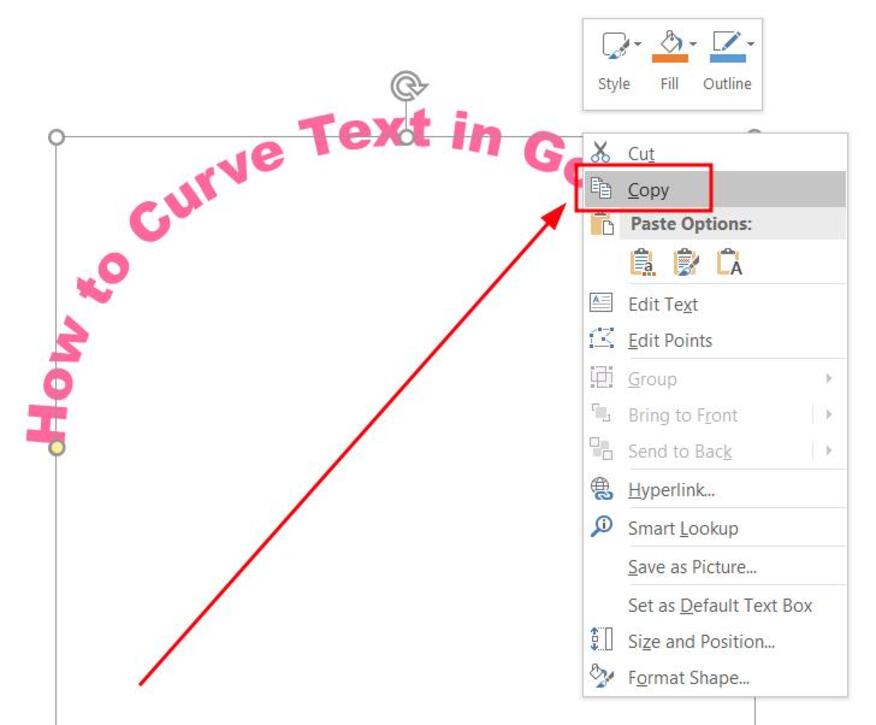
11. Right-Click on the Text Box and Select “Copy”
Right-click the text box and choose “Copy.” This will allow you to paste the curved text into Google Slides.
12. Open Google Slides
Switch to Google Slides and go to the slide where you want to paste the curved text box.
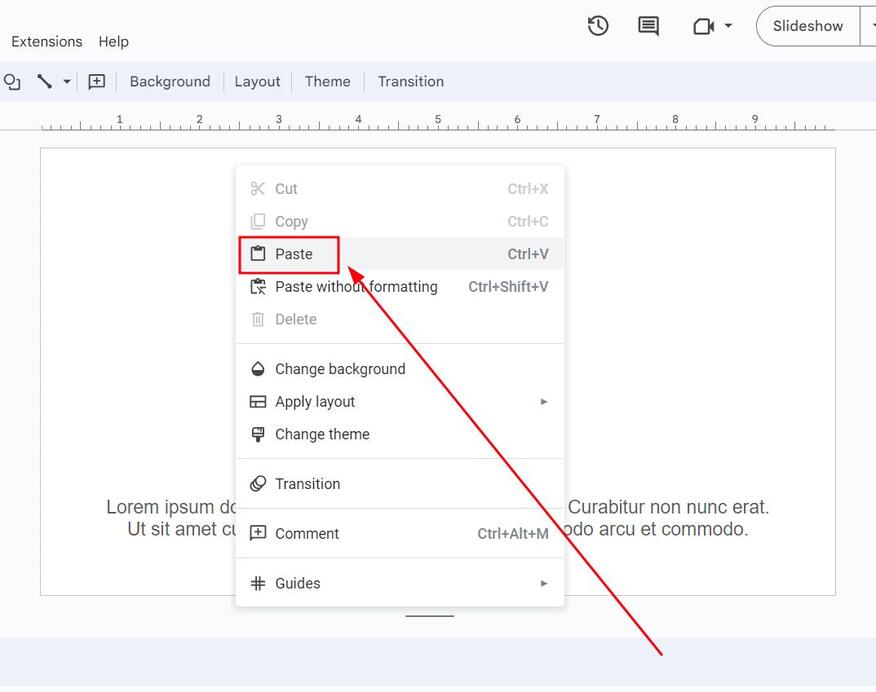
13. Right-Click on the Slide and Select “Paste” or Press “Ctrl + V”
Right-click on the slide and select “Paste,” or press “Ctrl + V” to paste the curved text box from PowerPoint. Note that this will become an image instead of a text box in Google Slides.
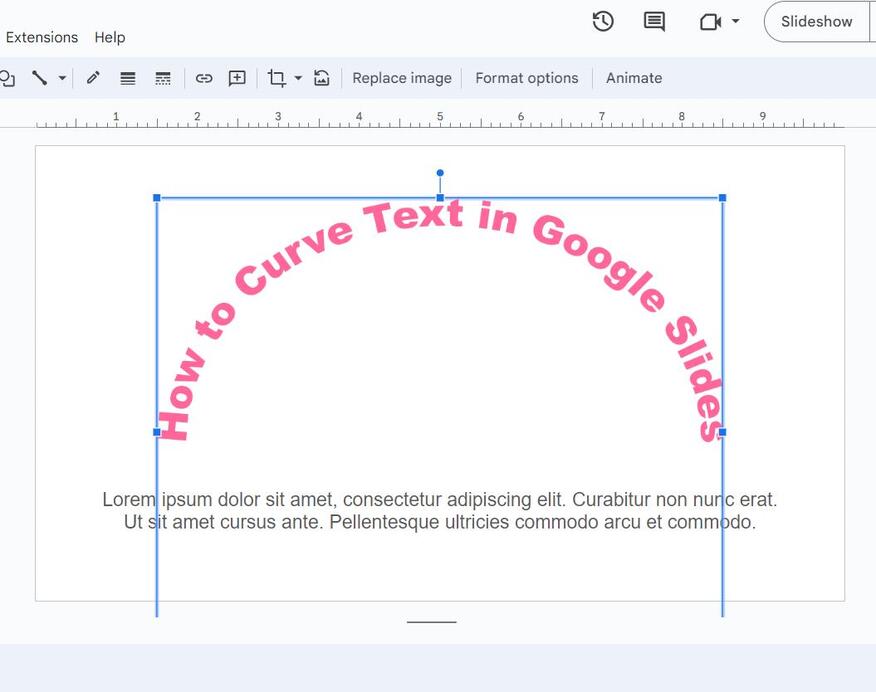
14. Adjust the Size or Position of the Curved Text
Click and drag the pasted image to adjust its size or position on your slide.
We hope that you now have a better understanding of how to curve text in Google Slides. If you enjoyed this article, you might also like our articles on how to turn an image into a circle in Google Slides and how to add an outline to your text in Google Slides.