How to Change Image Opacity in Google Slides (2025 Update)
In this article, we will show you exactly how to change image opacity in Google Slides with just a few simple steps. Simply follow the steps below.

Change the Opacity of an Image in Google Slides
Follow the steps below to learn how to change the image opacity in Google Slides.
1. Select the Image You Want to Change the Opacity For
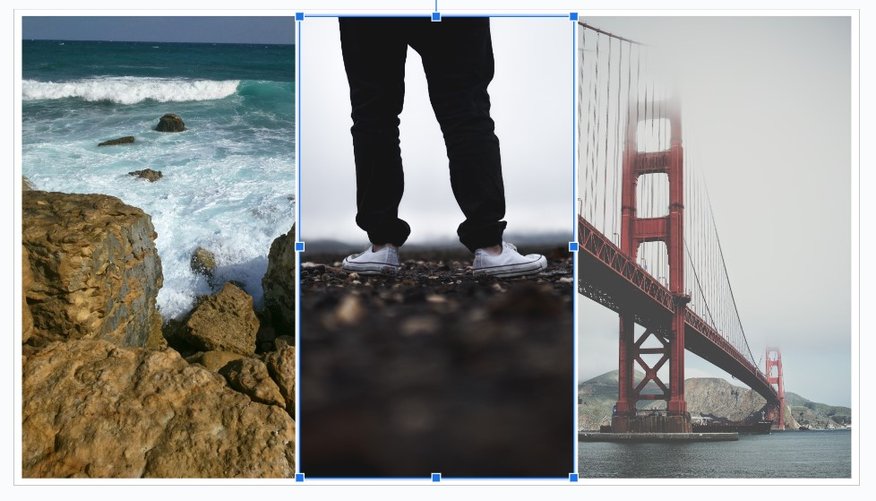
Click on the image in your Google Slides presentation that you want to adjust the transparency of. Make sure the image is highlighted so you can modify it.
2. Open the Format Options Panel from the Toolbar
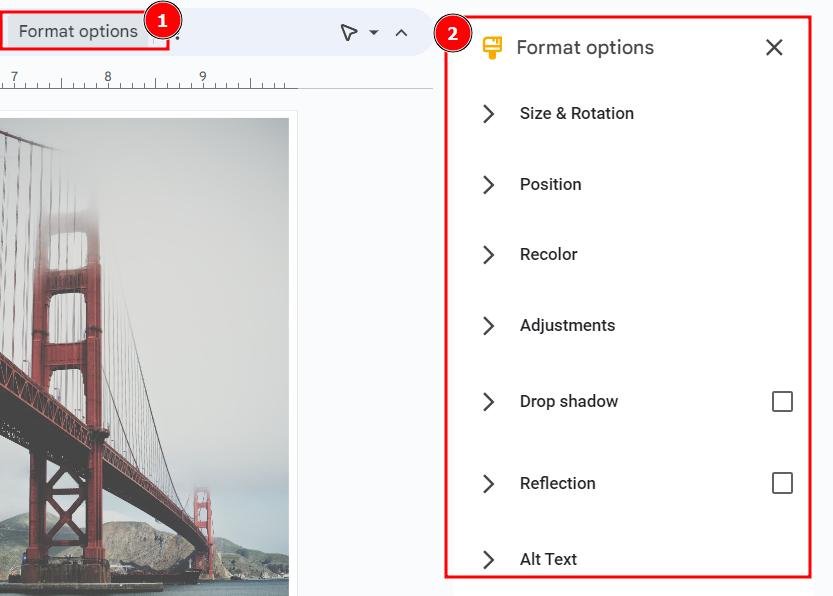
Once the image is selected, find and click on Format options in the toolbar at the top. This action will open a panel on the right where you can make adjustments.
3. Scroll to the Adjustments Section in the Format Options Panel
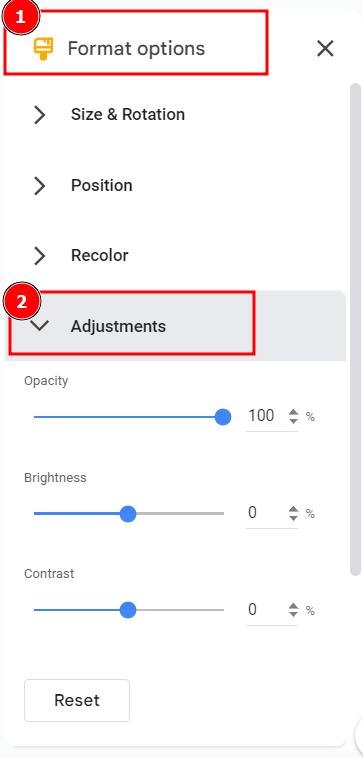
In the Format Options panel that appears on the right side, scroll down until you reach the Adjustments section. This section contains the transparency controls.
4. Use the Opacity Slider to Adjust Image Opacity
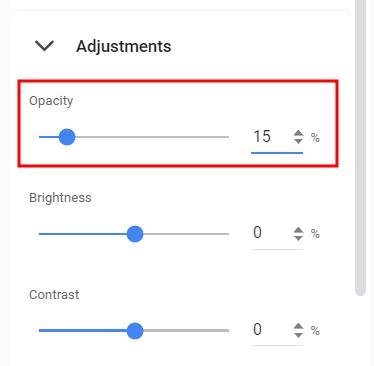
Within the Adjustments section, find the Opacity slider. Drag the slider to the left to reduce opacity and make the image more transparent, or to the right to increase opacity and make it more solid.
5. Check the Slide to See the Opacity Change
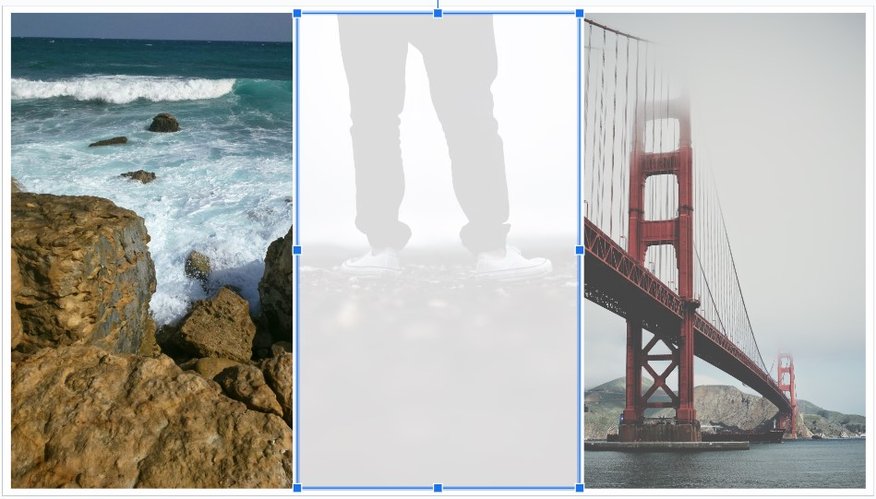
As you adjust the opacity slider, the changes will reflect instantly on your slide. Continue adjusting until the image opacity meets your needs.
We hope that you now have a better understanding of how to modify the opacity of an image in Google Slides. If you enjoyed this article, you might also like our articles on how to merge images in Google Slides and how to change the image shape in Google Slides.