How to Use the Laser Pointer in Google Slides (2024 Update)
In this tutorial, we will show you exactly how to get a laser pointer in Google Slides. Simply follow the steps below.
How to Use the Pointer in Google Slides
Follow the steps below to learn how to get laser pointer in Google Slides.
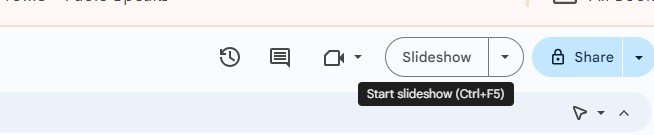
1. Click the Slideshow Button to Enter Presentation Mode
This is the first step to using the laser pointer. You need to be in full-screen presentation mode to access the laser pointer feature.
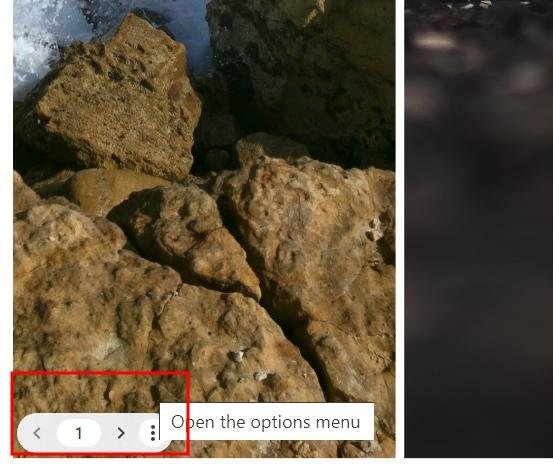
2. Move Your Mouse to the Bottom-Left to Reveal the Toolbar
Hover your mouse toward the bottom-left of the screen. This will make the toolbar with the laser pointer icon visible.
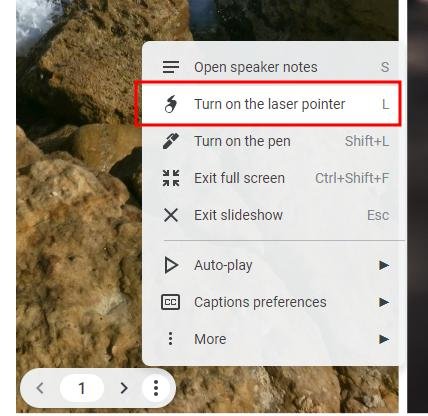
3. Click the Laser Pointer Icon From the Toolbar
Find the Turn on the laser pointer option on the toolbar that appears. Click it to activate the laser pointer function.
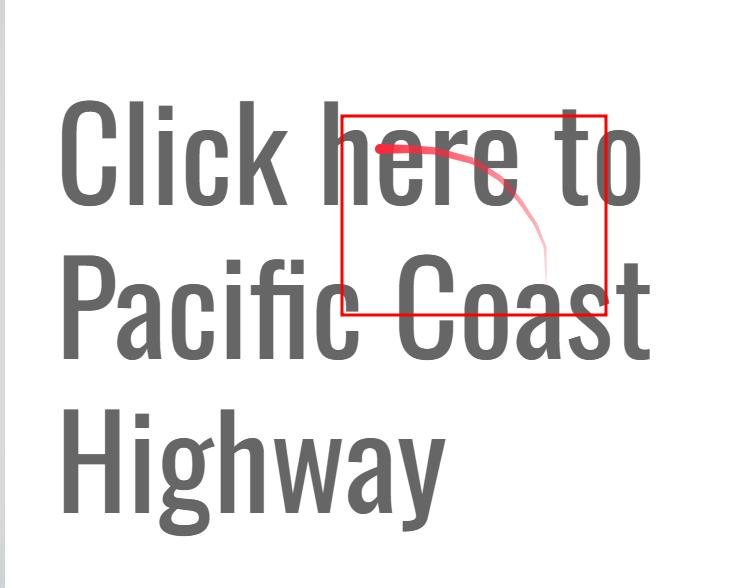
4. Move the Mouse to Highlight Points With the Laser Pointer
Once the laser pointer is active, move your mouse to highlight different parts of your slide. The laser dot will follow your cursor.
5. Turn off the Laser Pointer or Exit Presentation Mode
To stop using the laser pointer, click the icon again or press the Esc key to exit full-screen mode.
Tip: Press the L key while in presentation mode to quickly activate the laser pointer without using the toolbar.
We hope you now know how to use the laser pointer in Google Slides. If you enjoyed this article, you might also like our articles on how to make slides transition automatically in Google Slides and how to add exponents in Google Slides.