How to Make a Collage on Google Slides (Easiest Way in 2024)
In this tutorial, we will show you exactly how to create a collage on Google Slides presentation. Simply follow the steps below.

How to Make a Collage in Google Slides
You can make a collage in Google Slides using built-in tools by manually adding and putting your pictures together. Follow the steps below to create a collage on Google Slides presentation.
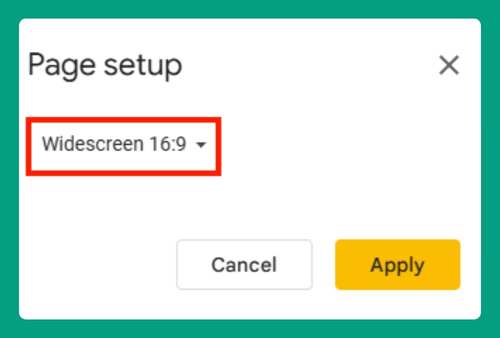
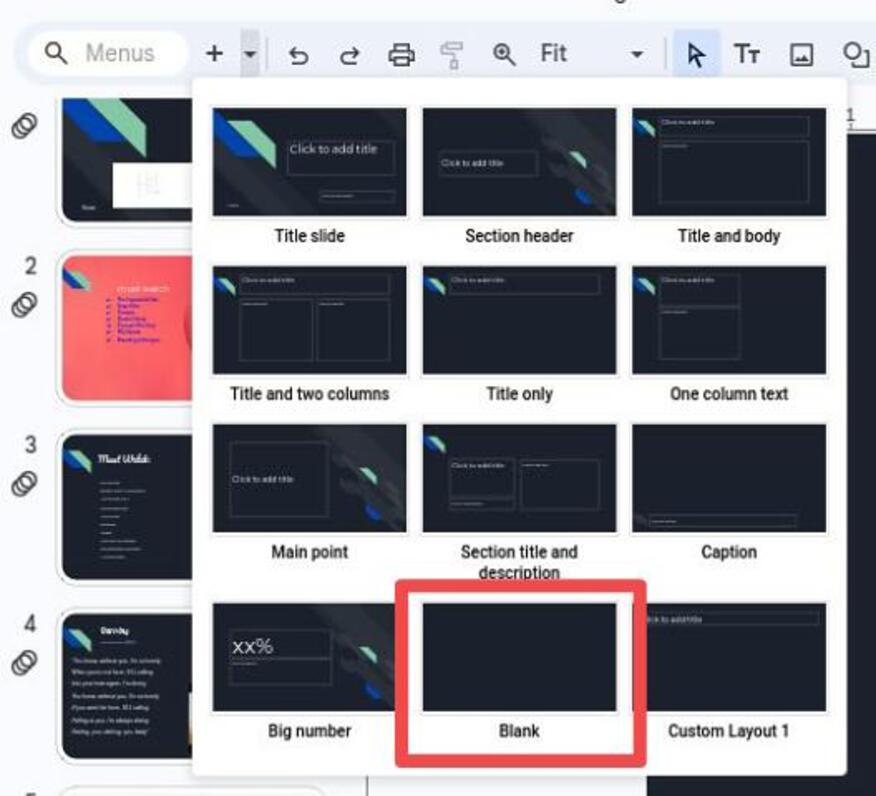
1. Select a Blank Slide Layout
Since you’re already on a blank presentation, there’s no need to change the layout. You start with a clean slide, which is perfect for your collage.
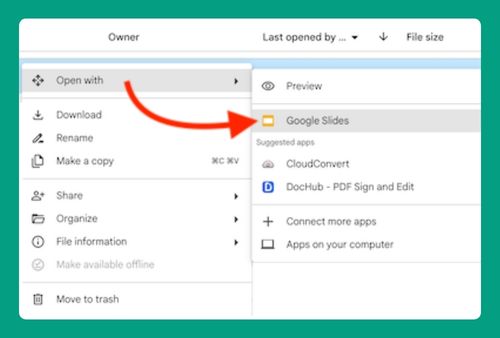
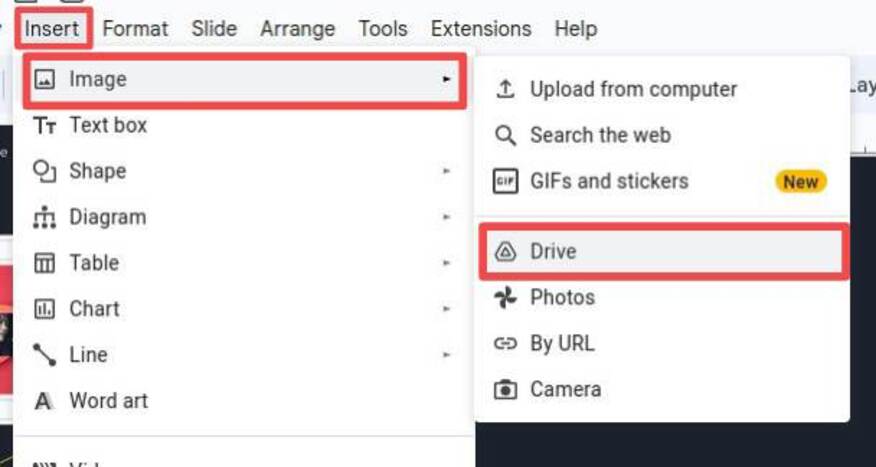
2. Insert Your Images
Click on “Insert” in the top menu, then select “Image.” You can upload your pictures from your computer, search the web, or choose other sources like Google Drive.
3. Resize and Arrange Your Images
Once your images are added, click on each one to resize it. Drag the corners to adjust the size. Then, move them around the slide to fit them in your desired layout.

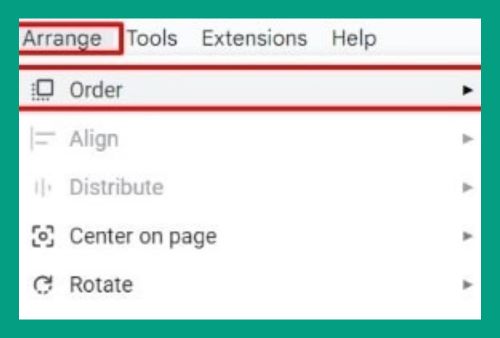
4. Layer Images to Create Depth
To layer your images, right-click on one, select “Order,” and choose “Bring forward.” This will let you stack the images on top of each other.

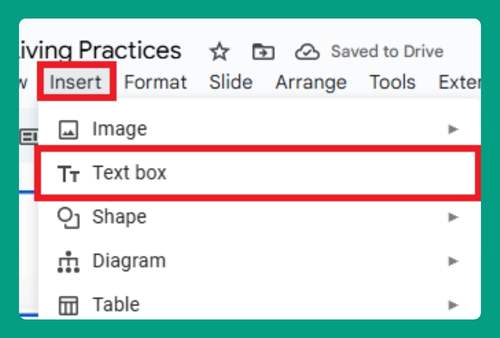
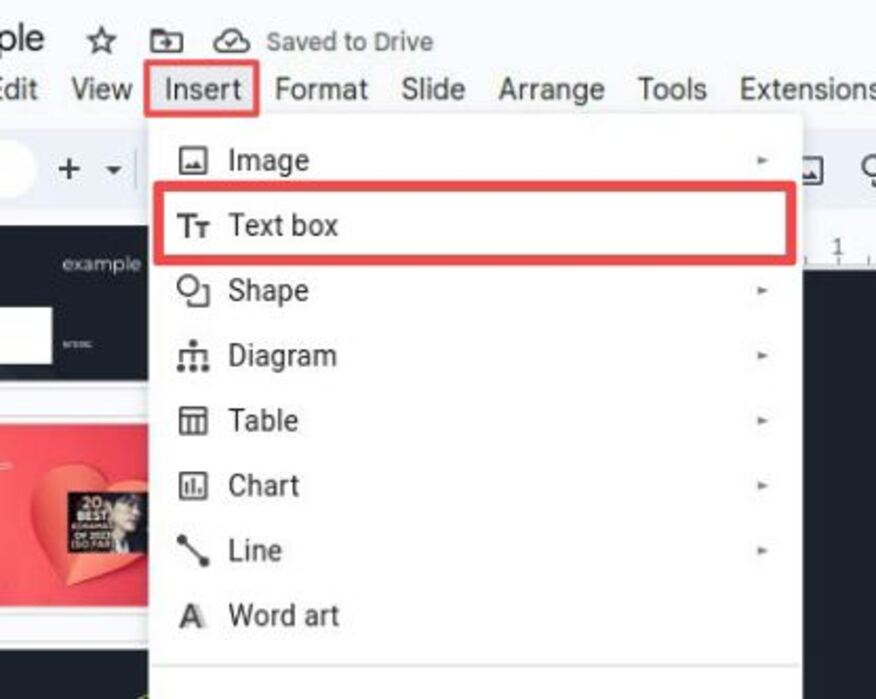
5. Add Text or Shapes to Enhance Your Collage
To add text or shapes, click on “Insert” and select “Text box” or “Shape.” Use this to add labels, captions, or decorative elements to your collage.
6. Align and Position Elements
For a neat arrangement, use alignment tools. Click on the image or text, and use the toolbar options to align them to the left, center, or right of the slide.

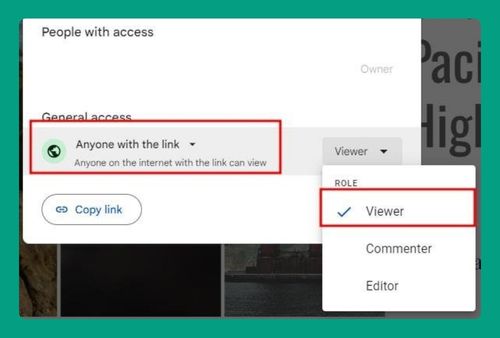
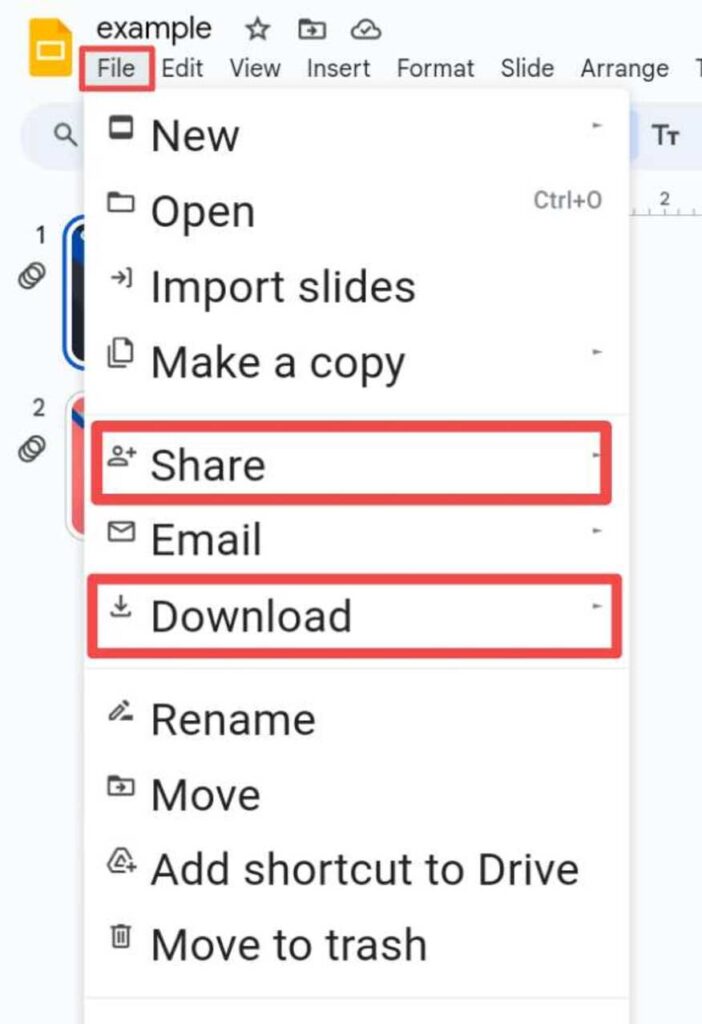
7. Save or Share Your Collage
When you’re done, save your work by clicking on “File” and selecting “Download.” To share it, click on the “Share” button in the top right corner and choose your sharing options.
We hope you now know how to make your own collage in Google Slides. If you enjoyed this article, you might also enjoy the following articles: