How to Add Stickers to Google Slides (Easiest Way in 2025)
In this article, we will show you how to add stickers to Google Slides. Simply follow the steps below.

Add Stickers to Google Slides
Here’s how you can insert stickers to Google Slides:
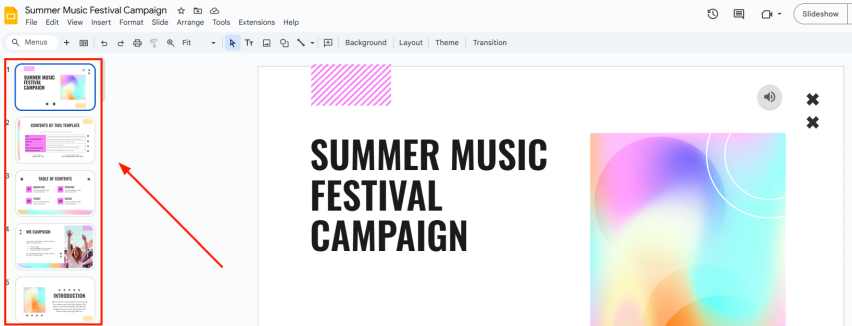
1. Choose the Slide Where You Want to Add a Sticker
Scroll through your presentation and click on the slide where you want to place the sticker. Ensure the slide’s content is appropriate for adding graphical elements like stickers.
2. Go to the Insert Menu to Add an Image
In your Google Slides toolbar, click on the “Insert” option. A drop-down menu will appear; here, click on “Image” to bring up options for how to upload or find your sticker.

3. Use the Image Search to Find Stickers
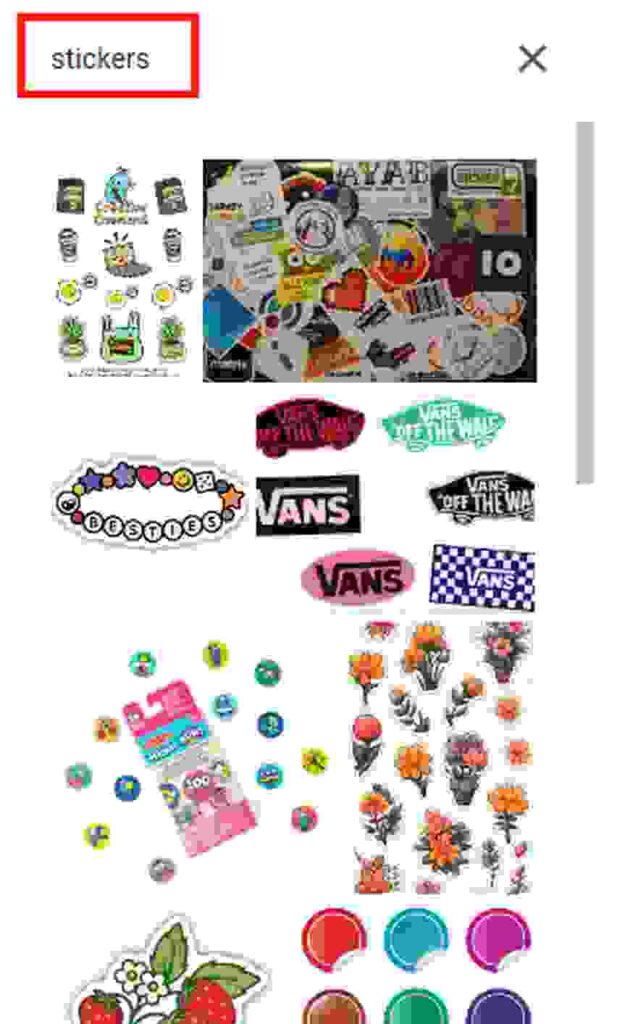
If you select “Search the web” from the image options, a sidebar will open on the right.

Type “stickers” into the search bar and press Enter. A variety of sticker images will appear; browse through these to find one you like.
4. Insert the Chosen Sticker into Your Slide
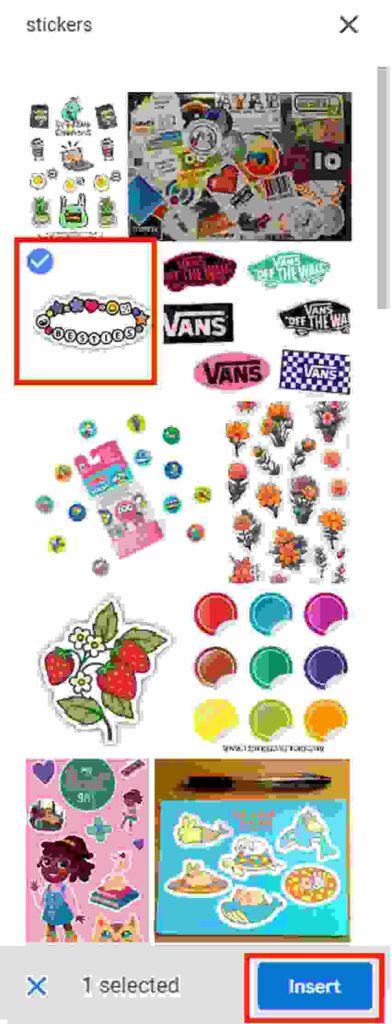
Click on the sticker you wish to use. A blue border will appear around your selection. Then, click the “Insert” button at the bottom of the sidebar to add the sticker to your slide.
5. Adjust the Sticker’s Position and Size on Your Slide
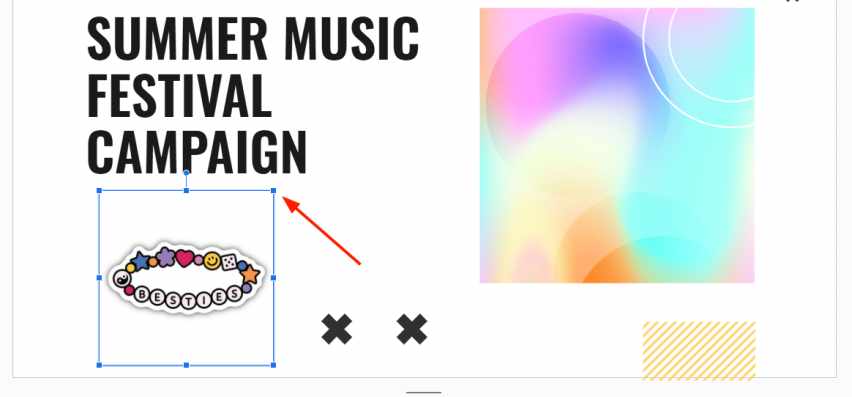
To move your sticker, click and hold it, then drag it to the desired position on the slide. To resize it, click the sticker to show resizing handles at the corners, then click and drag these handles to enlarge or reduce the sticker’s size.
We hope that you now have a better understanding of adding stickers to Google Slides. If you enjoyed this article, you might also like our articles on how to email Google Slides and how to add accents in Google Slides.

