How to Make a Timeline on Google Slides (Easiest Way in 2024)
In this article, we will show you exactly how to make a timeline on Google Slides in just a few simple steps. Simply follow the steps below.

How to Create a Timeline on Google Slides
You can create a timeline on Google Slides in two ways: either by manually using shapes and text or by utilizing the built-in diagram tool.
Method 1: Create a Timeline Using Shapes and Text
Follow these steps to manually create a timeline by inserting shapes and text into your Google Slides presentation:
1. Draw a Horizontal Line for the Timeline
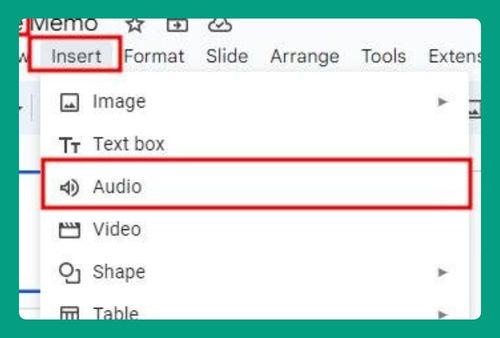
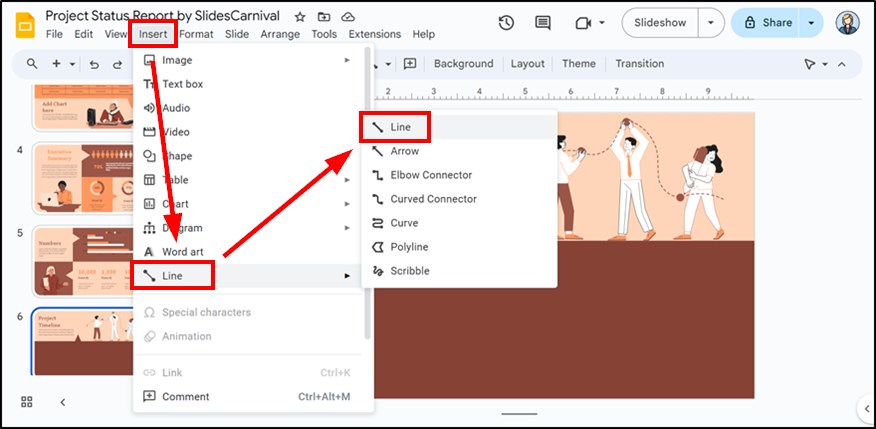
Go to “Insert” in the menu, select “Line” from the options and choose the type of line you want to use. Draw a straight horizontal line across your slide. This will serve as the foundation for your timeline.
2. Add Shapes for Each Event on the Timeline
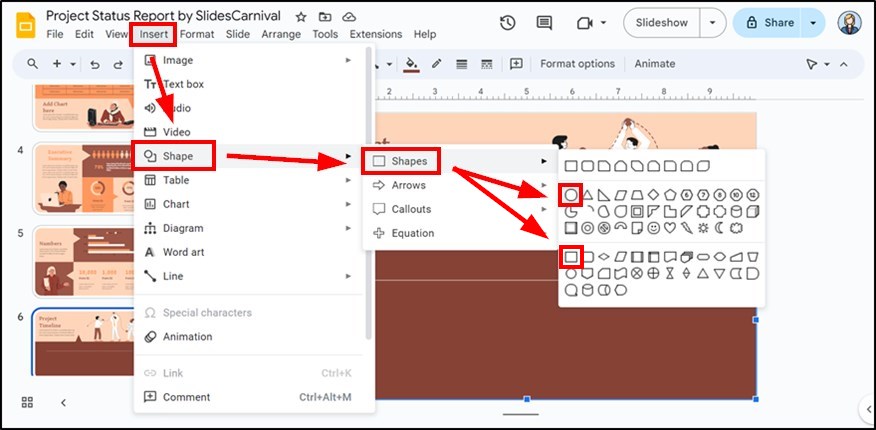
Go to “Insert,” select “Shape,” and then choose “Shapes” again. Choose shapes like circles and rounded rectangles to represent each event on your timeline. Place these shapes along the horizontal line to mark each event.
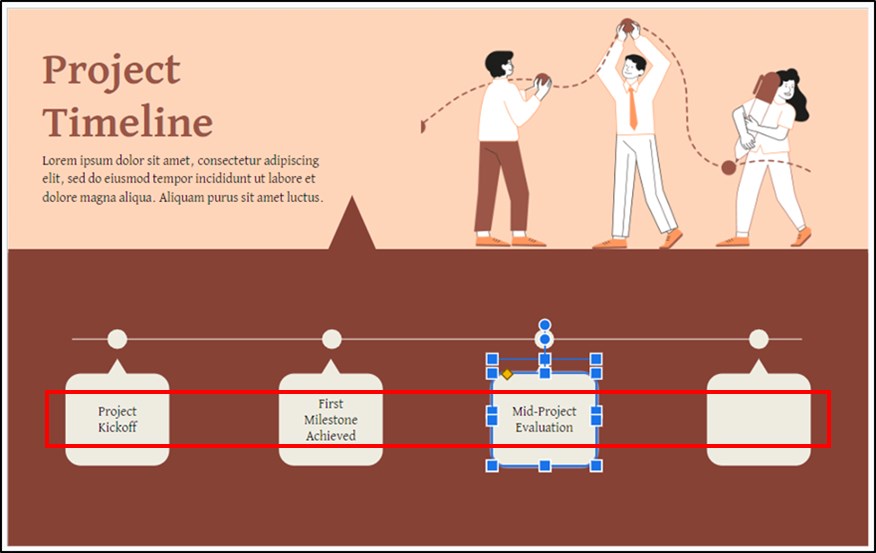
3. Label Each Event with a Title or Description
Double-click on each shape to add text for the event title or description. This helps viewers understand the significance of each point on the timeline.
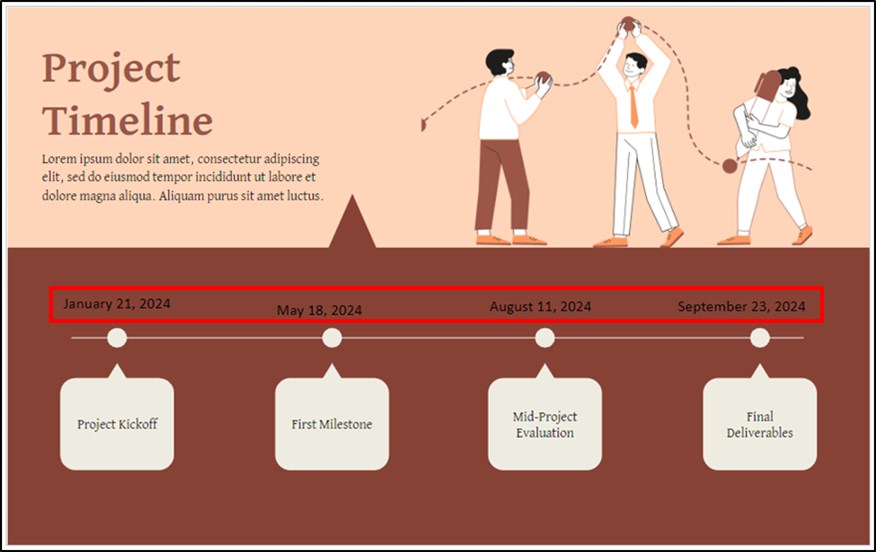
4. Add Dates or Time Periods for Each Event
Insert a text box below or above each event shape to add the date or time period for each event. This shows the timeline’s chronological order.
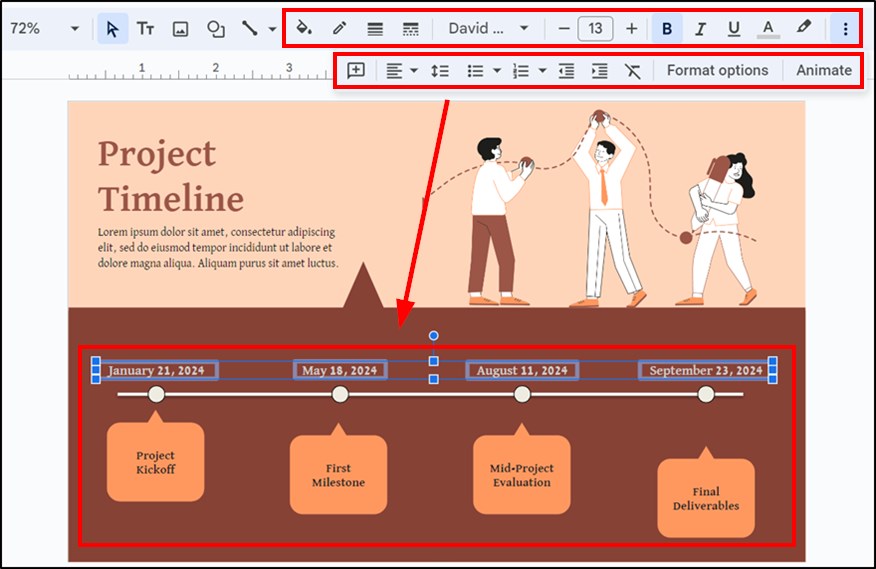
5. Customize Colors, Fonts, and Sizes for Visual Appeal
Click on the line and shapes to change their colors, sizes, and fonts. Make sure the design aligns with your presentation theme.
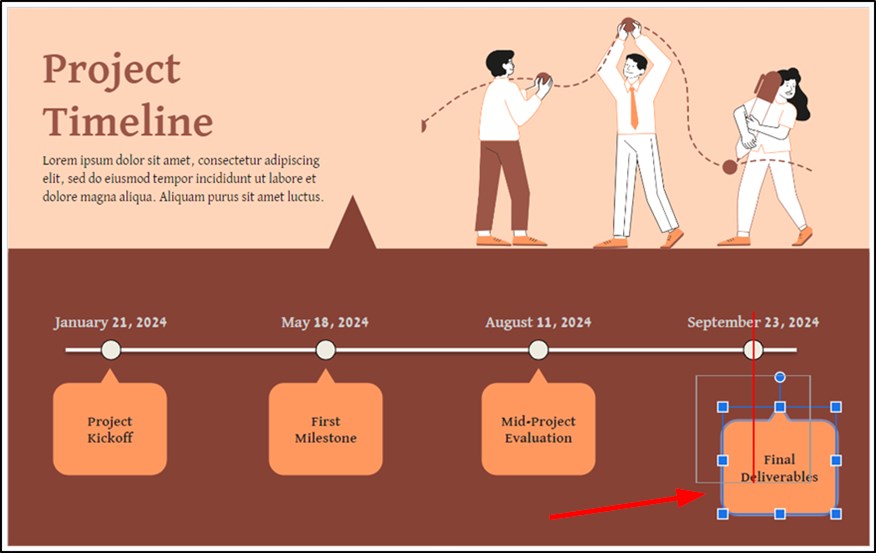
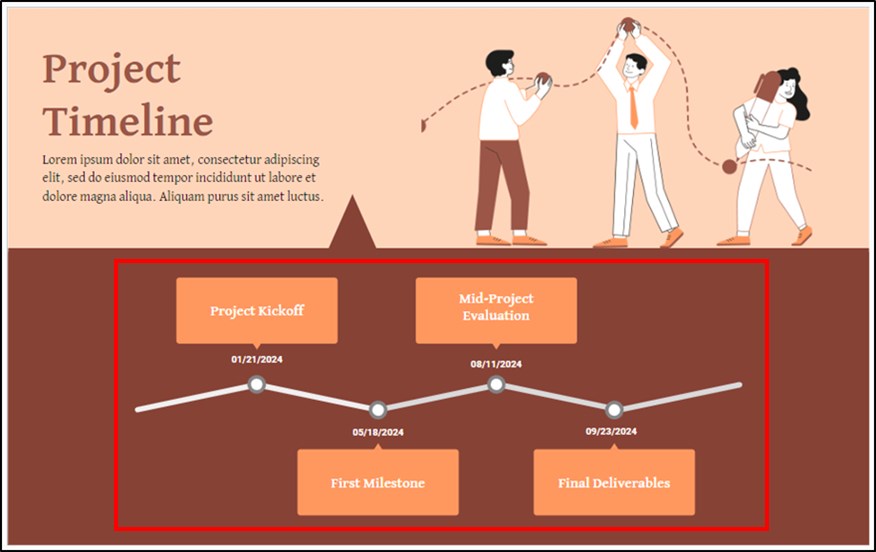
6. Adjust the Layout for Neat Alignment
Move the shapes and text around to ensure they are evenly spaced and aligned. This makes the timeline clear and easy to read.
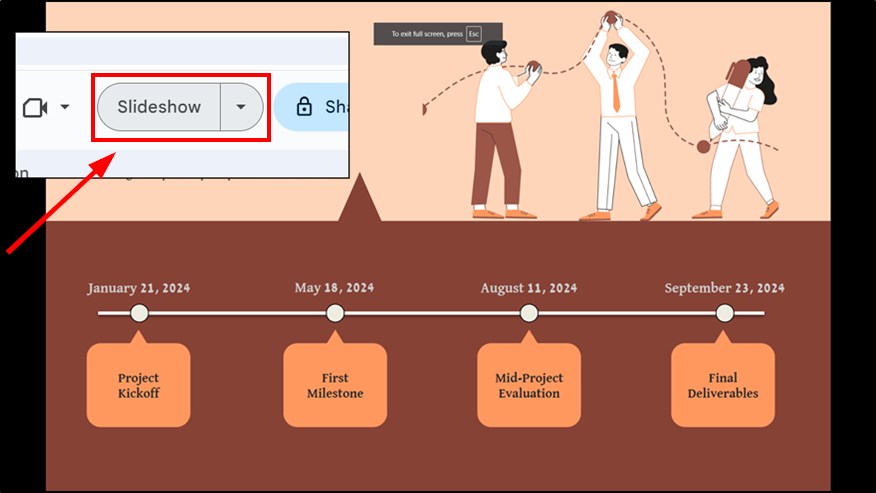
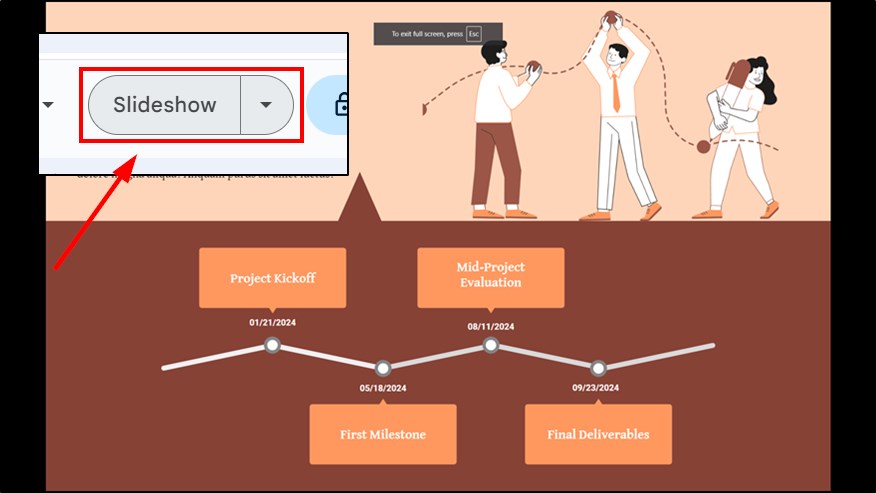
7. Preview the Timeline to Check for Errors
Click “Slideshow” to preview the slide and check for any errors in alignment or spacing. Make final adjustments if necessary.
Method 2: Create a Timeline Using the Diagram Tool
Use these instructions to quickly generate a timeline using Google Slides’ built-in Diagram tool:
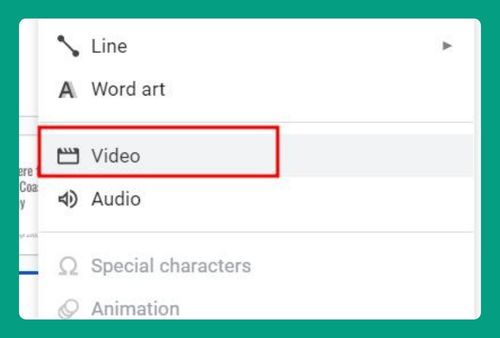
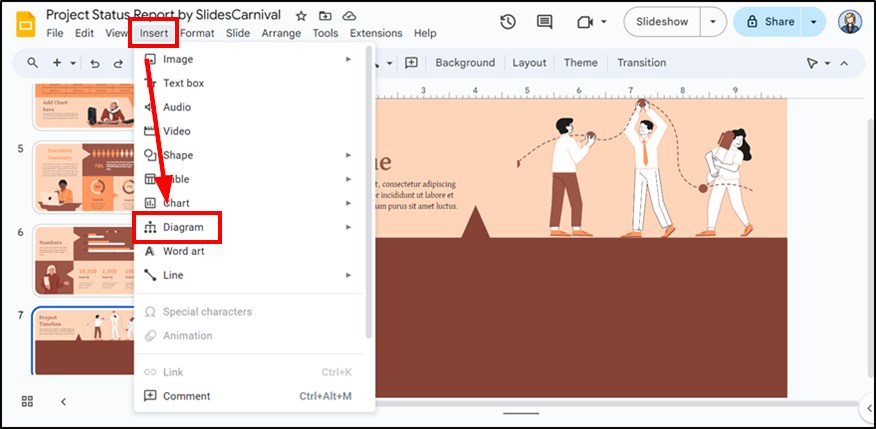
1. Open the Insert Menu and Select Diagram
Go to the “Insert” menu at the top, and click on “Diagram.” This brings up several diagram options.
2. Choose the Timeline Diagram
From the diagram options, select “Timeline.” A panel with various timeline templates will appear on the right.
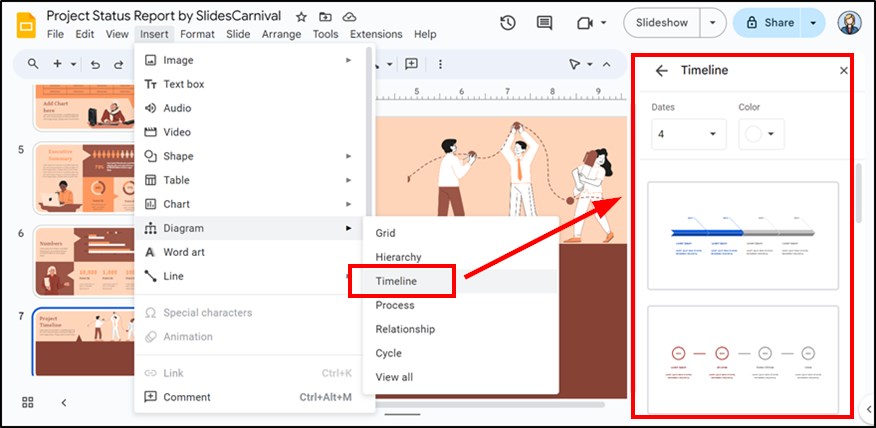
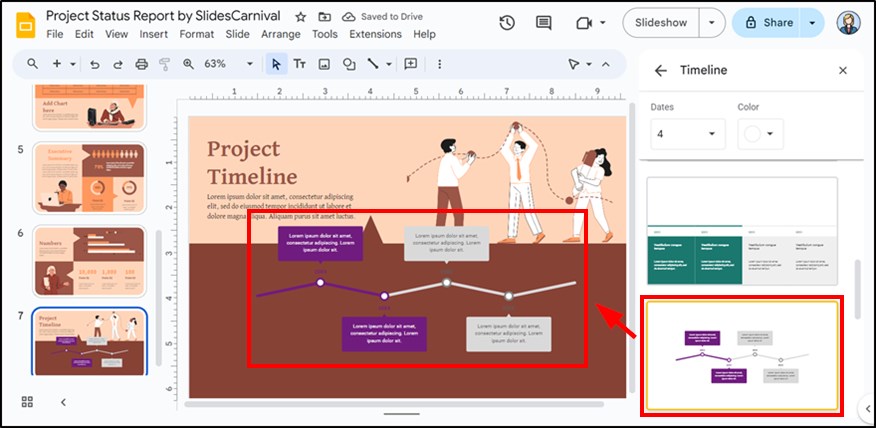
3. Select a Timeline Template
Choose a template that best suits your presentation from the timeline options. These templates come with predefined events and spacing.
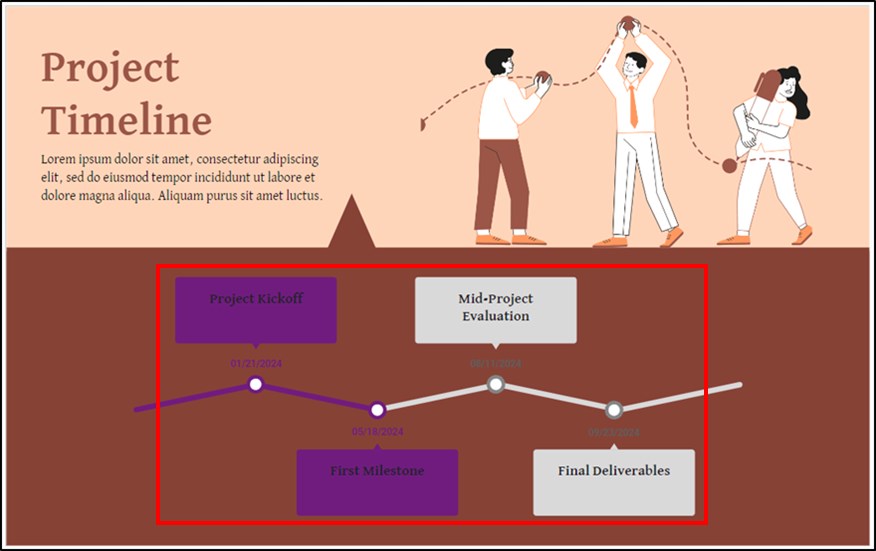
4. Modify the Titles, Dates, and Descriptions
Click on each text box within the timeline to edit the event title, description, and date. Customize these according to your presentation’s content.
5. Customize Colors and Styles
Change the colors, fonts, and styles of the timeline by selecting elements and adjusting them in the toolbar or using the right-side panel.
6. Review and Adjust the Layout
Preview the timeline using the “Slideshow” button. Ensure that all text and events are aligned and clearly visible.
We hope that you now have a better understanding of how to create a timeline in Google Slides. If you enjoyed this article, you might also like our articles on how to insert a timer into Google Slides and how to edit the master slide in Google Slides.