How to Make a Dotted Line in Google Slides (Easiest Way in 2024)
In this tutorial, we will show you exactly how to make dotted lines in Google Slides. Simply follow the steps below.

Make a Dotted Line in Google Slides
Follow the steps below to make dotted lines in Google Slides:
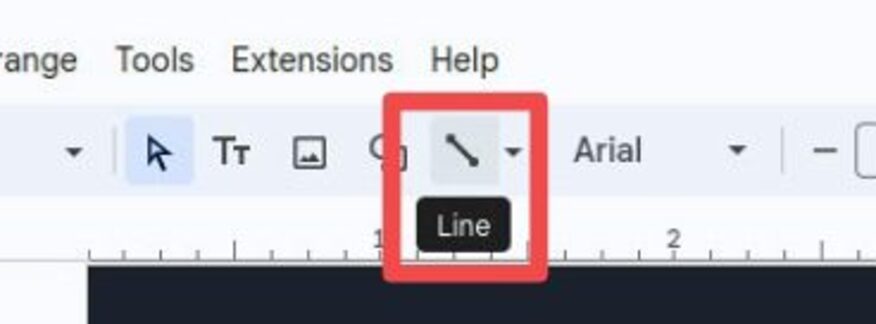
1. Select the Line Tool
To create a dotted line, you need to use the line tool. In Google Slides, this is easy to find. Look for the toolbar at the top of the screen. Click on the “Line” option, which lets you draw different types of lines on your slide.
2. Draw the Line on the Slide
Once you’ve selected the line tool, you can draw the line. Click anywhere on your slide and drag your mouse to create a straight line. If you want it perfectly horizontal or vertical, hold down the “Shift” key while dragging. This makes it easier to align.

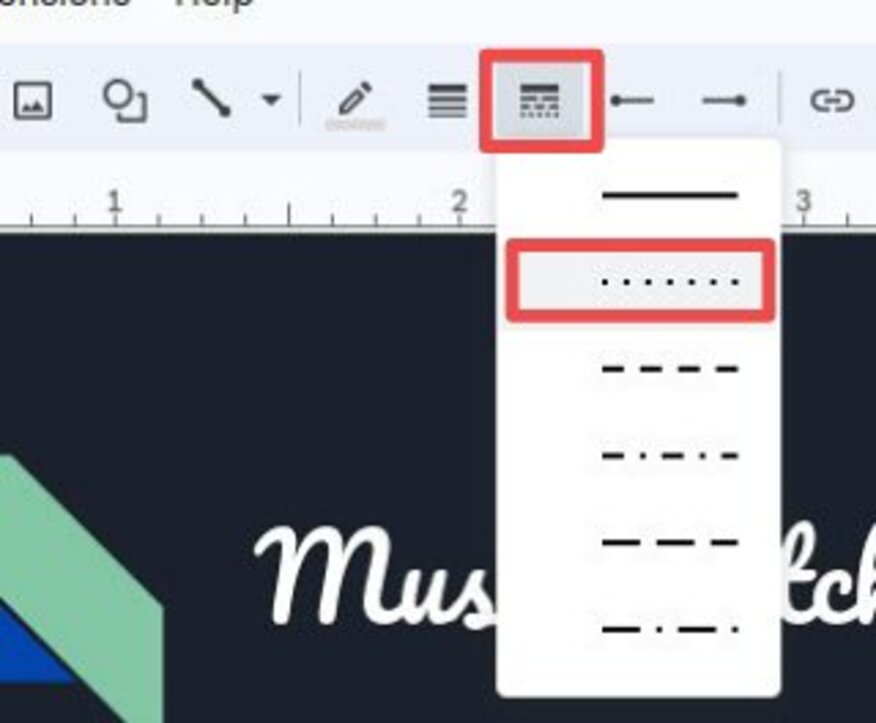
3. Change the Line to a Dotted Style
After drawing the line, you’ll want to change its appearance to dotted. Select the line by clicking on it. Then, go to the toolbar again and find the “Line dash” option. From the dropdown menu, select the dotted line style to transform your solid line.
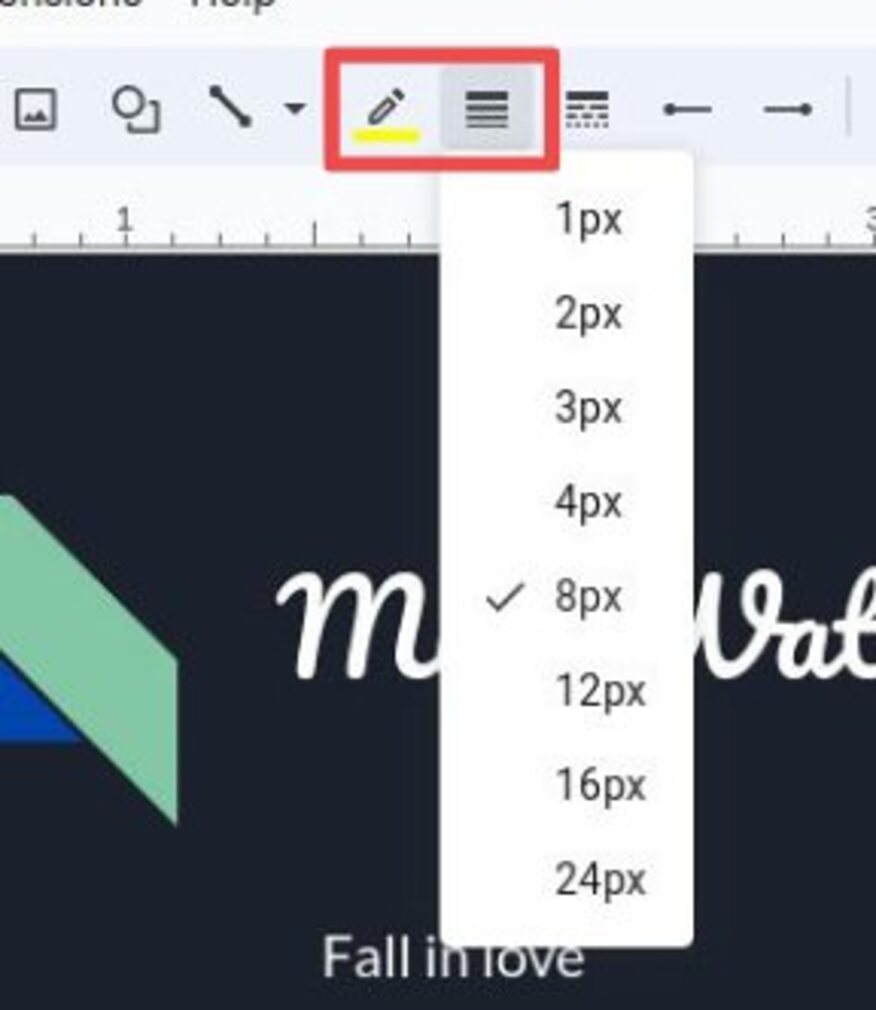
4. Modify the Line’s Thickness and Color
To make the dotted line more visible or match your design, you can adjust its thickness and color. With the line still selected, look at the toolbar for the “Line weight” and “Color” options. Here, you can increase or decrease the line’s thickness and pick a color that fits your slide.
5. Position the Dotted Line
Finally, position the dotted line where you want it on the slide. Click and drag the line to move it. If you need precise alignment, use the alignment tools or grid lines to ensure the line is placed exactly where it should be.

We hope you now know how to insert a dotted line in Google Slides. If you enjoyed this article, you might also enjoy the following articles: