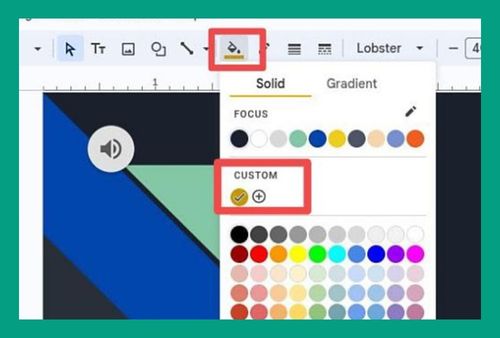
Eyedropper in Google Slides (The Ultimate Guide for 2025)
In this article, we will show you how to use the eyedropper feature in Google Slides. Simply follow the steps below.

How to Use the Eyedropper in Google Slides
Follow the steps below to use the eyedropper feature on Google Slides.
1. Click on the Object to Change Its Color
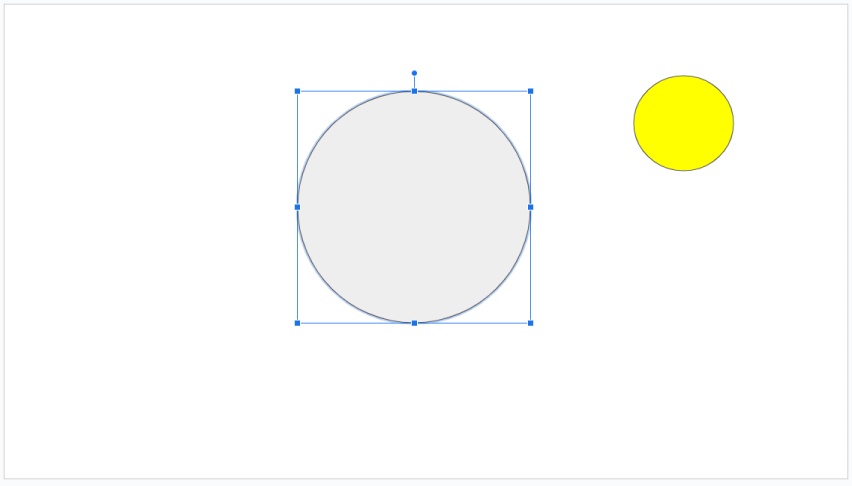
Identify and click on the object (text, shape, or background) within your slide that you want to change the color of. This action highlights the object, preparing it for color changes. In our example, we will click on the large gray circle in the middle to prepare it for a color change.
2. Click on the Fill Color Button in the Toolbar
Look at the toolbar located at the top of your screen; find and click the “Fill color” icon, which resembles a paint bucket. This action will open a dropdown menu with color options.

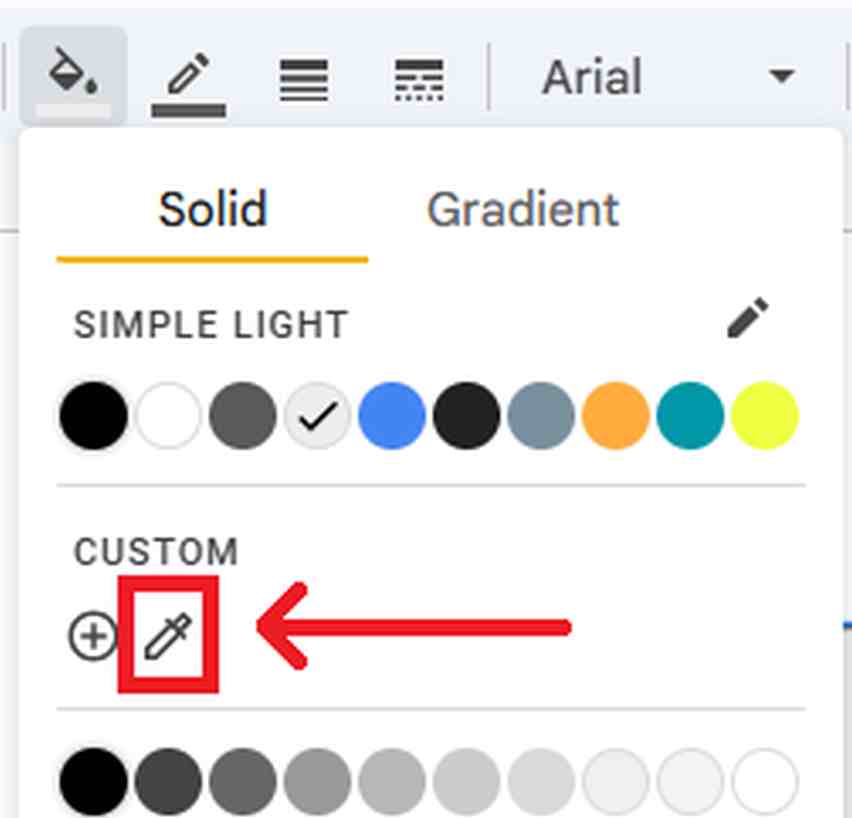
3. Select the Eyedropper Tool from the Color Options
Scroll through the options in the dropdown menu until you find the “Eyedropper” tool. Click on this tool to activate it for color selection.
4. Use the Eyedropper to Pick a Color from Your Slide
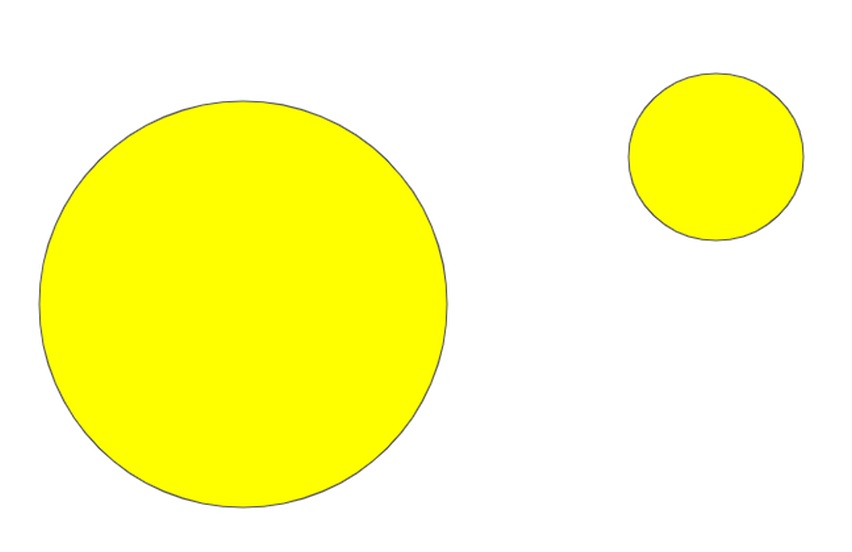
With the Eyedropper tool active, hover your mouse over any color on your current slide that you wish to replicate. Once you find the desired color, click on it. For our example, we will click on the small yellow-colored circle on the right side.
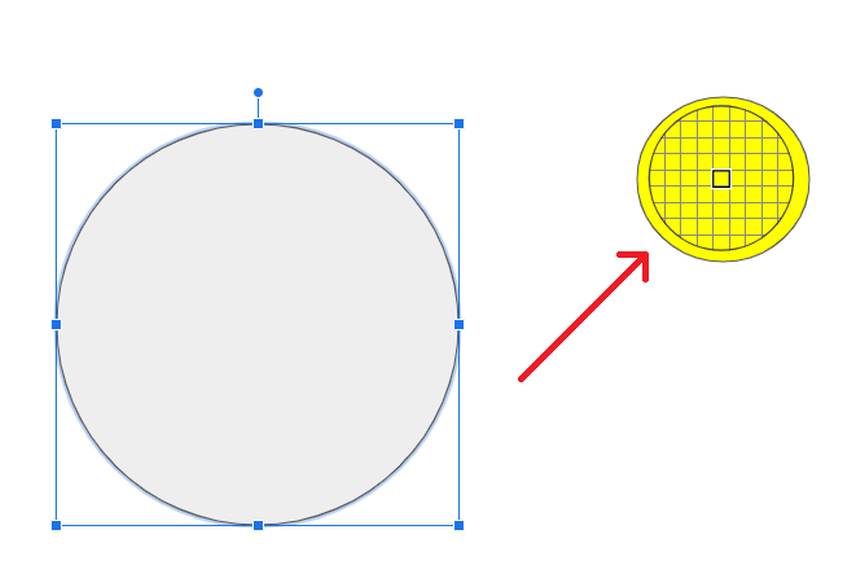
This will automatically apply that color to the previously selected object.
We hope that you now have a better understanding of using the eyedropper feature in Google Slides. If you enjoyed this article, you might also like our articles on how to be anonymous on Google Slides and how to annotate on Google Slides.

