How to Make a Grid on Google Slides (Easiest Way in 2024)
In this tutorial, we will show you exactly how to make a grid in your Google Slides presentation. Simply follow the steps below.

How to Make a Grid in Google Slides
Follow the steps below to make a grid in your Google Slides presentation.
1. Pick the Slide Where You Want the Grid
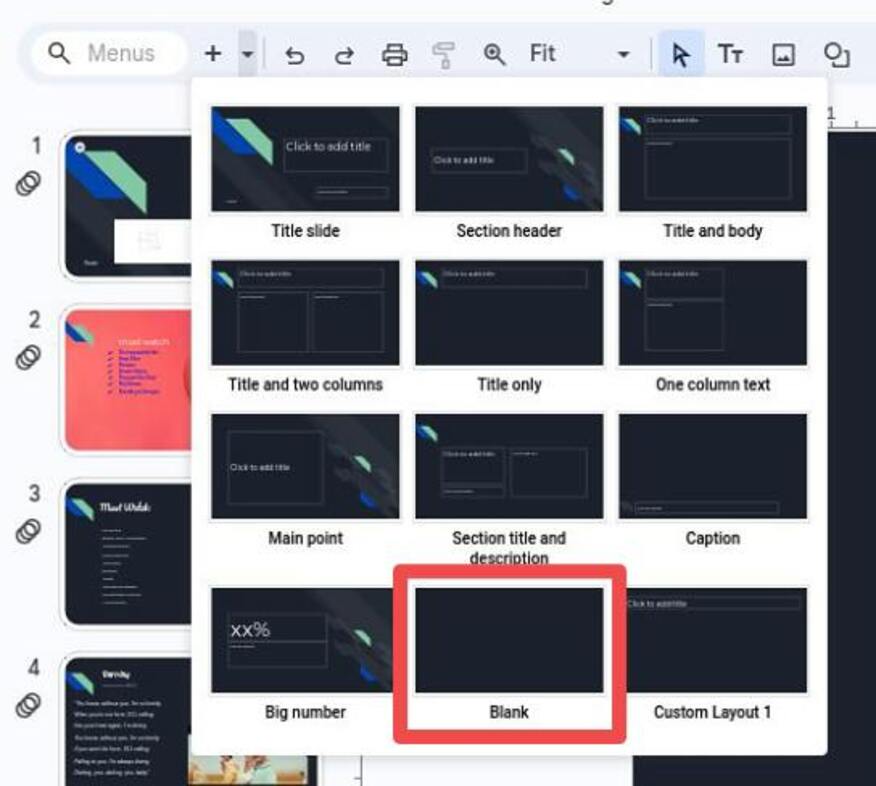
First, choose the slide where you want to add your grid. You can pick any layout that fits your needs. For example, if you want a clean start, go with the “Blank” layout.
2. Insert the Table
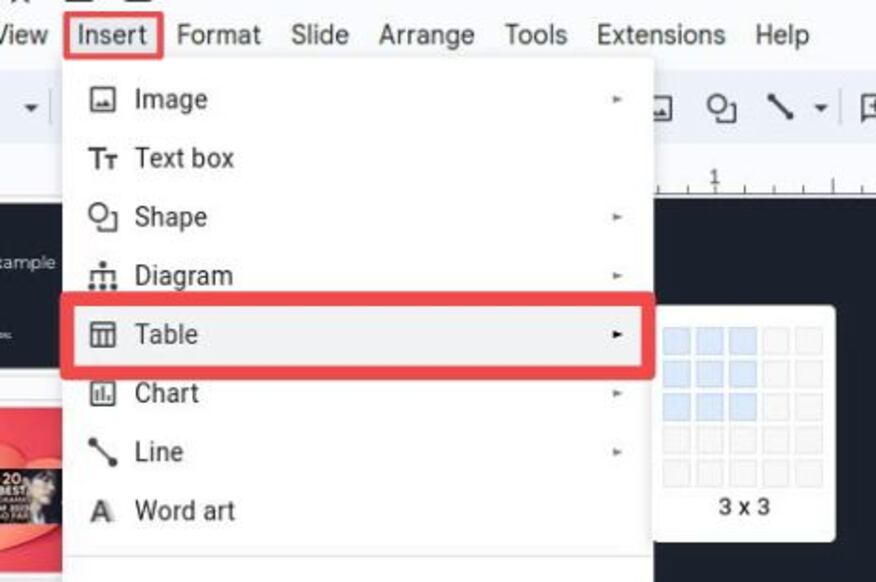
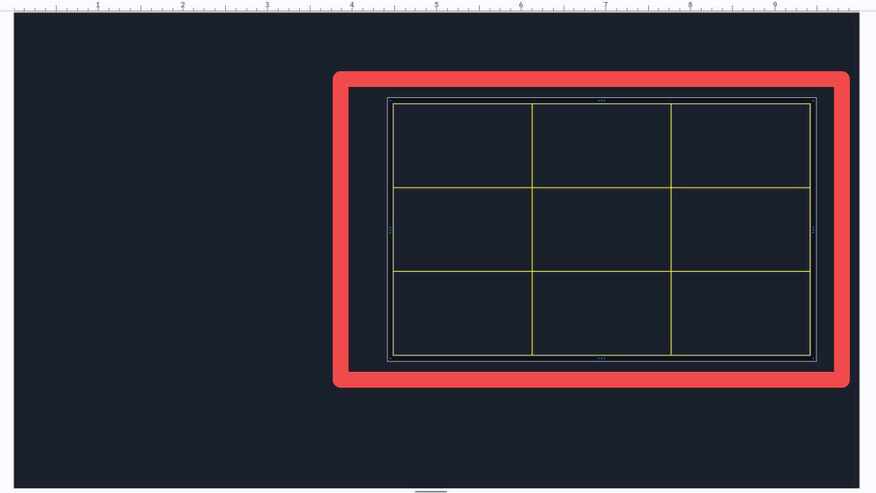
Now, click on “Insert” in the top menu, then choose “Table.” Select how many rows and columns you want for your grid. For instance, if you want a simple 3×3 grid, just select 3 rows and 3 columns.
3. Resize the Table
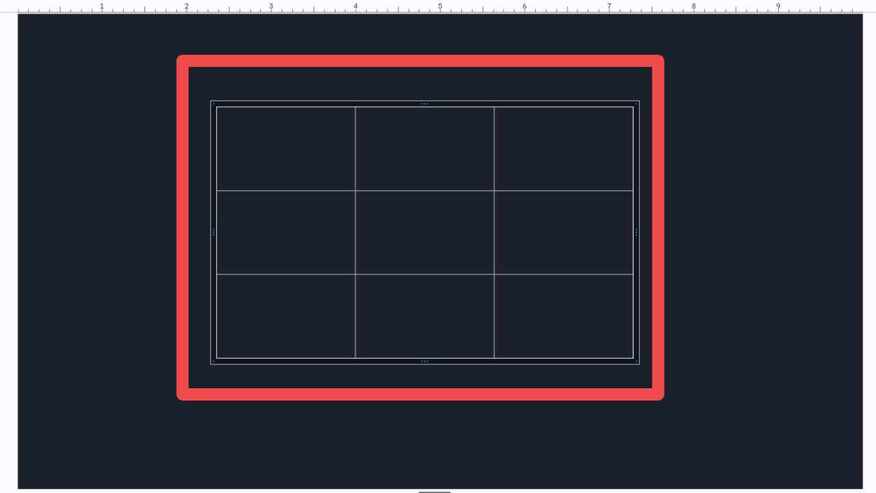
Once the table is in place, click and drag its edges to resize it. You can make it bigger or smaller depending on how much space you need. For example, if you want the grid to take up more space, drag the bottom or right edge to stretch it.
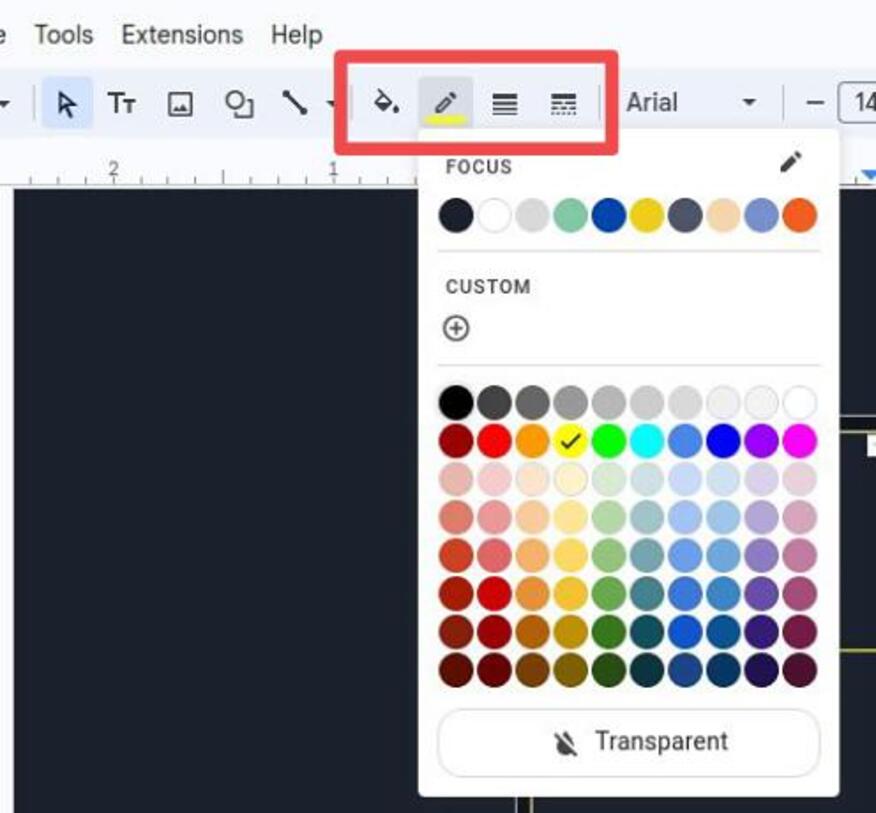
4. Style the Table
Want to make the grid look nicer? Use the toolbar to adjust the table’s appearance. You can change the border color, thickness, or even remove the borders for a cleaner look.
5. Align the Table Just Right
Make sure the table is positioned exactly where you want it on the slide. You can center it, or align it to one side.
6. Fill in the Grid or Leave It Empty
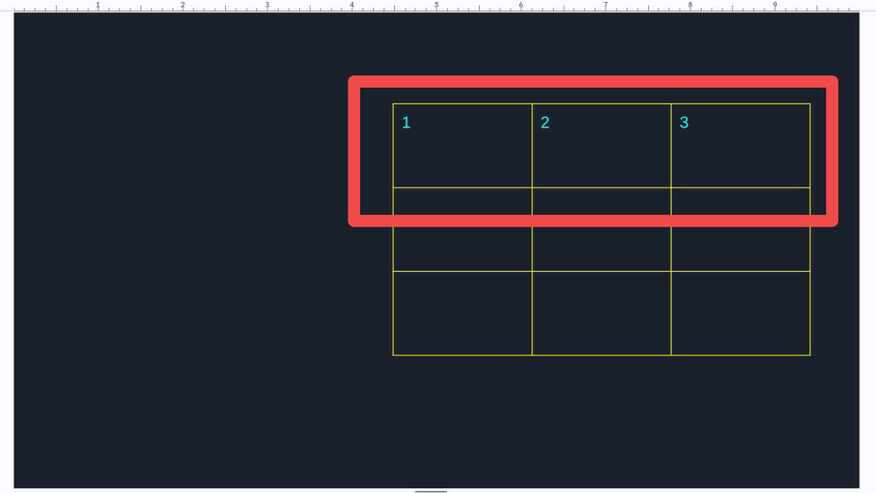
Finally, you can add content to each cell or leave them empty for now. For example, if you’re creating a schedule, type the times or activities in the cells. Or, if it’s just a placeholder for later, leave it blank for now.
We hope you now know how you can make a grid in Google Slides. If you enjoyed this article, you might also enjoy the following articles: