How to Round Image Corners in Google Slides (2024 Update)
In this article, we will show you how to round the corners of an image in Google Slides using a Shape Mask. Simply follow the steps below.
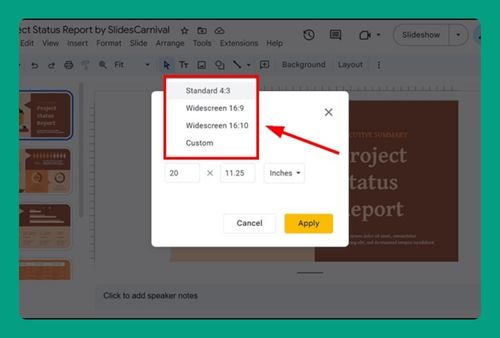
Round Image Corners in Google Slides
Follow the steps below to round the corners of an image in Google Slides by applying a Shape Mask. For this example, we will use an image of a bunny.
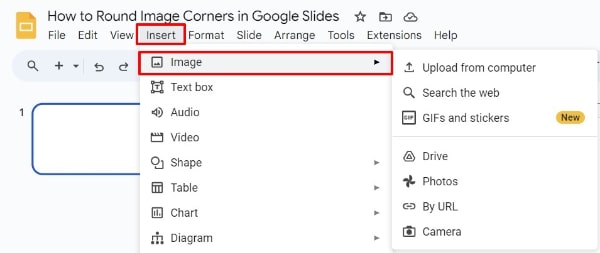
1. Upload and Insert Your Image
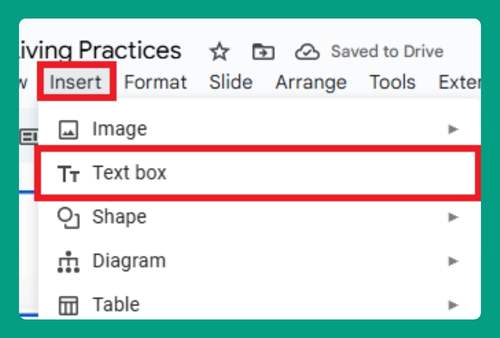
Navigate to the slide where you want to add the image. Click on Insert in the top menu then select Image. You can choose to upload an image from your computer, search the web, drive, photos, or even directly by URL.
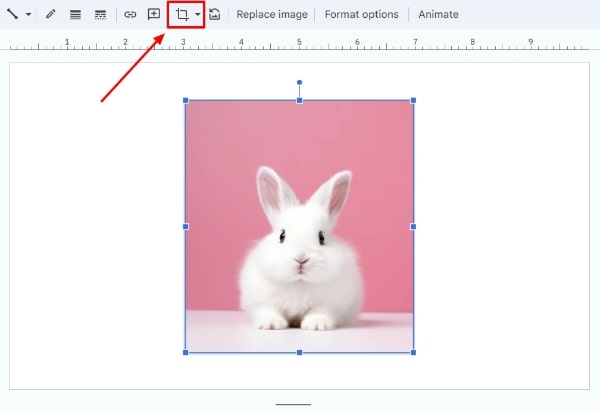
2. Access Crop Options
Click on the bunny image to make sure it’s selected then look for the Crop button in the toolbar. This button looks like two overlapping right angles.
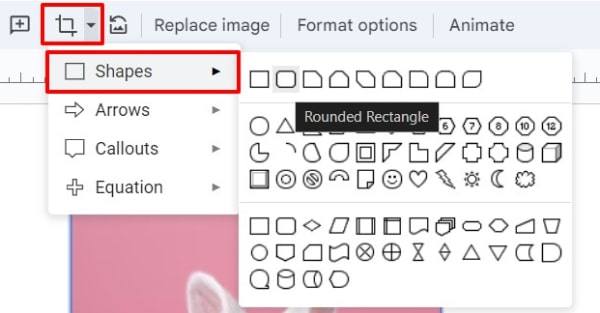
3. Apply a Mask to Round the Corners
Click on the downward arrow next to the Crop icon to expand the drop-down menu. Under Shapes, select a shape with rounded corners, such as Oval or Rounded Rectangle. For this example, we will choose Rounded Rectangle.
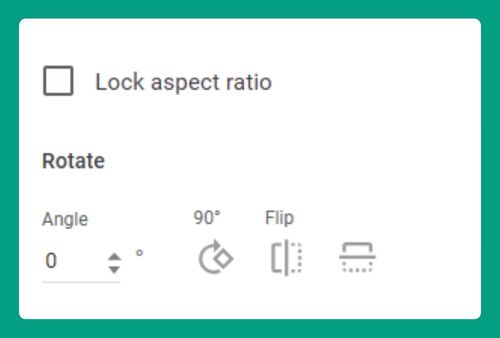
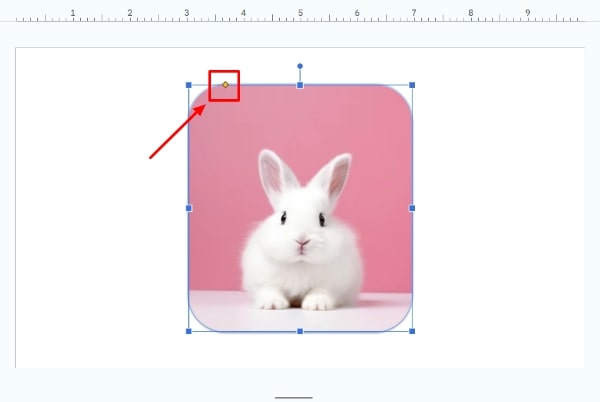
4. Adjust the Roundness
You can modify how rounded the corners are by dragging the yellow handles located at the corners of your image. Drag these handles inward to enhance the roundness.
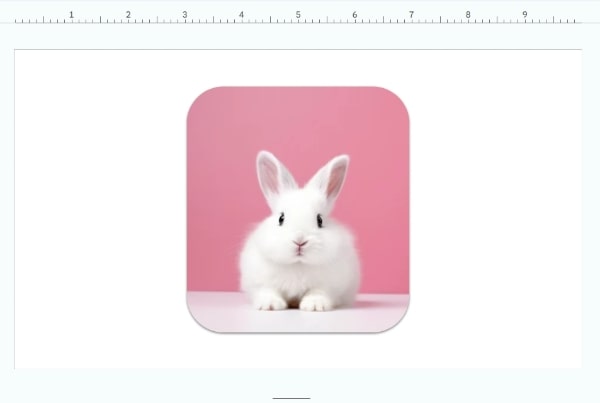
5. Final Adjustments
Masking might alter the central focus of the image. If necessary, click and drag within the mask to adjust the positioning of the image. If the overall dimensions need tweaking post-masking, click and drag the outer edges of the masked image to resize it. Once done, click outside the image to see how your rounded image looks.
We hope that you now have a better understanding of how to round image corners in Google Slides. If you enjoyed this article, you might also like our article on how to change image layers in Google Slides and how to replace image in Google Slides.