How to Change the Line Spacing in Google Slides (2024 Update)
In this tutorial, we will show you exactly how to change the line spacing in Google Slides in just a few simple steps. Simply follow the steps below.
How to Change the Line Spacing on Google Slides
Follow the steps below to change the line spacing in Google Slides.
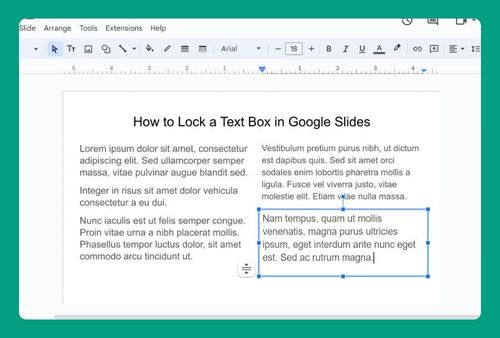
1. Select the Text Box You Want to Adjust
Click on the text box where you want to change the line spacing. This could be a heading, a list, or any body text on your slide.
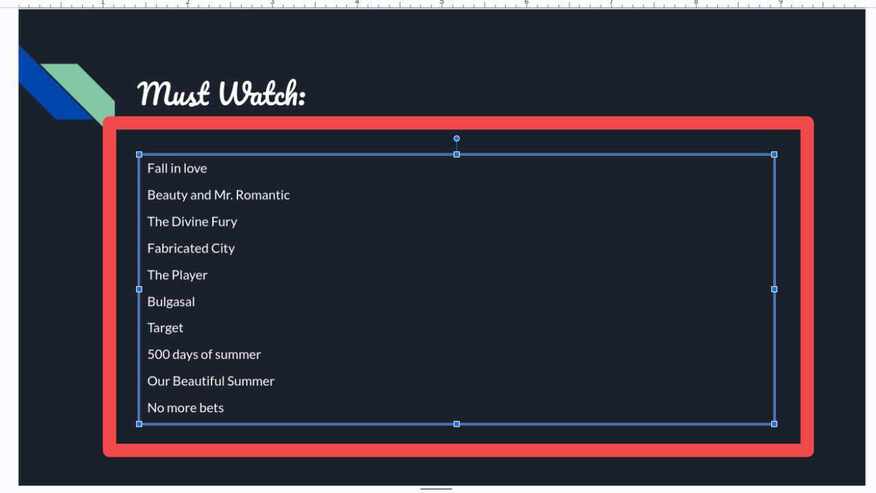
2. Highlight the Text to Modify
Highlight the text within the selected text box. Make sure the part you want to change is selected before proceeding.

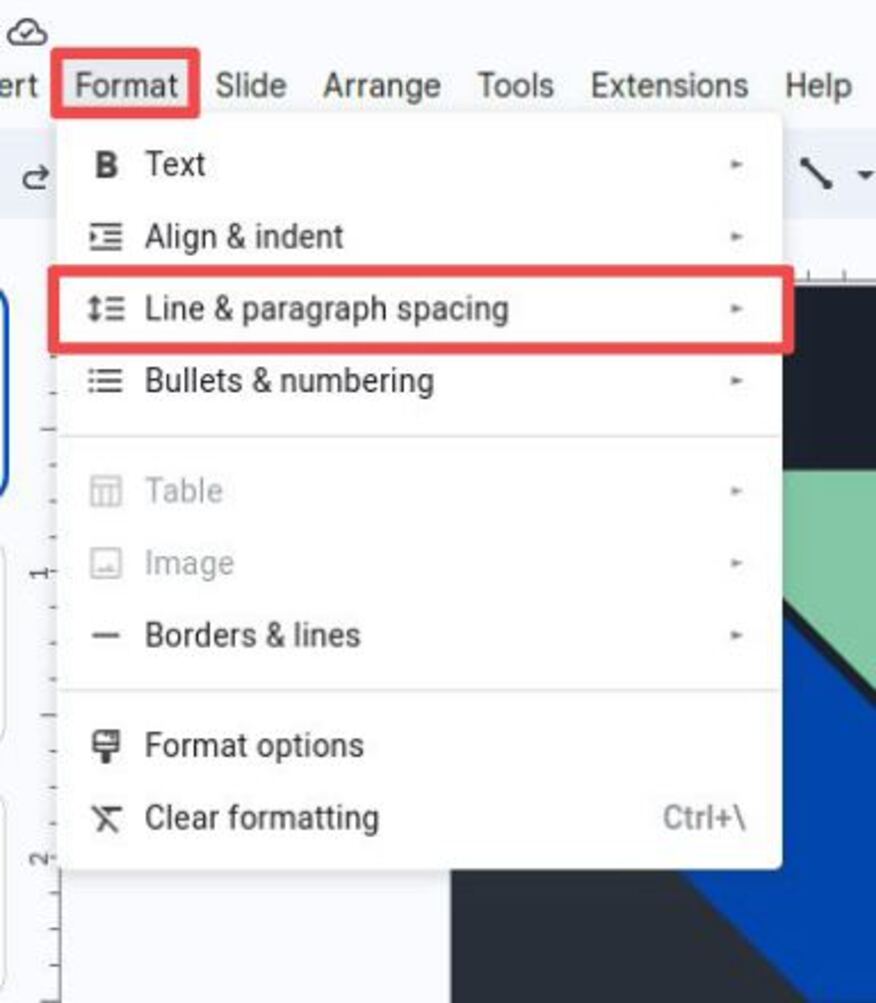
3. Access the Line Spacing Options
Once your text is highlighted, go to the “Format” menu at the top of the screen. In the dropdown menu, click on “Line & paragraph spacing.” This will open a few options for adjusting the space between your lines.
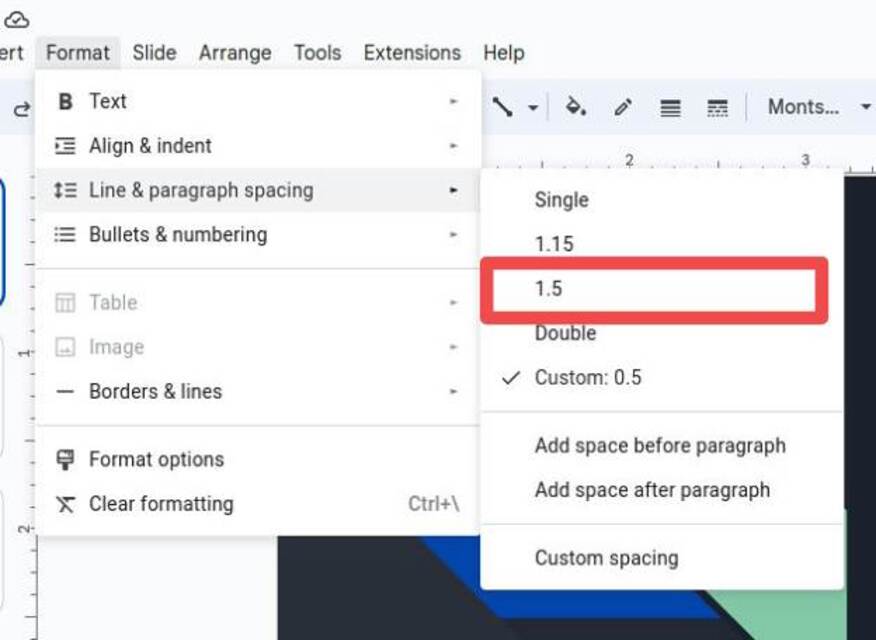
4. Choose the Desired Line Spacing
You’ll have several options to choose from, like “Single,” “1.5,” and “Double” spacing. For tighter text, go for “Single” spacing. For a more spacious look, try “1.5” or “Double.” You can also select “Custom spacing” for exact control over the spacing.
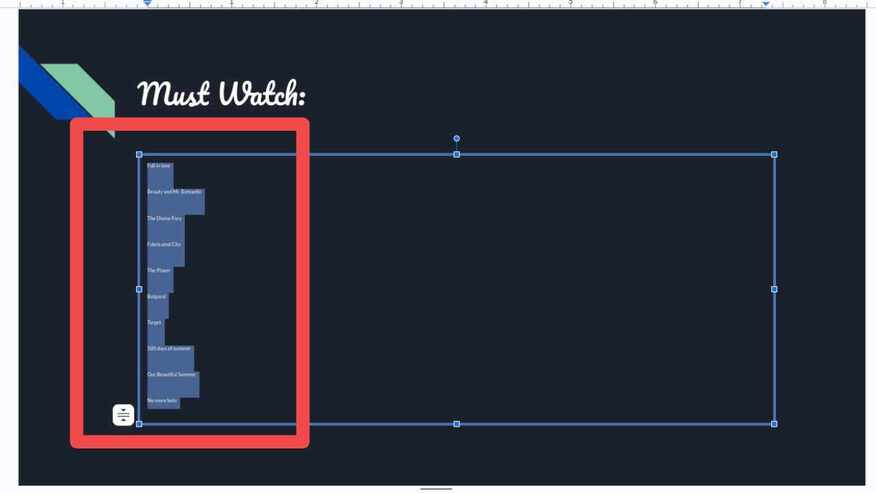
5. Apply the Changes
Once you’ve chosen the line spacing that fits your needs, click “Apply.” Your text will instantly adjust, and you’ll see the changes take effect right on your slide.
We hope you now know how to change the line spacing in Google Slides. If you enjoyed this article, you might also enjoy the following articles: