How to Lock a Text Box in Google Slides (Easiest Way in 2024)
In this tutorial, we will show you exactly how to lock a text box in Google Slides. Simply follow the steps below.
How to Lock Text in Google Slides
Follow the steps below to lock a text box in Google Slides.
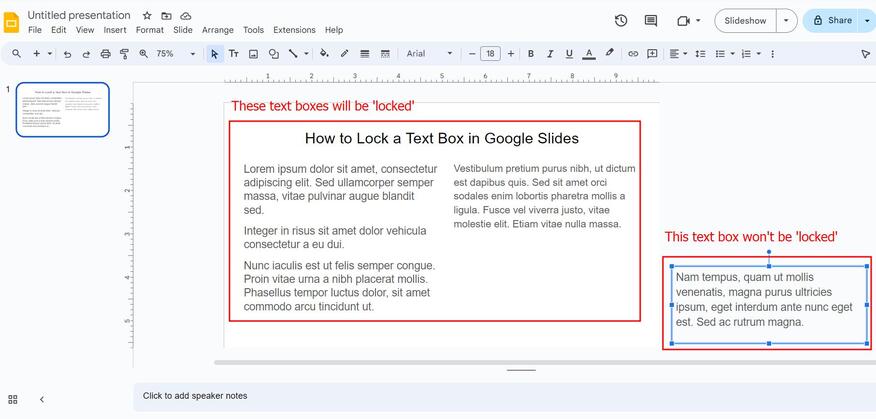
1. Decide Which Text Box to Lock or Keep Editable
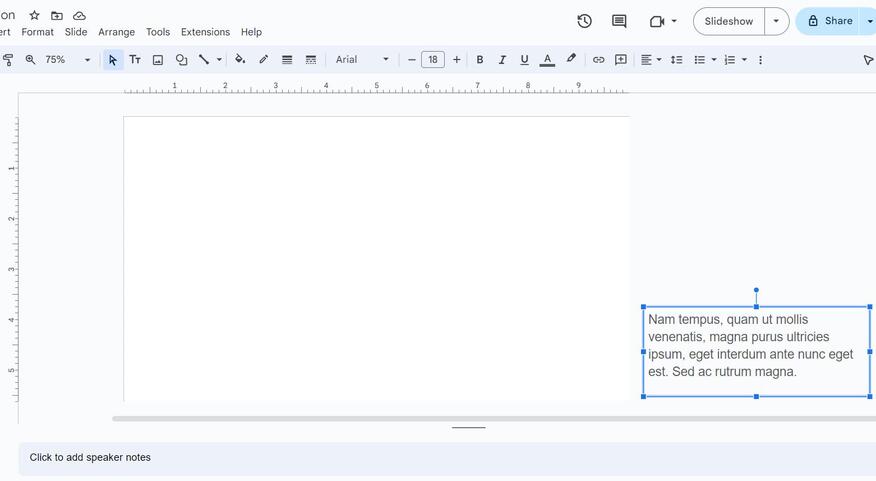
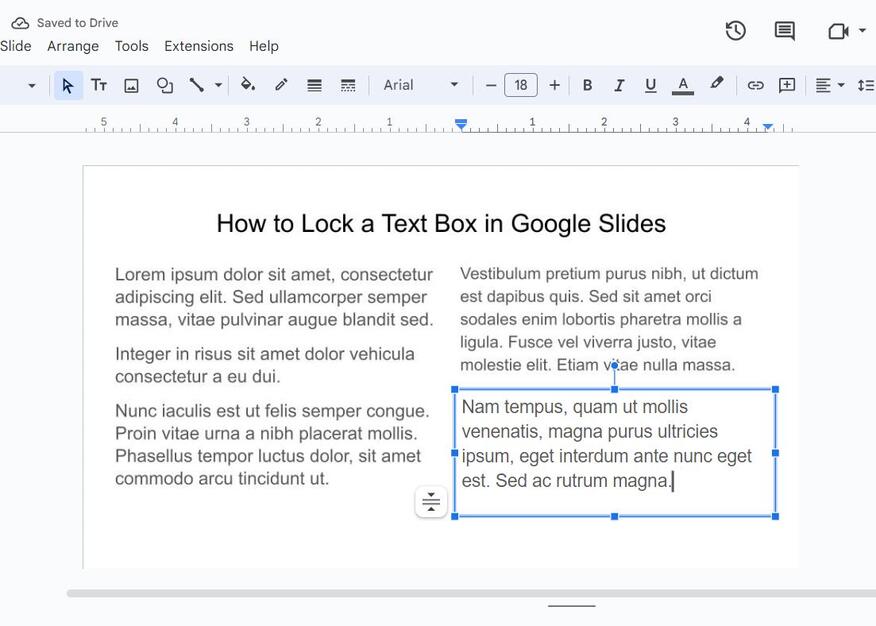
If you want a text box to be locked in place, leave it on the slide. Any text you need to edit later should be moved off the slide for now.
2. Go to “File,” Select “Download,” and Choose “JPEG” to Download the Slide as an Image
To lock the text in place, download the slide as a JPEG image. Go to “File,” select “Download,” and choose “JPEG image.”

3. Delete Everything From the Slide Except for the Items You Moved Out
After downloading the JPEG, delete everything on the slide except for the items you moved out earlier. This clears space for adding the image as the background.
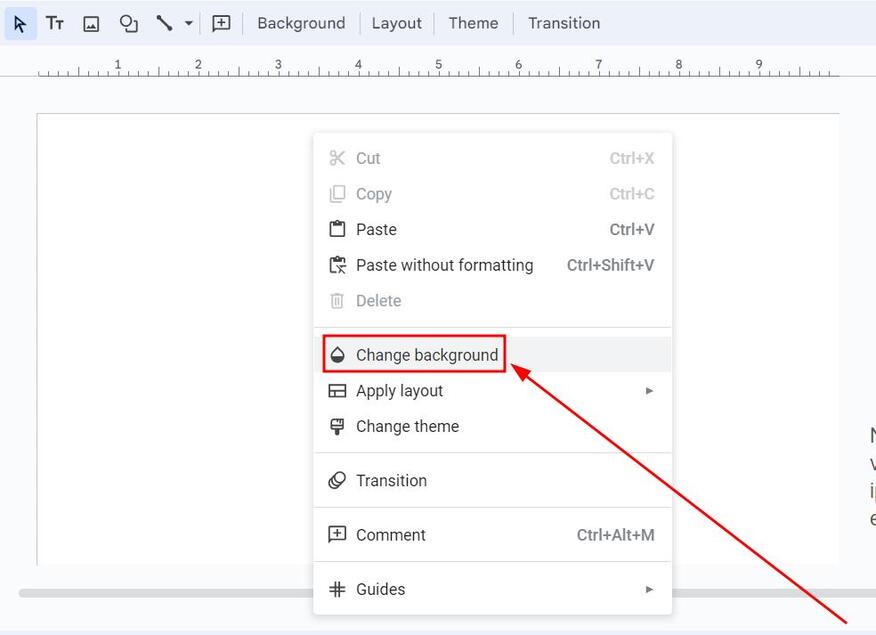
4. Right-Click on the Slide and Choose “Change Background”
To set the downloaded image as your background, right-click on the slide and select “Change Background.”
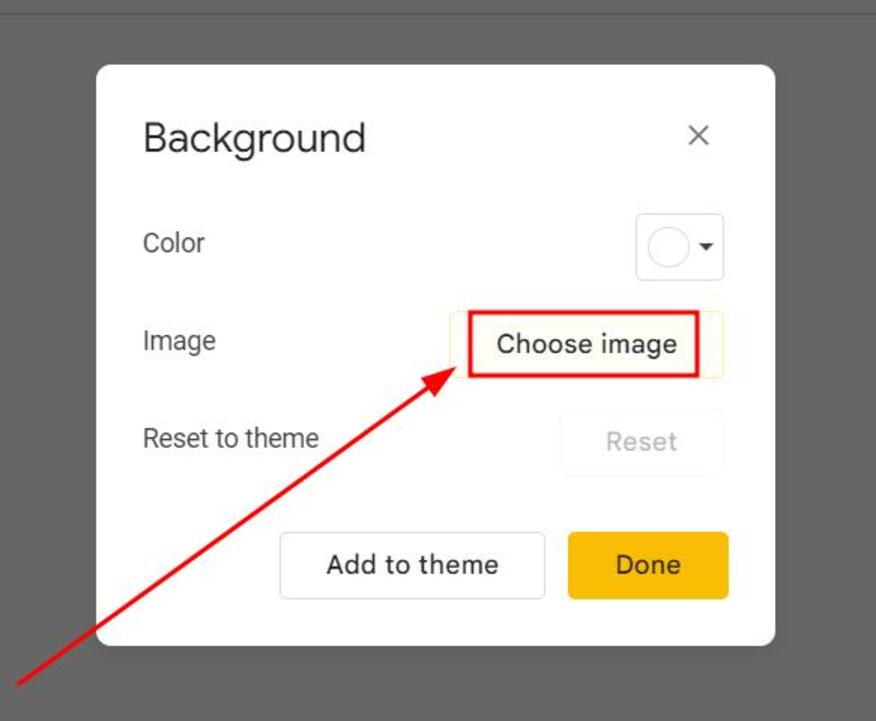
5. Click “Choose Image“
To upload the downloaded image, click “Choose Image.”
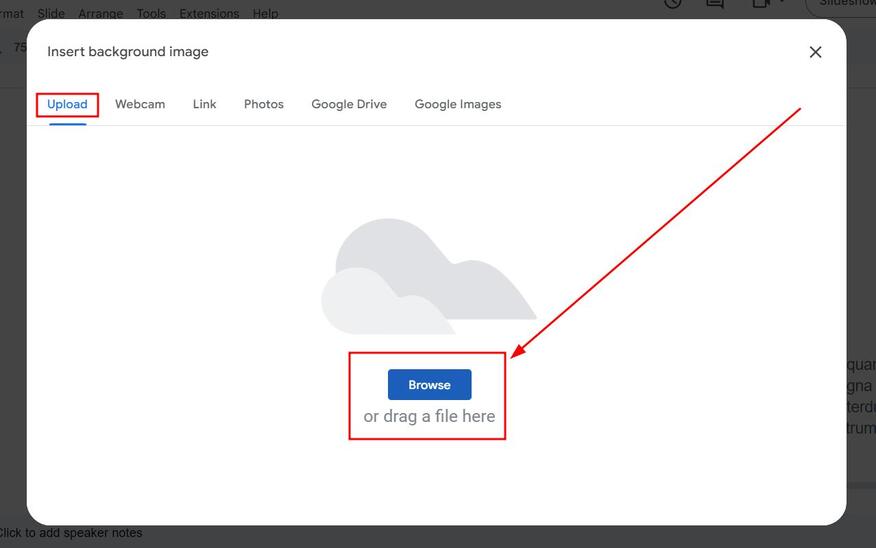
6. Upload the Image of the Slide You Downloaded Earlier
Locate and select the JPEG image of the slide you downloaded earlier, then upload it to set it as the background.
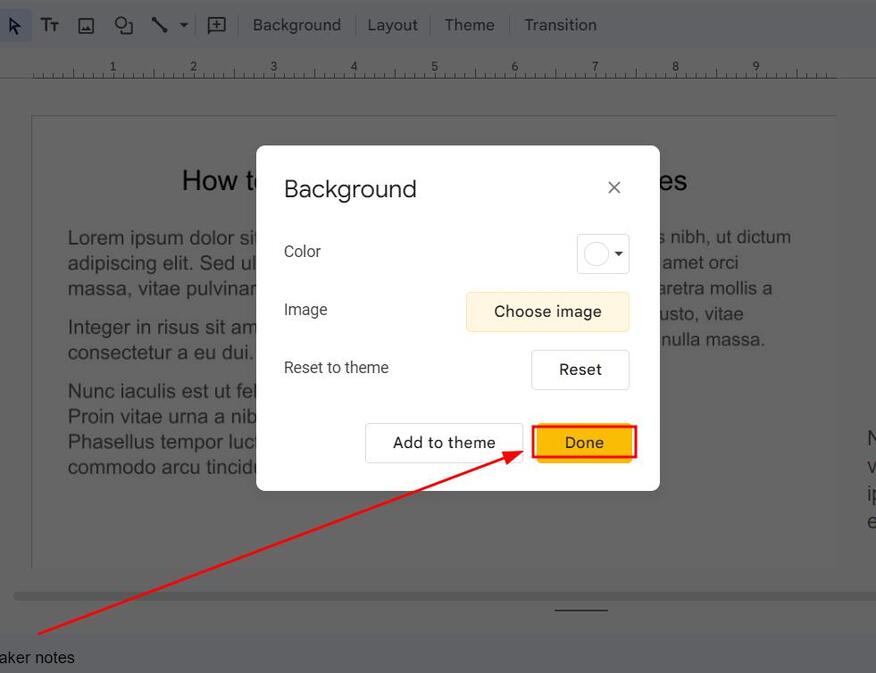
7. Select “Done”
After uploading the image, click “Done” to set it as your background.
8. Add New Text or Objects as Needed
Now that the background is locked, you can add new text or objects on top of it. The background won’t be editable, but you can still customize the slide by adding other elements.
We hope that you now have a better understanding of how to lock the text box in Google Slides. If you enjoyed this article, you might also like our articles on how to make a two-column text box in Google Slides and how to group shapes on Google Slides.