How to Change Margins in Google Slides (Easiest Way in 2025)
In this article, we will show you how to change margins in Google Slides. Simply follow the steps below.
Change Margins on Google Slides
You can’t directly change margins in Google Slides like you would in a word processor. Instead, you can adjust the size and position of text boxes and other elements manually to create a visual “margin” effect. Follow the steps below.
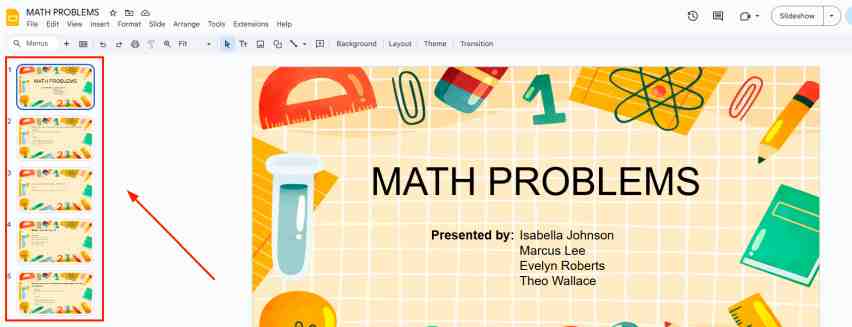
1. Choose the Slide to Modify
Identify and click on the slide you want to adjust from the slide list on the left. If you need to modify the margins for more than one slide, you’ll have to repeat these steps for each slide.
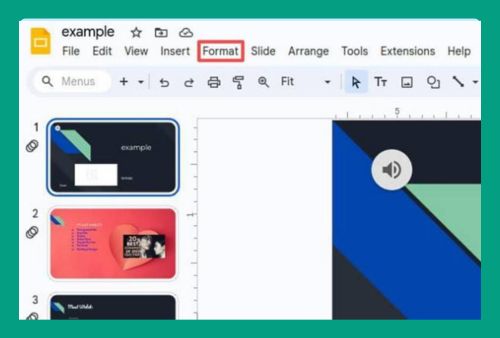
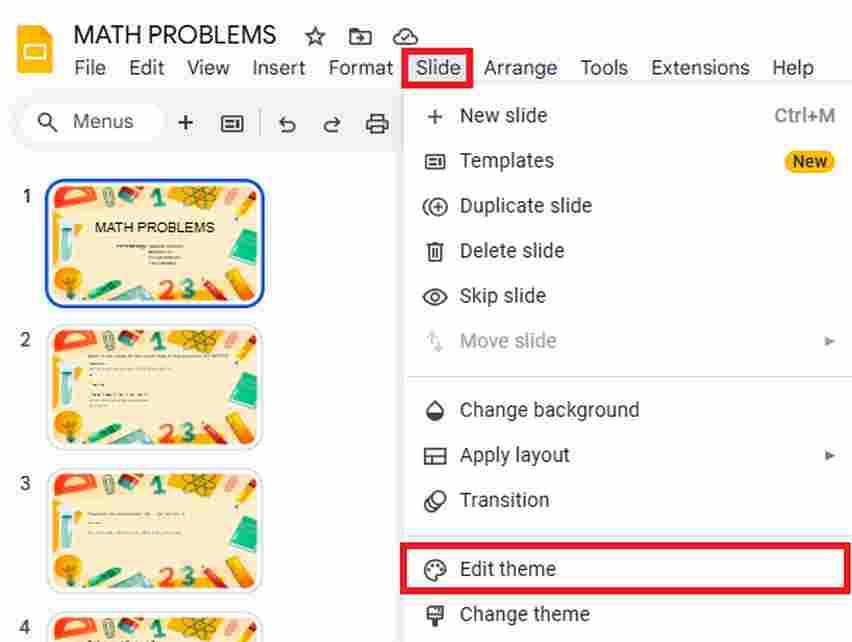
2. Access the Slide for Master Editing
To modify the margins, click on “Slide” in the top menu, then choose “Edit theme” from the dropdown options. This will take you to the theme editor, where you can edit the master slides that affect the layout of your entire presentation.
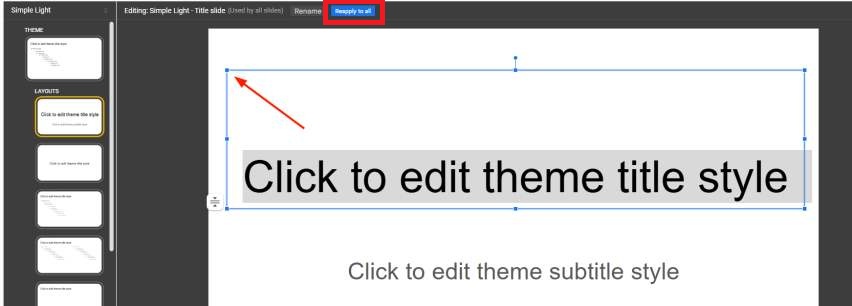
3. Modify Margins by Adjusting Text Boxes and Elements
In the theme editor view, locate the text boxes or other content elements that dictate the margins. Select these elements and then click and drag their edges to adjust the margins to your preference. Click ‘Reapply to all‘ when you’re done editing.
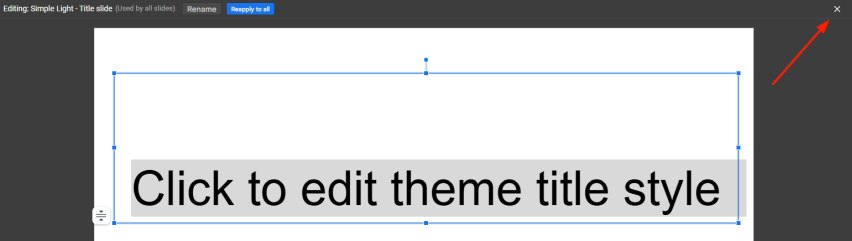
4. Exit the Theme Editor to Save Changes
Once you’re satisfied with the adjustments, close the theme editor by clicking on the “X” or the back arrow at the top-left corner of the theme editor panel. This action will save your modifications and return you to the normal slide view.
5. Inspect the Presentation to Confirm Margin Changes
Review your presentation by going through each slide to ensure the adjustments are applied correctly. If adjustments are needed on additional slides, repeat the above steps for each slide.
We hope that you now have a better understanding of changing margins in Google Slides. If you enjoyed this article, you might also like our articles on how to make a degree symbol on Google Slides and how to make Google Slides public.