Change Shape Opacity in Google Slides (Easiest Way in 2024)
In this article, we will show you how to change the opacity of shapes in Google Slides. Simply follow the steps below.
How to Change Opacity of Shapes in Google Slides
To change the opacity of a shape in Google Slides, simply follow the steps below.
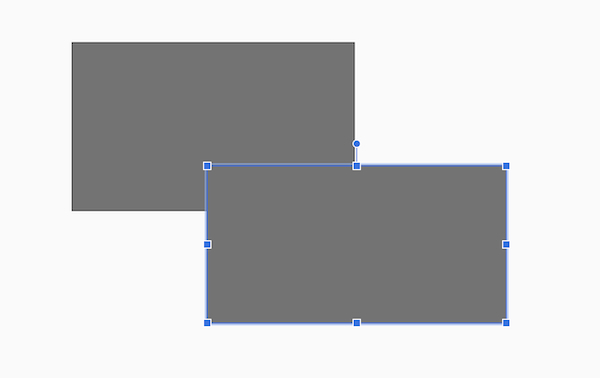
1. Select the Shape
Click on the shape whose opacity you want to adjust. Make sure it’s the correct one as the opacity setting will only apply to your selected shape. In our example, we will select the second rectangle below.
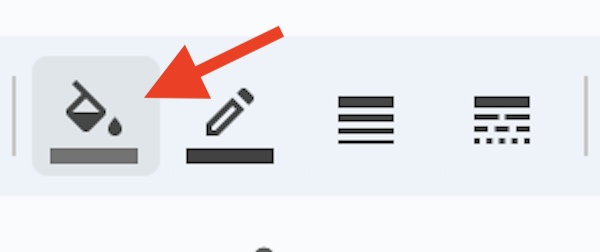
2. Access the Fill Color Settings
With the shape selected, look for the “Fill color” tool in the toolbar. It usually appears as a paint bucket icon. Click on this icon to open the color options.
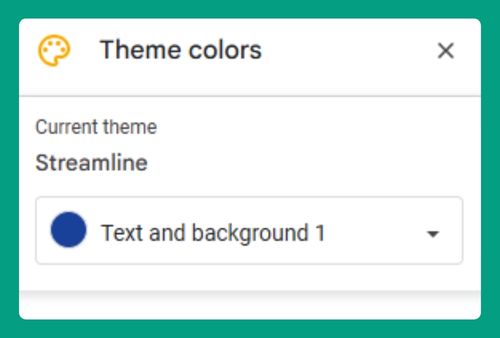
3. Choose Custom Color
In the “Fill color” dropdown menu, select “Custom” at the bottom of the list. This opens a color dialog where you can choose more specific color settings.

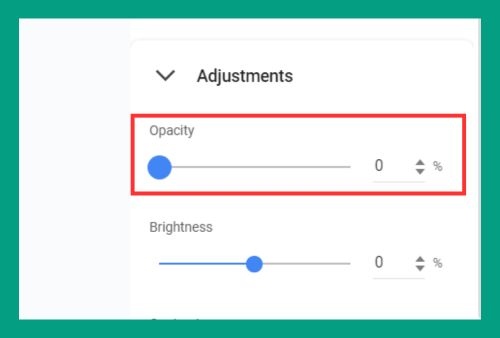
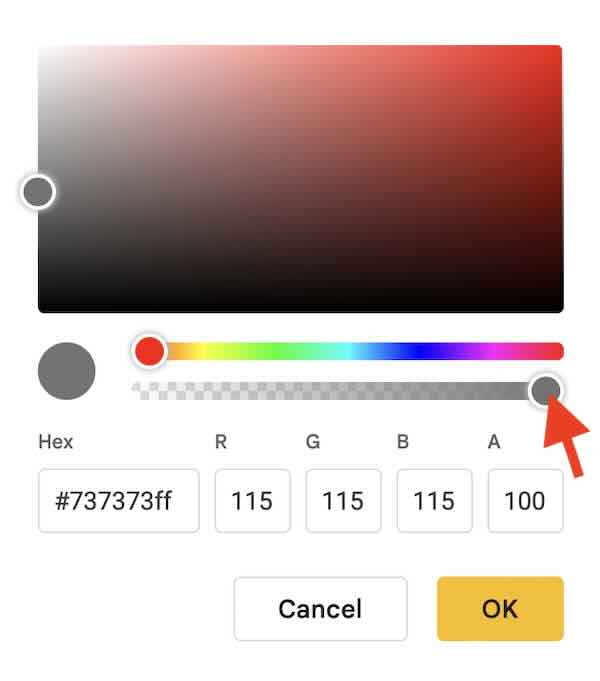
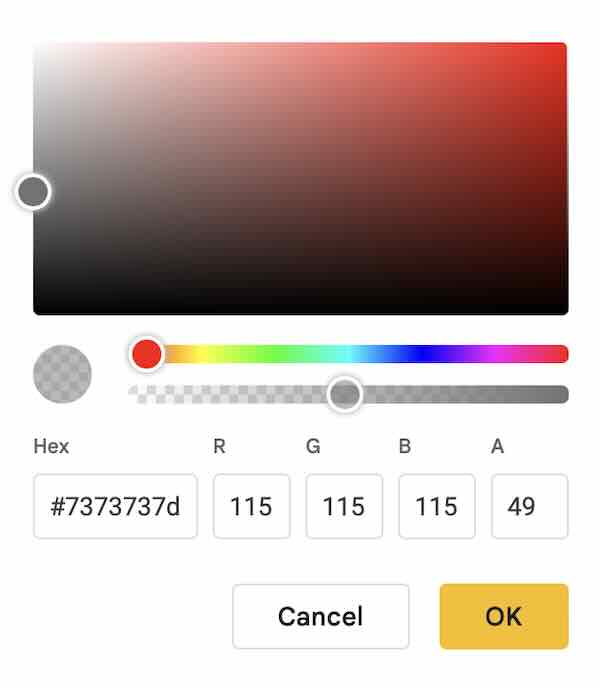
4. Adjust Opacity
In the custom color dialog, find the opacity slider. This slider typically appears at the bottom or side of the dialog, labeled as “Transparency” or “Opacity.” Drag the slider to the left to decrease opacity (make more transparent) or to the right to increase opacity (make less transparent).
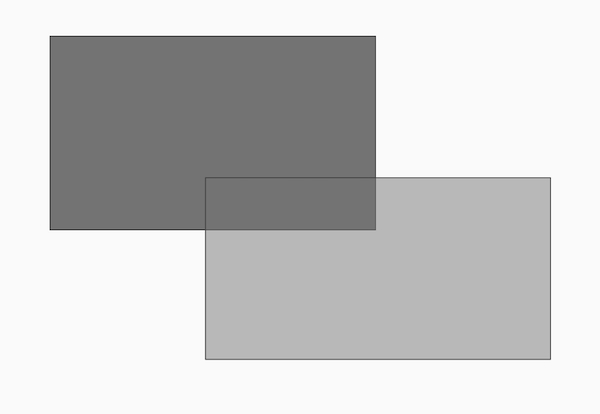
5. Apply and Review
After setting the desired opacity level, click “OK” to apply the changes. Click away from the shape to deselect it and view the new opacity effect in context with the rest of your slide.
We hope you now have a better understanding of how to change opacity of shape in Google Slides. If you enjoyed this article, you might also like our article on how to align shapes in Google Slides or our article on how to open a PowerPoint in Google Slides.