How to Align Shapes in Google Slides (Easiest Way in 2024)
In this article, we will show you how to align shapes in Google Slides. Simply follow the steps below.
Align Shapes in Google Slides
To align shapes in Google Slides, simply follow the steps below.
1. Select Multiple Shapes
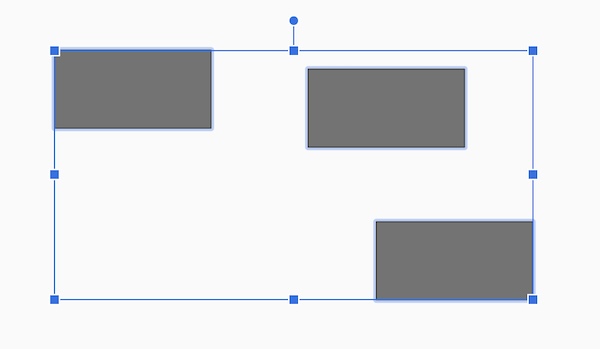
Click and drag your mouse over the shapes you want to align, or hold the Shift key and click each shape individually. Ensure all the shapes you need to align are selected. In our example below, we selected the three rectangles shapes.
2. Open the Arrange Menu
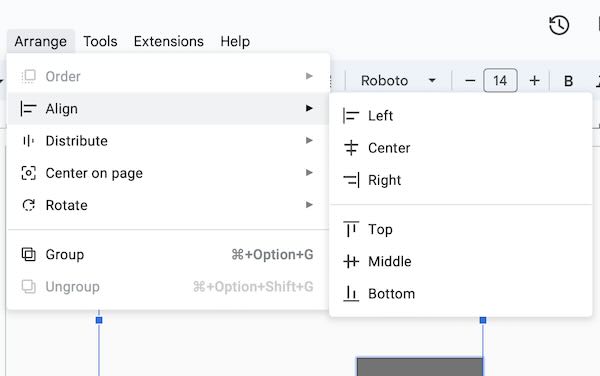
With the shapes selected, go to the toolbar and click on “Arrange.” This menu contains various options for managing the layout of objects on your slide.

3. Choose Alignment Type
In the “Arrange” dropdown menu, hover over “Align.” A submenu will appear with alignment options such as “Align Left,” “Align Center,” “Align Right,” “Align Top,” “Align Middle,” and “Align Bottom.” Choose the option that best fits how you want to align your shapes.
4. Finalize Alignment
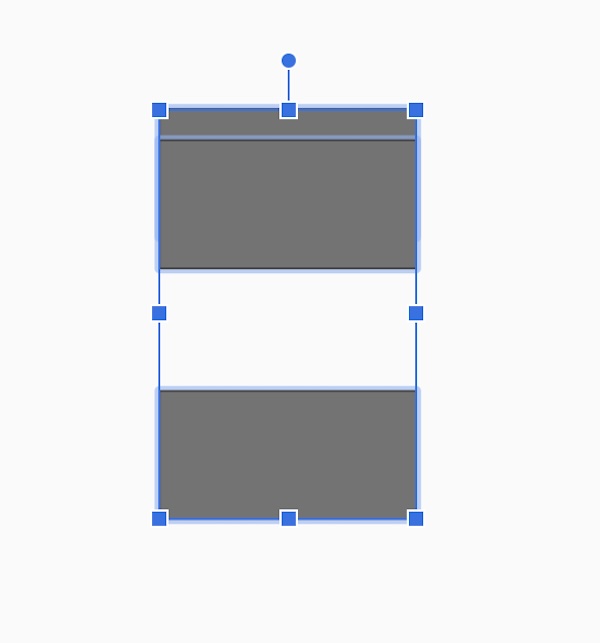
After clicking your chosen alignment option, the selected shapes will move to line up accordingly. If the alignment doesn’t look right, you can undo it by pressing Ctrl+Z (Cmd+Z on Mac) and try a different alignment option.
The selected shapes should now look something like this.
We hope you now have a better understanding of how to align shapes in Google Slides. If you enjoyed this article, you might also like our article on how to flip a shape in Google Slides or our article on how to change shape opacity in Google Slides.