How to Layer Images in Google Slides (Easiest Way in 2024)
In this article, we will learn how to change image layers in Google Slides using the Arrange tool. Simply follow the steps below.
How to Layer Images in Google Slides Using Arrange Tool
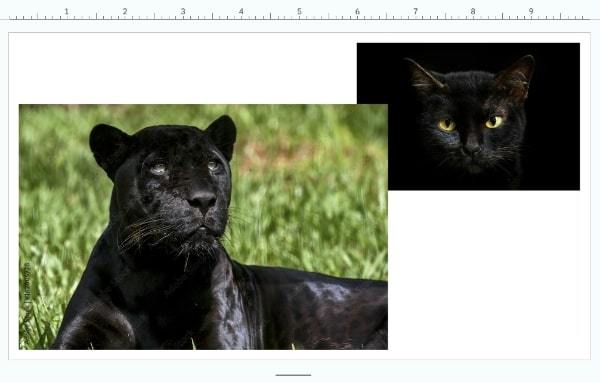
Follow the steps below to layer images in Google Slides using the Arrange tool. For this example, we will place an image of a jaguar on top of an image of a cat.
1. Insert the First Image
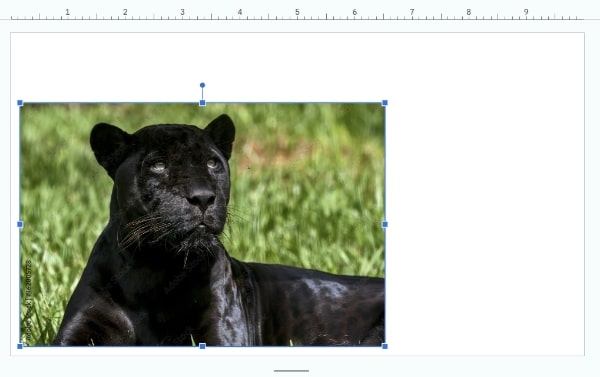
We will use the jaguar image as our first image. Click on Insert in the top menu then choose Image. Navigate to the location of the jaguar image, select it, and insert it to your slide.

2. Adjust the Size and Position of the First Image
Click and drag the corners of the jaguar image to resize it appropriately for the background. You can also click and drag the image to position it as needed on the slide.
3. Insert and Adjust the Second Image
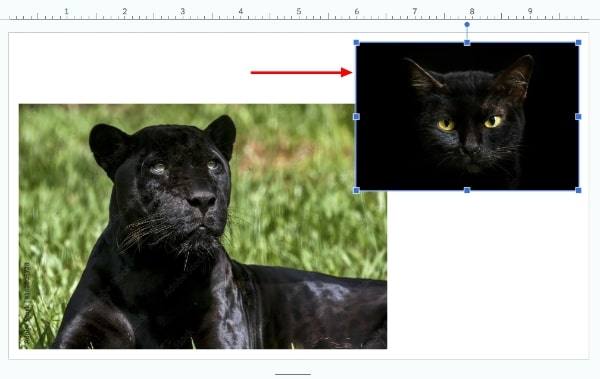
Follow the same process as in Step 1 to insert the image of the cat. Once the cat image is on the slide, resize and reposition it by clicking and dragging the corners.
4. Adjust the Layering
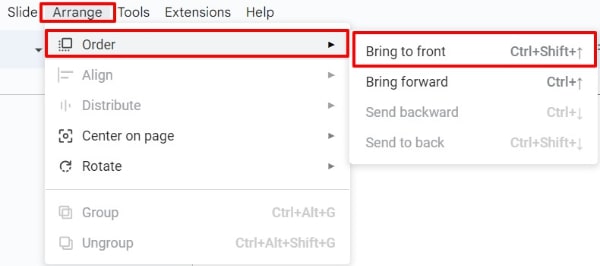
Click on the image that you need to bring to the front (in this case, the jaguar). Click on Arrange in the top menu. In the drop-down, select Order then Bring to front. This action ensures that the jaguar image will overlay the cat image.
5. Adjust the Placement of the Images
Make any final adjustments to the placement and size of both images to achieve your desired visual effect. If you are layering more than two images, repeat Steps 3 and 4 as needed.
We hope that you now have a better understanding of how to layer images in Google Slides. If you enjoyed this article, you might also like our article on how to rotate images in Google Slides and how to round the corners of an image in google slides.