How to Insert a Checkbox in Google Slides (Easiest Way in 2024)
In this article, we will show you exactly how to insert a checkbox in Google Slides in just a few simple steps. Simply follow the steps below.
Insert a Checkbox in Google Slides
Follow the steps below to add a checkbox in Google Slides.
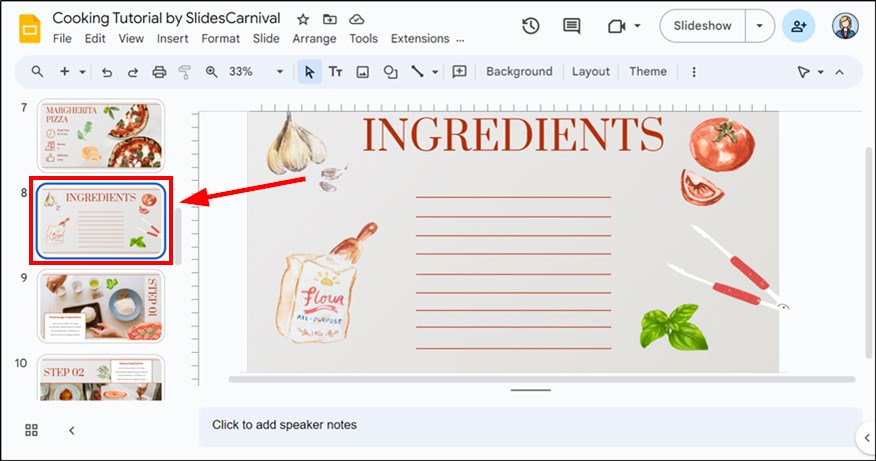
1. Select the Slide Where You Want the Checkbox
In the left panel, click on the slide where you want to place the checkbox. This highlights the slide for editing.
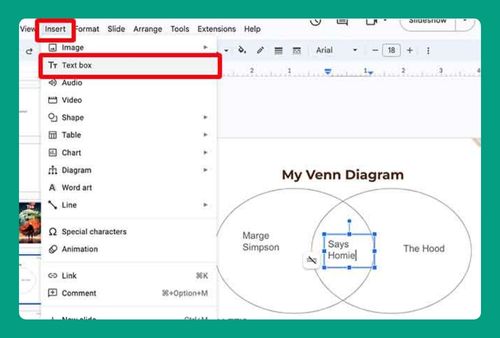
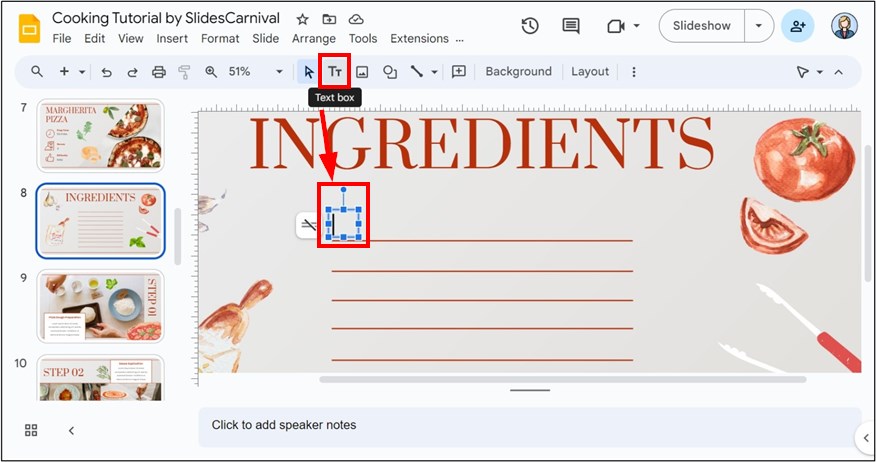
2. Insert a Text Box for the Checkbox
Go to the toolbar at the top and click the “Text Box” icon. This will insert a text box where your checkbox and text will be placed.
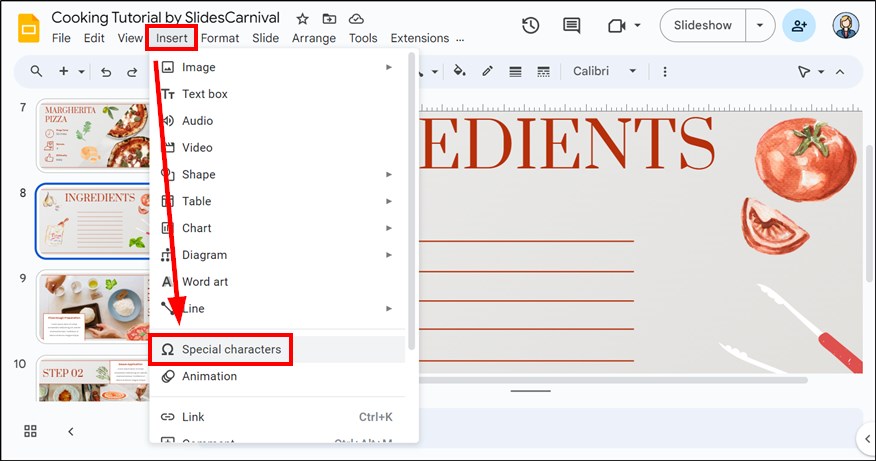
3. Open the Special Characters Menu to Access Symbols
Click on “Insert” in the top menu, then select “Special characters.” This will allow you to insert a checkbox symbol into the text box.
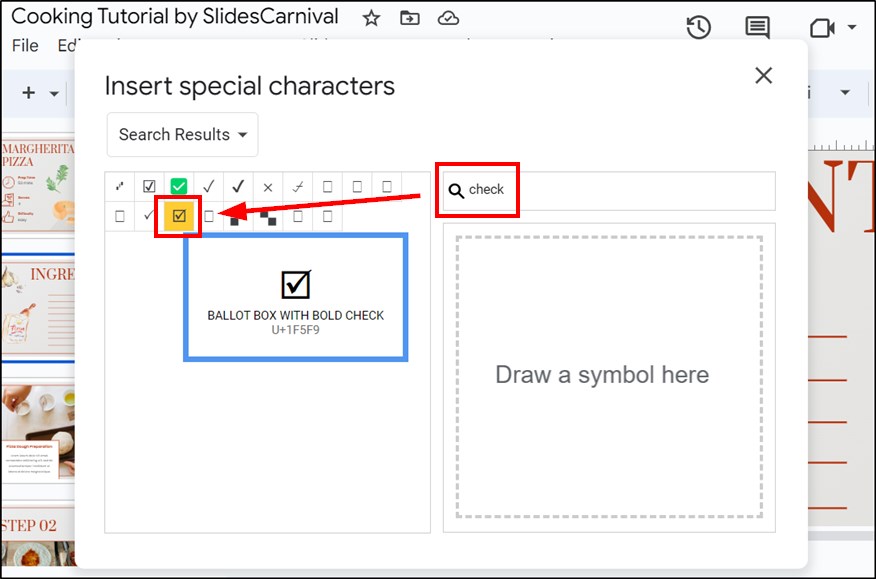
4. Search for and Select the Checkbox Symbol
In the “Special characters” window, type “check” into the search bar. Click the checkbox symbol you want to add to the text box.
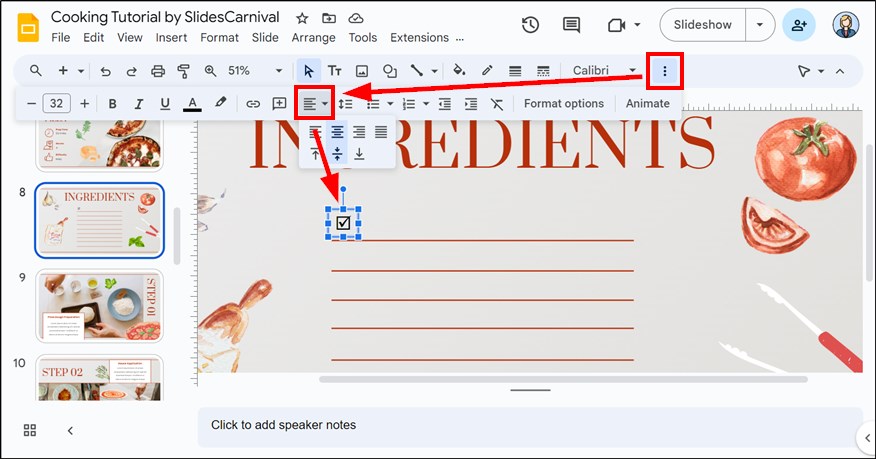
5. Resize and Move the Checkbox to the Desired Position
Adjust the size of the checkbox by clicking and dragging the edges of the text box. Move the text box to position the checkbox correctly on the slide.
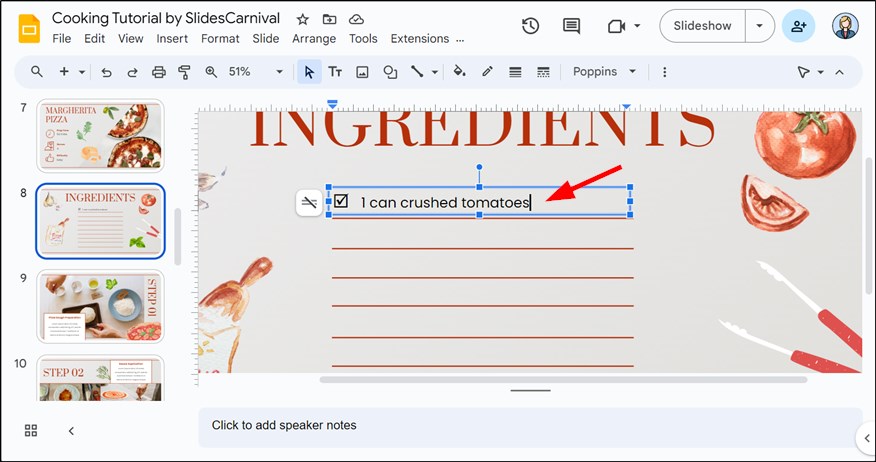
6. Add Text Beside the Checkbox in the Text Box
Click inside the text box next to the checkbox. Type any text or list items that should appear next to the checkbox.
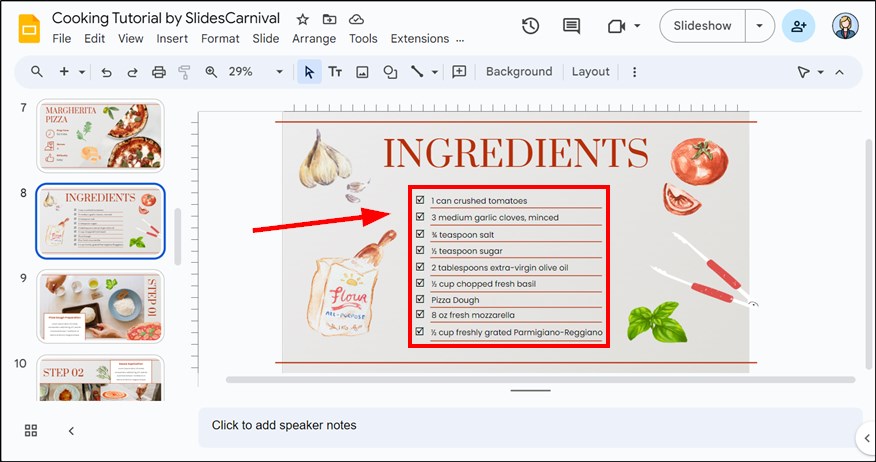
7. Duplicate the Checkbox for Additional List Items
If you need more checkboxes, copy the text box with the checkbox by selecting it and pressing Ctrl + C on Windows (or Command + C on Mac) to copy, then Ctrl + V (or Command + V on Mac) to paste.
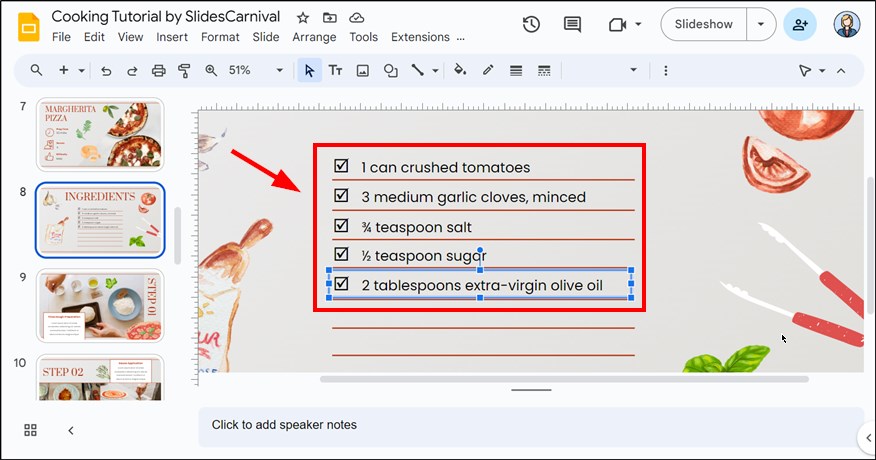
8. Review the Checkboxes and Make Final Adjustments
Ensure the checkboxes and text are aligned and visually appealing. Adjust the size and position of the text box or text as needed.
We hope that you now have a better understanding of how to add checkboxes in Google Slides. If you enjoyed this article, you might also like our articles on how to set Google Slides to advance automatically and how to change all fonts in Google Slides.