How to Merge Images in Google Slides (Easiest Way in 2025)
In this tutorial, we will show you exactly how to merge images in Google Slides. Simply follow the steps below.
How to Combine Images in Google Slides
Google Slides doesn’t have a built-in merge tool. However, you can arrange them how you like, resize them to fit, and then group them to move them around. Here’s how:
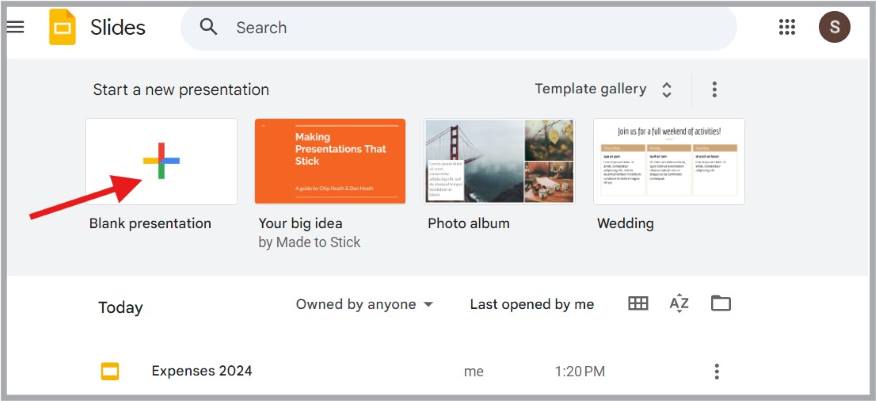
1. Open Google Slides
Open Google Slides. Create a new presentation or open an existing one. This is where you will merge your images. In this example, we will click on “Blank presentation.”
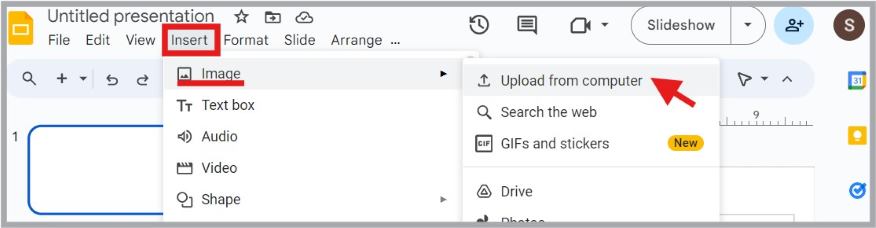
2. Click on “Insert” at the Top and Select “Image”
Click on “Insert” at the top. Select “Image.” Choose the source of your images. Here, we click on “Upload from computer.”
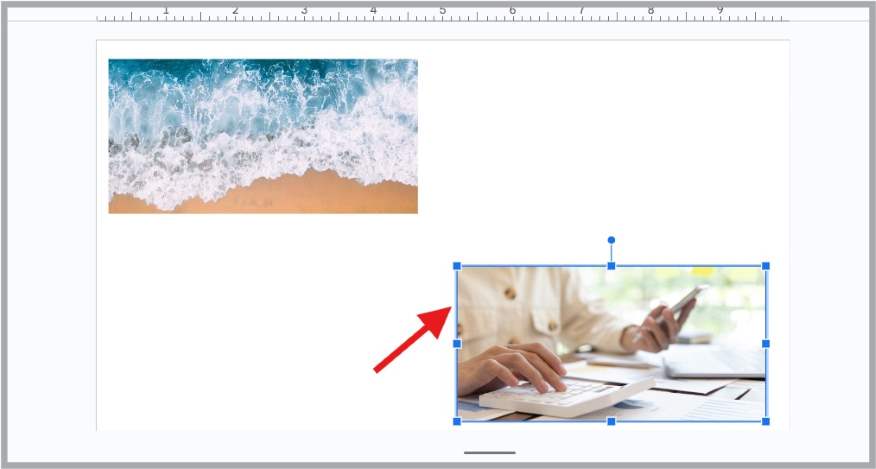
3. Click and Drag the Images to Position Them
After inserting the images, click and drag them to position them on the slide. You can overlap or arrange them in any way you want.
4. Resize the Images
Click on an image to resize it. Drag one of the small blue boxes to change its size. Resize each image based on what you like.

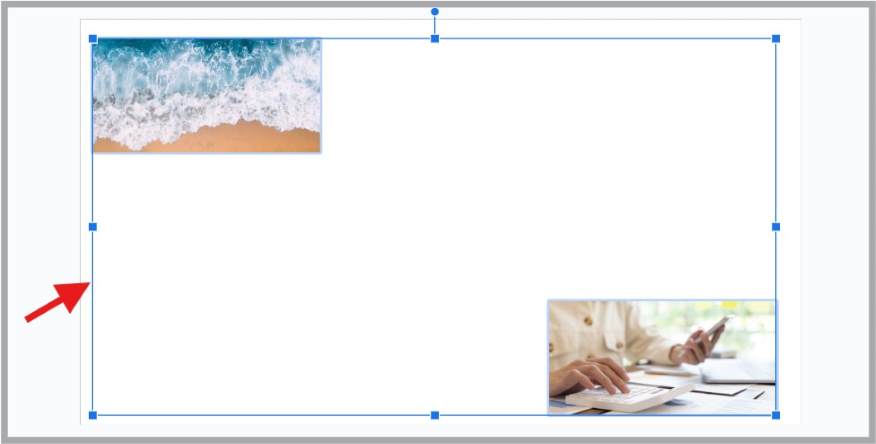
5. Group the Images
Click on one image to select it. Hold down the “Shift” key and click the other image. This selects both images.
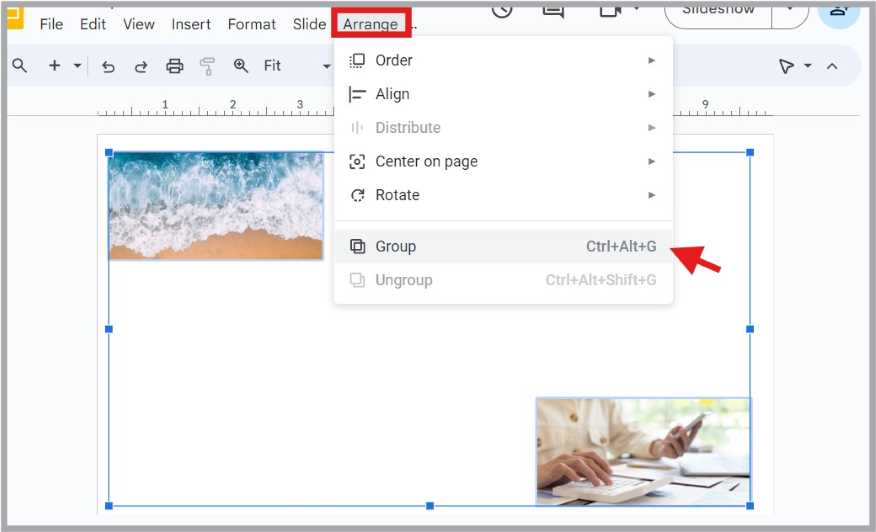
Click on “Arrange” at the top. Click on “Group” to merge them into one unit.
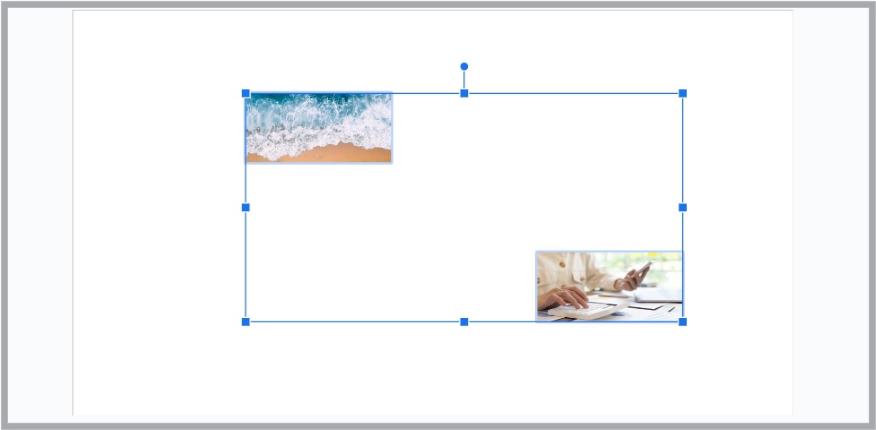
6. Adjust Grouped Image
The images are now grouped. You can move and resize them as one.
We hope you now have a better understanding of how to merge images in Google Slides. If you enjoyed this article, you might also enjoy our articles on how to change the opacity of an image in Google Slides and how to flip an image in Google Slides.