Transparent Borders in Google Slides (Easiest Way in 2024)
In this article, we will show you how to create transparent borders in Google Slides. Simply follow the steps below.
Transparent Borders in Google Slides
To create transparent borders in Google Slides, follow the steps below.
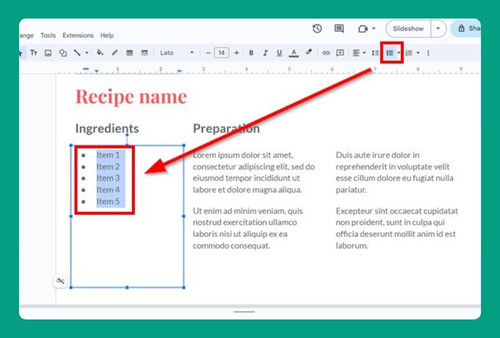
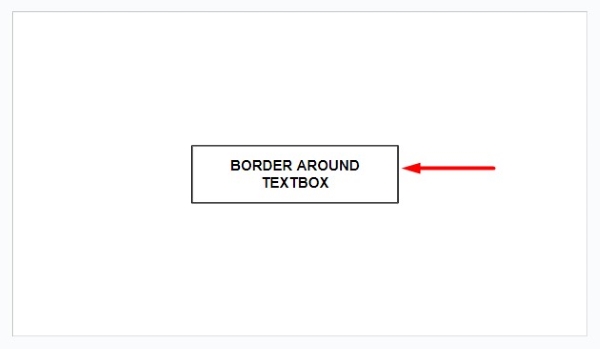
1. Select the Text Box with a Border
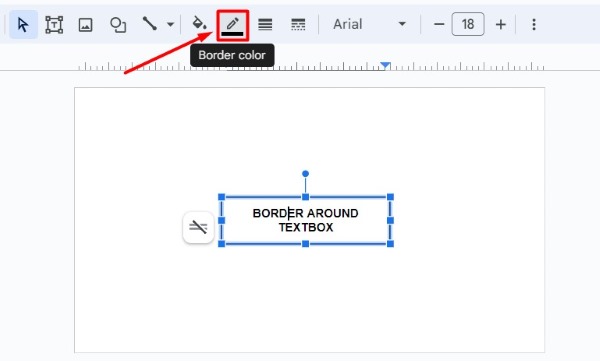
Click on the text box that already has a border. Ensure the text box is selected by clicking on it once.
2. Change the Border Color
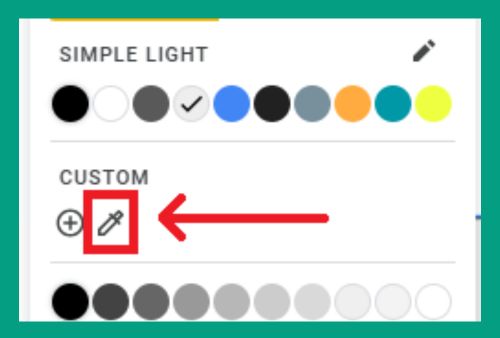
With the text box selected, go to the “Border color” icon in the toolbar (it looks like a pencil).
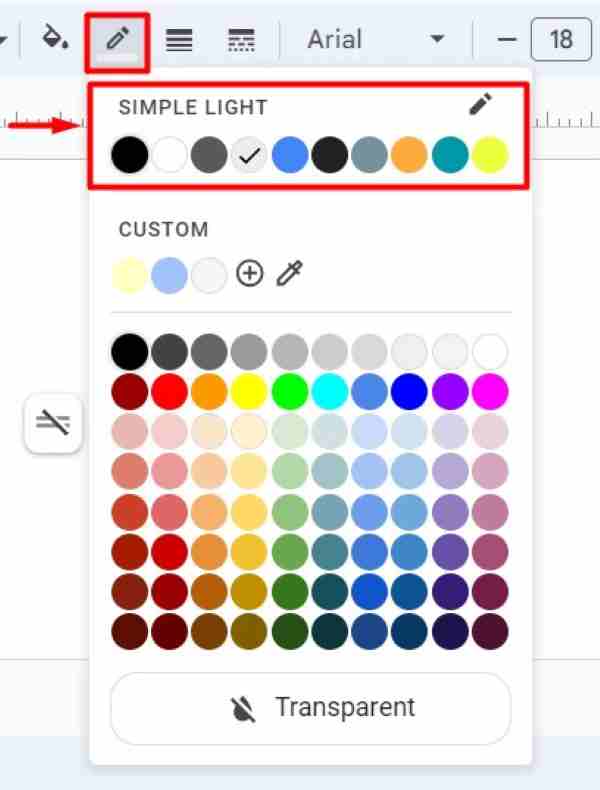
Choose the color for your border by selecting from the color palette. For example, if you want to make the border less visible, you might choose a lighter color.
3. Make the Fill Color Transparent
Click on the “Fill color” icon in the toolbar (it looks like a paint bucket).
Select “Transparent” to make the inside of the text box see-through while keeping the border visible. This ensures only the border is visible, and the content inside remains clear.
4. Make the Border Transparent
With the text box selected, click on the “Border color” icon again. In the border color menu, select the “Transparent” option. This will make the border of the text box invisible while keeping the fill color transparent.
5. Fine-Tune the Border Appearance
Make any final adjustments to the border and fill color settings. Check to ensure everything looks perfect.
We hope you now have a better understanding of how to create transparent borders in Google Slides. If you enjoyed this article, you might also like our article on how to make a transparent circle in Google Slides or our article on how to make logo transparent in Google Slides.